Creation of New RFP
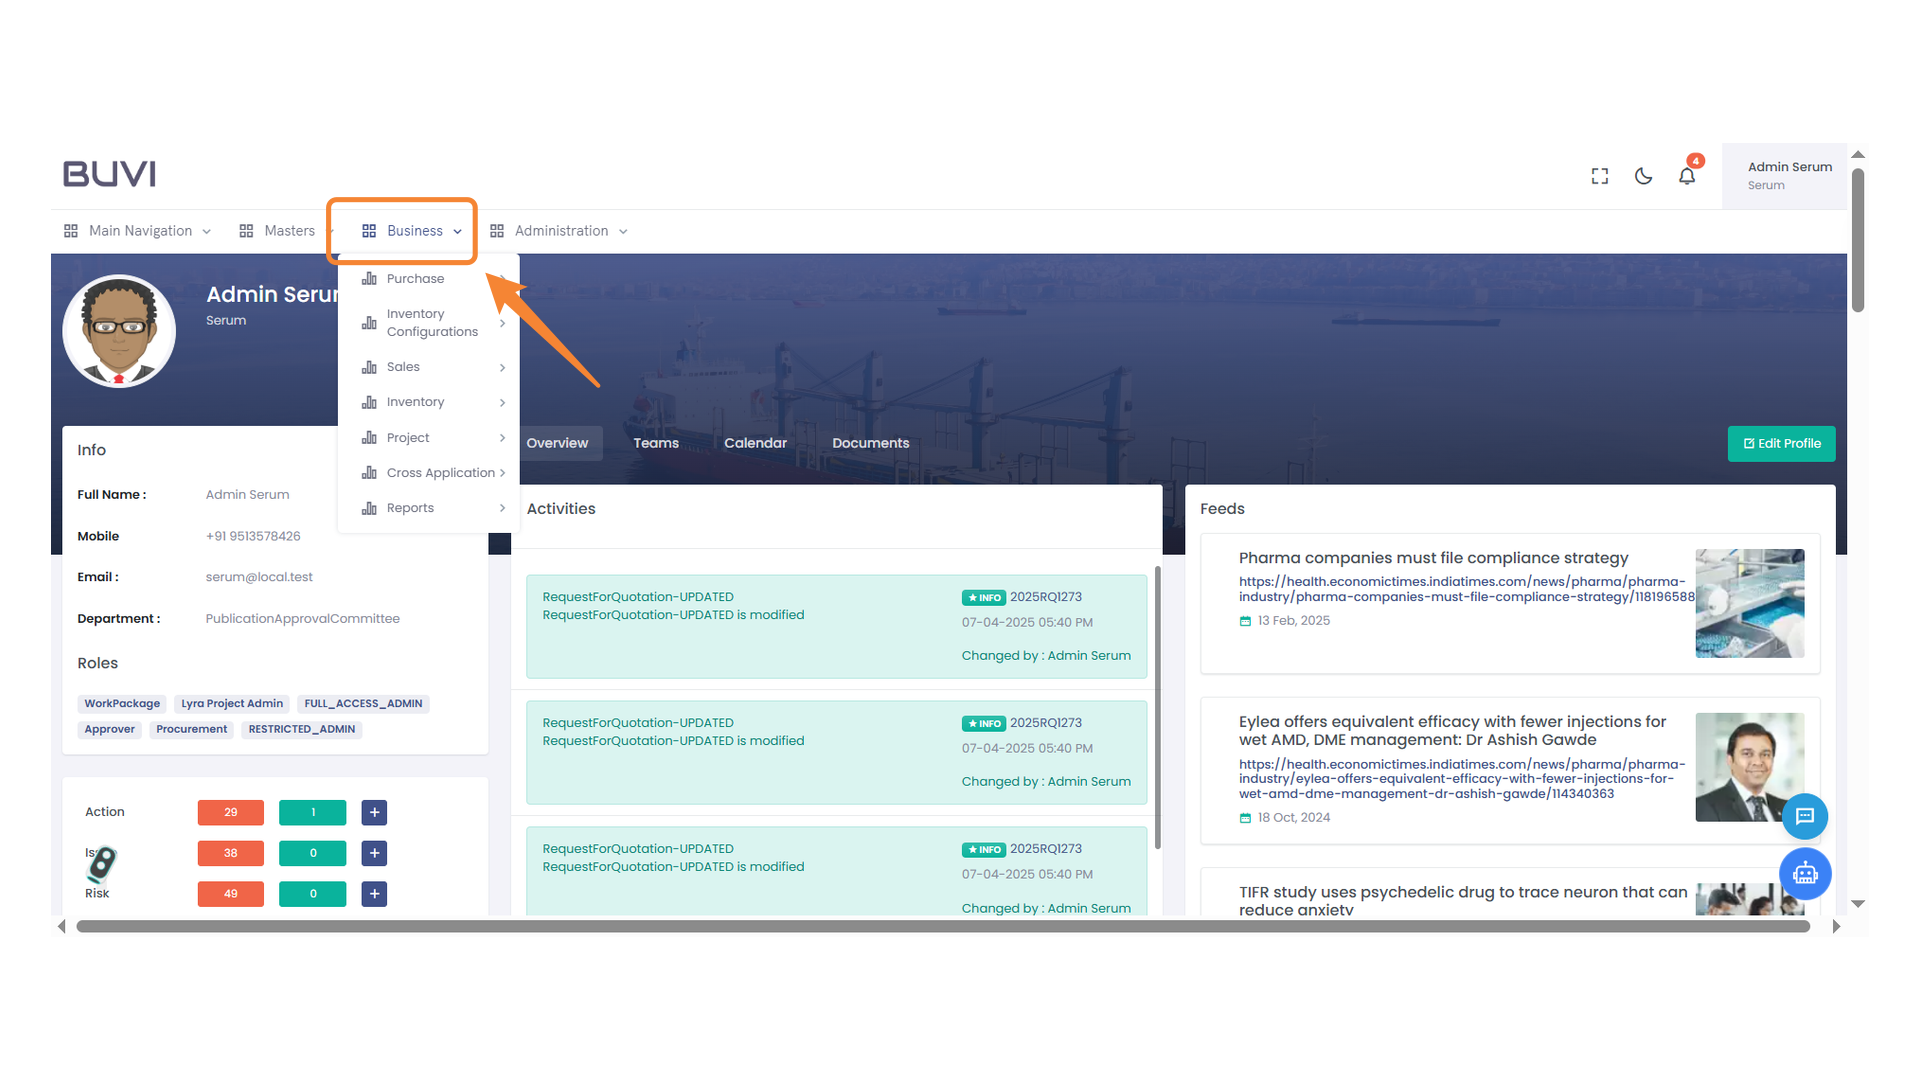
1. Log in and Navigate to Business Menu Dropdown
Select a category to navigate through business-related options such as Purchase, Inventory, and Sales.
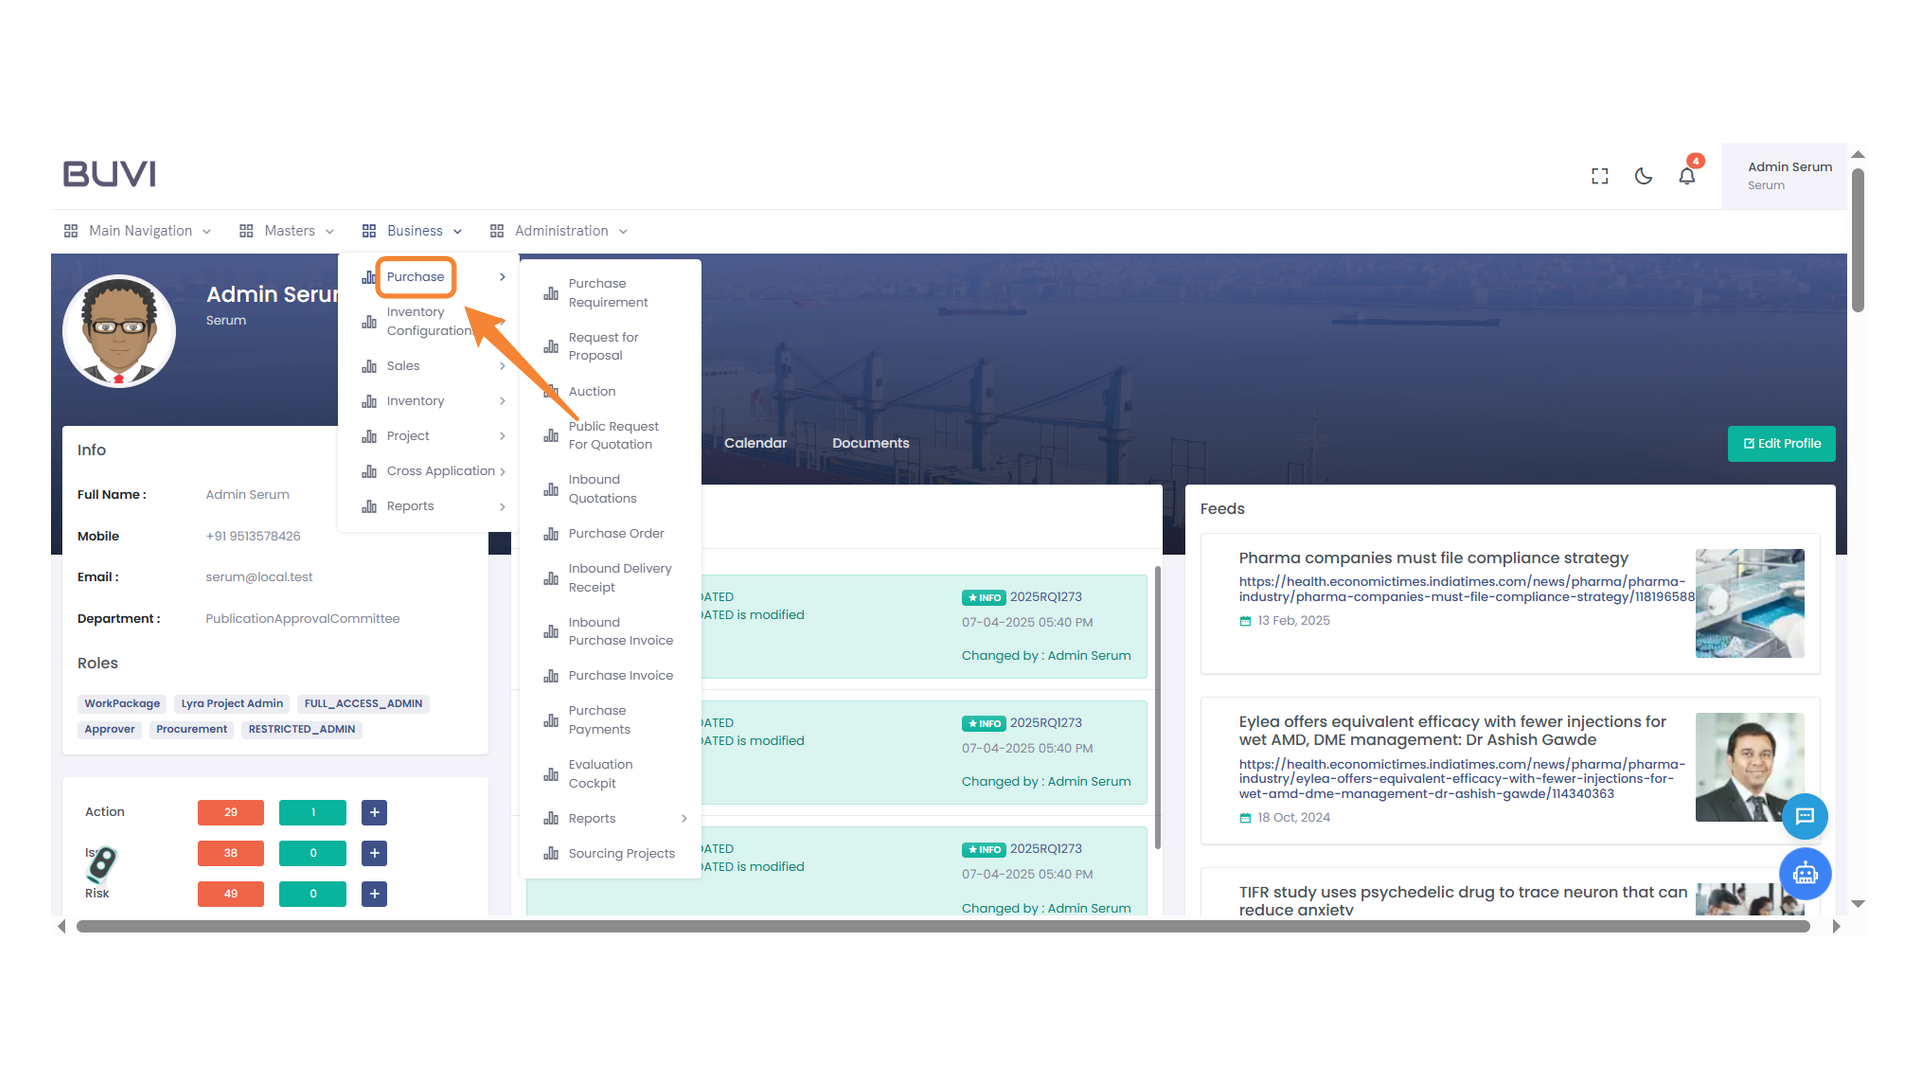
2. Purchase Menu
Select the Purchase option to access related settings and tools.
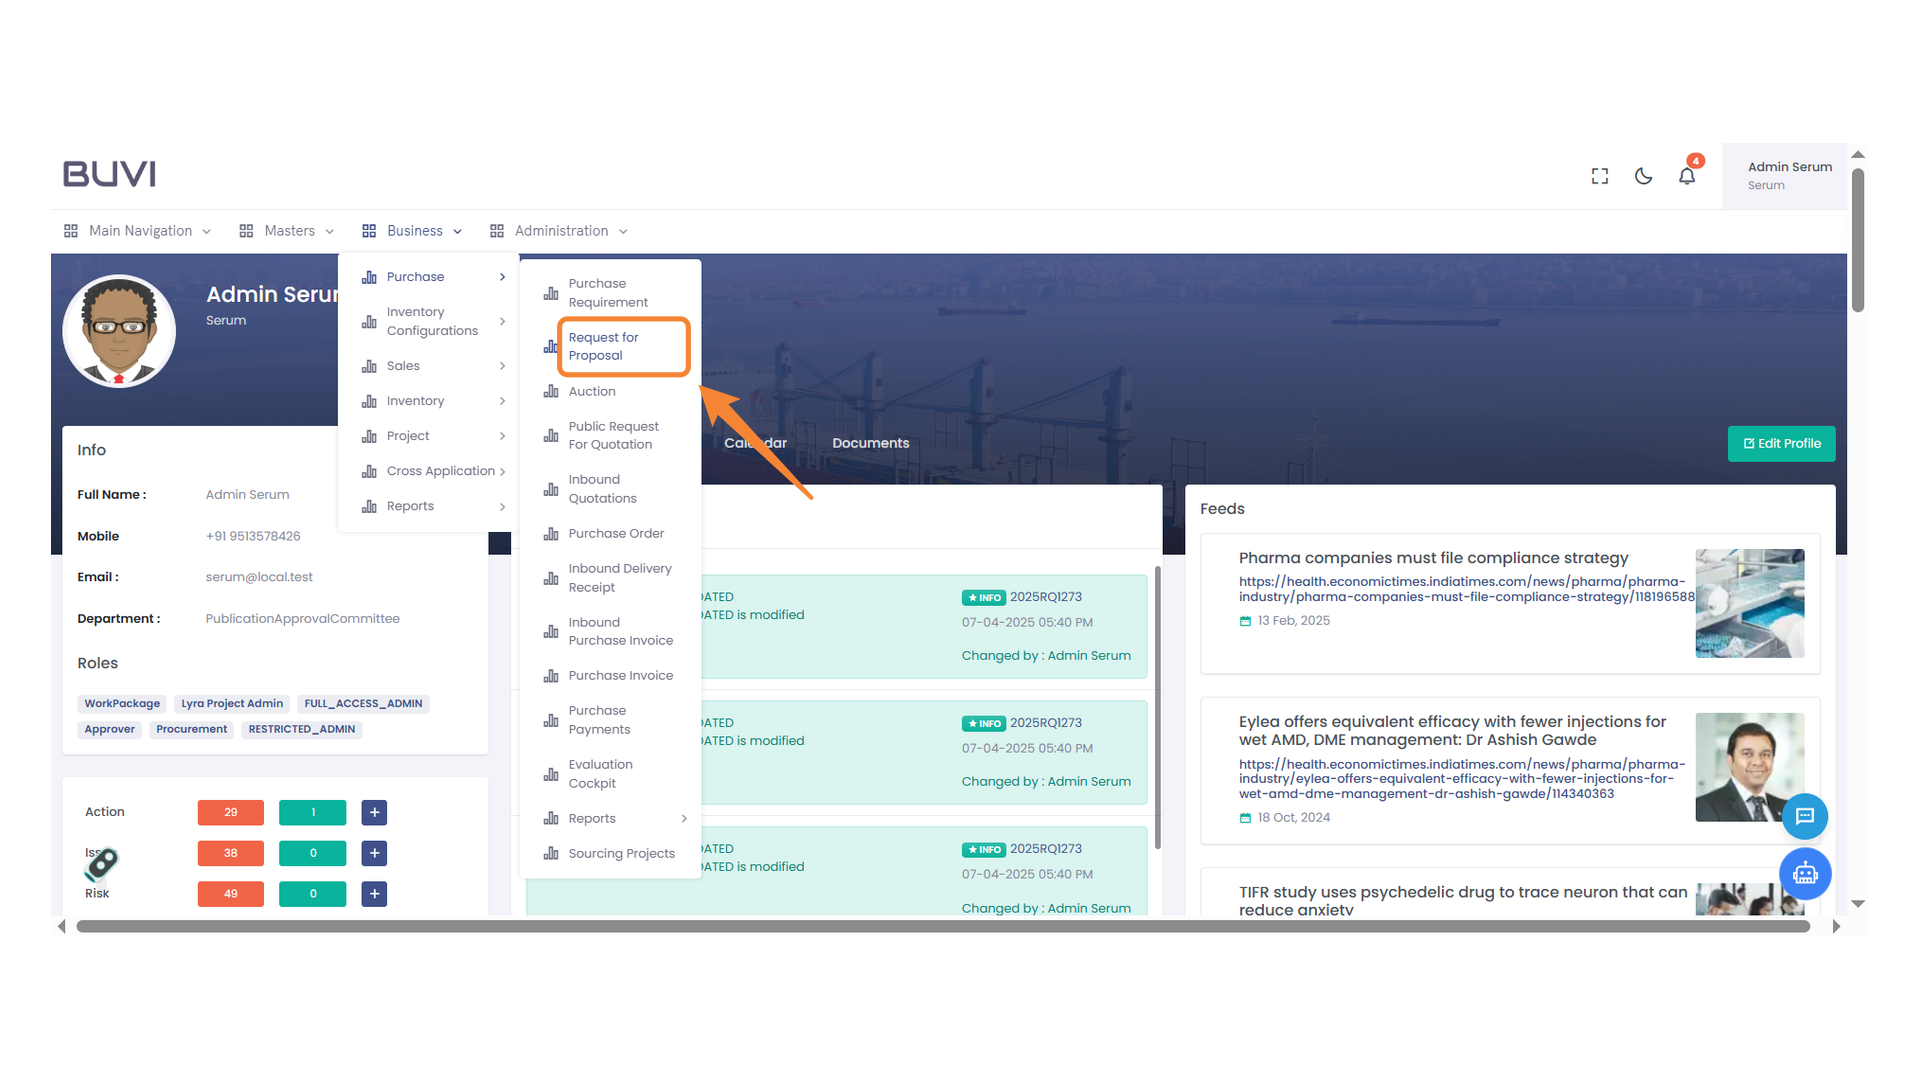
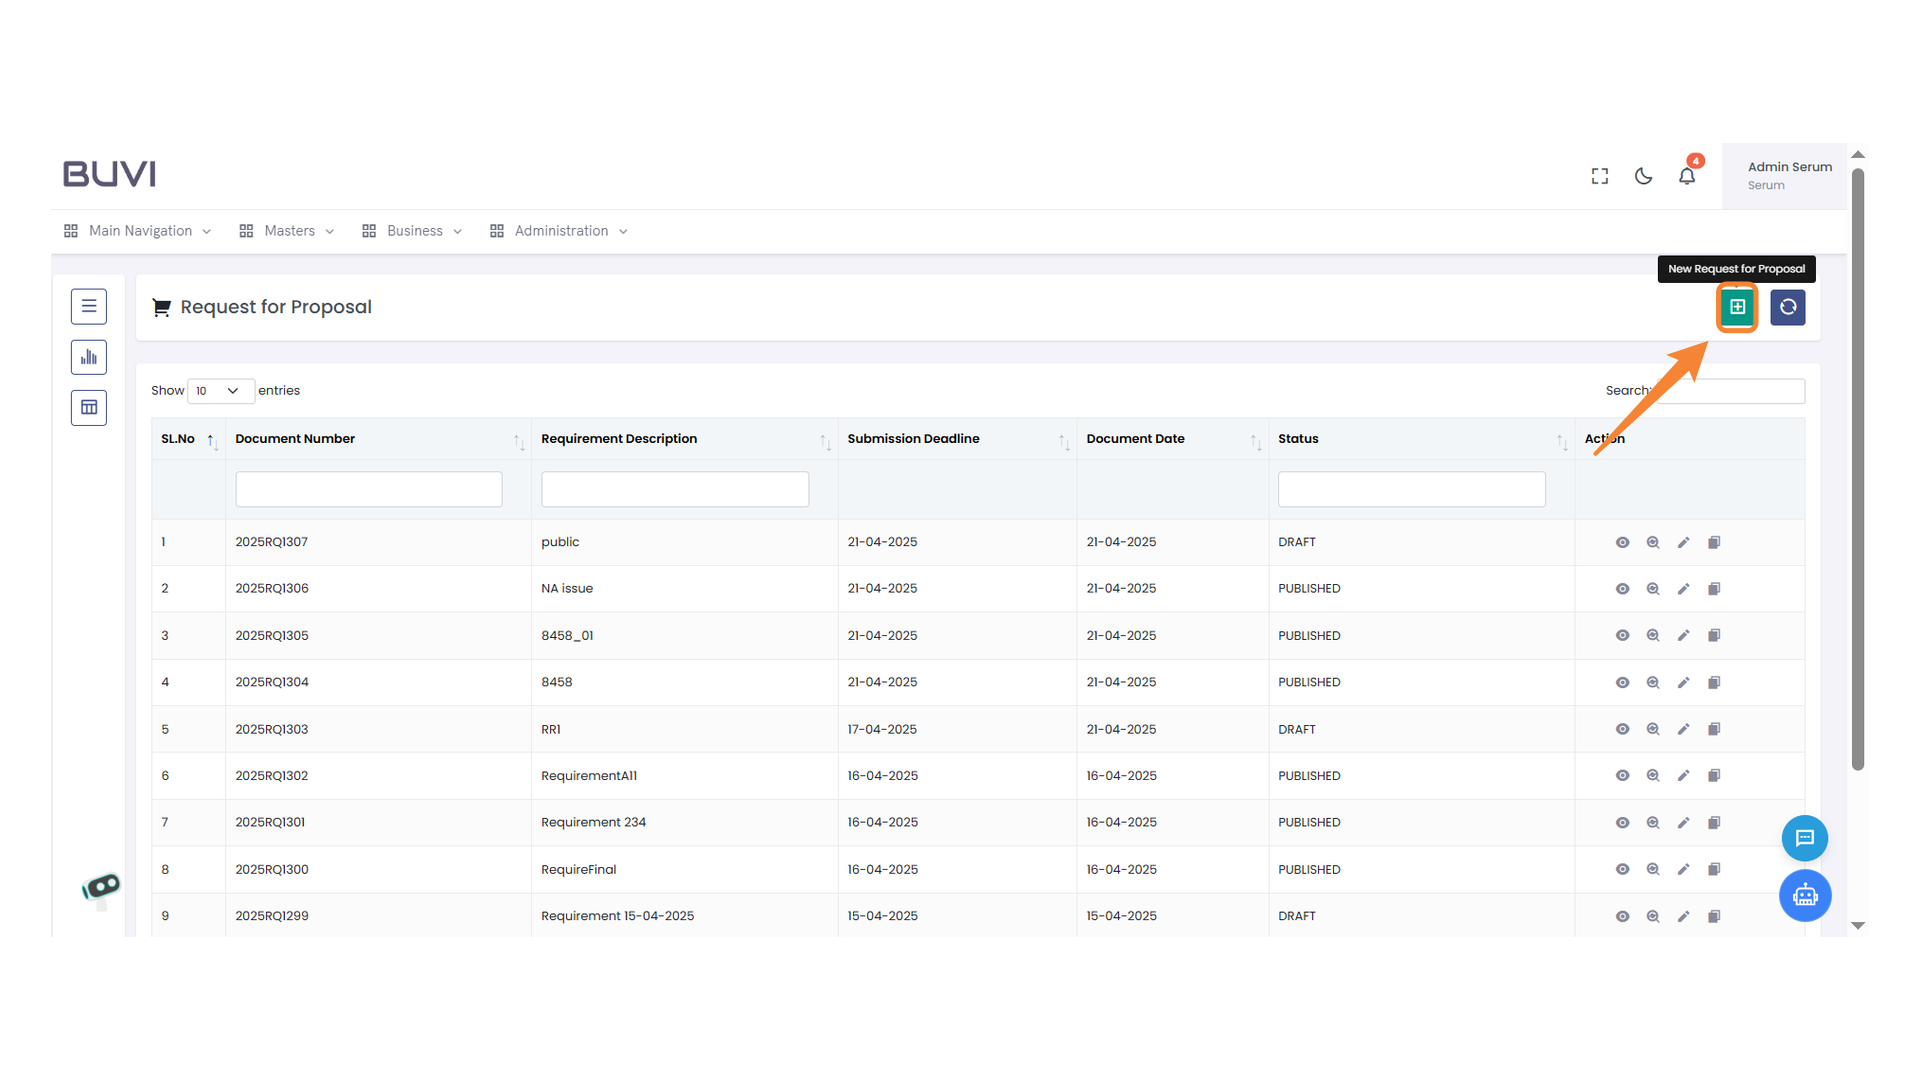
3. Request for Proposal Section
Access the Request for Proposal section to manage proposals efficiently.
4. New Request Button
Click to initiate a new request for proposal.
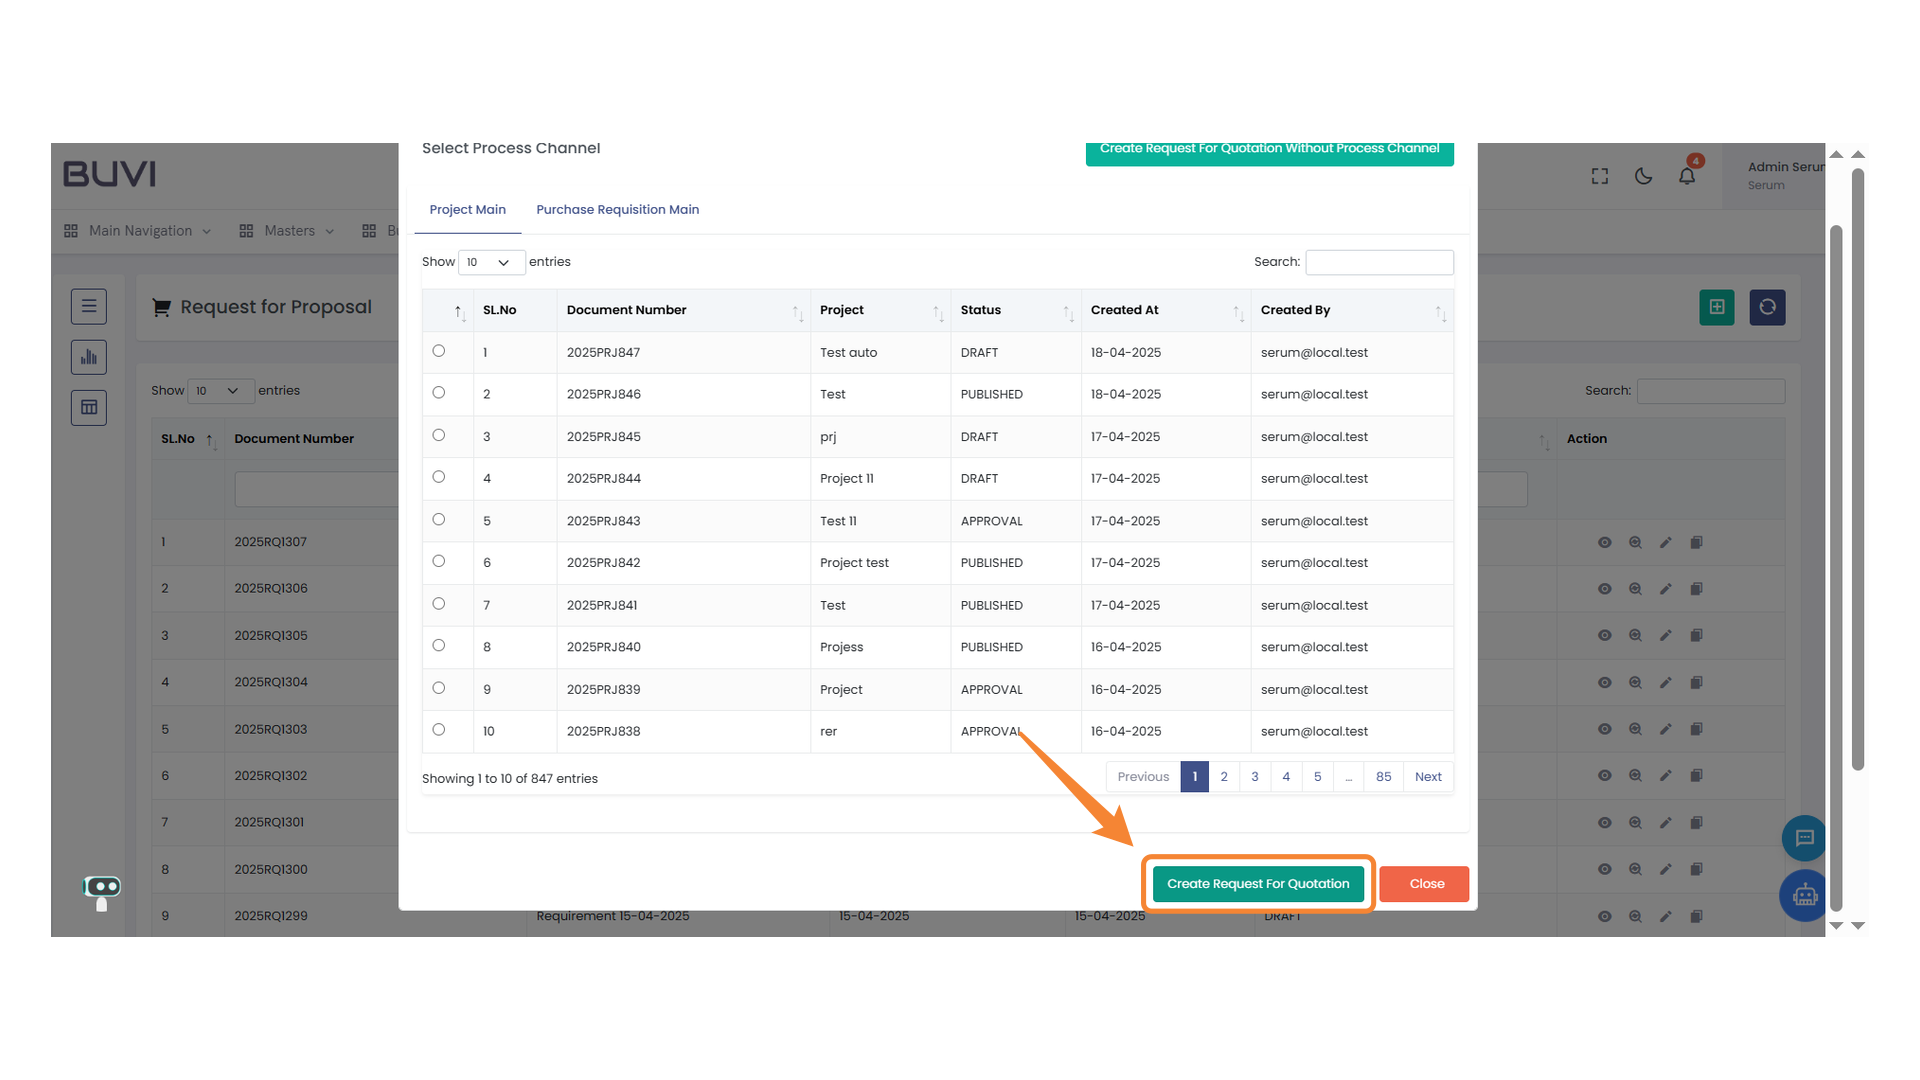
5. Button for Request For Quotation
Click to initiate the creation of a new request for quotation.
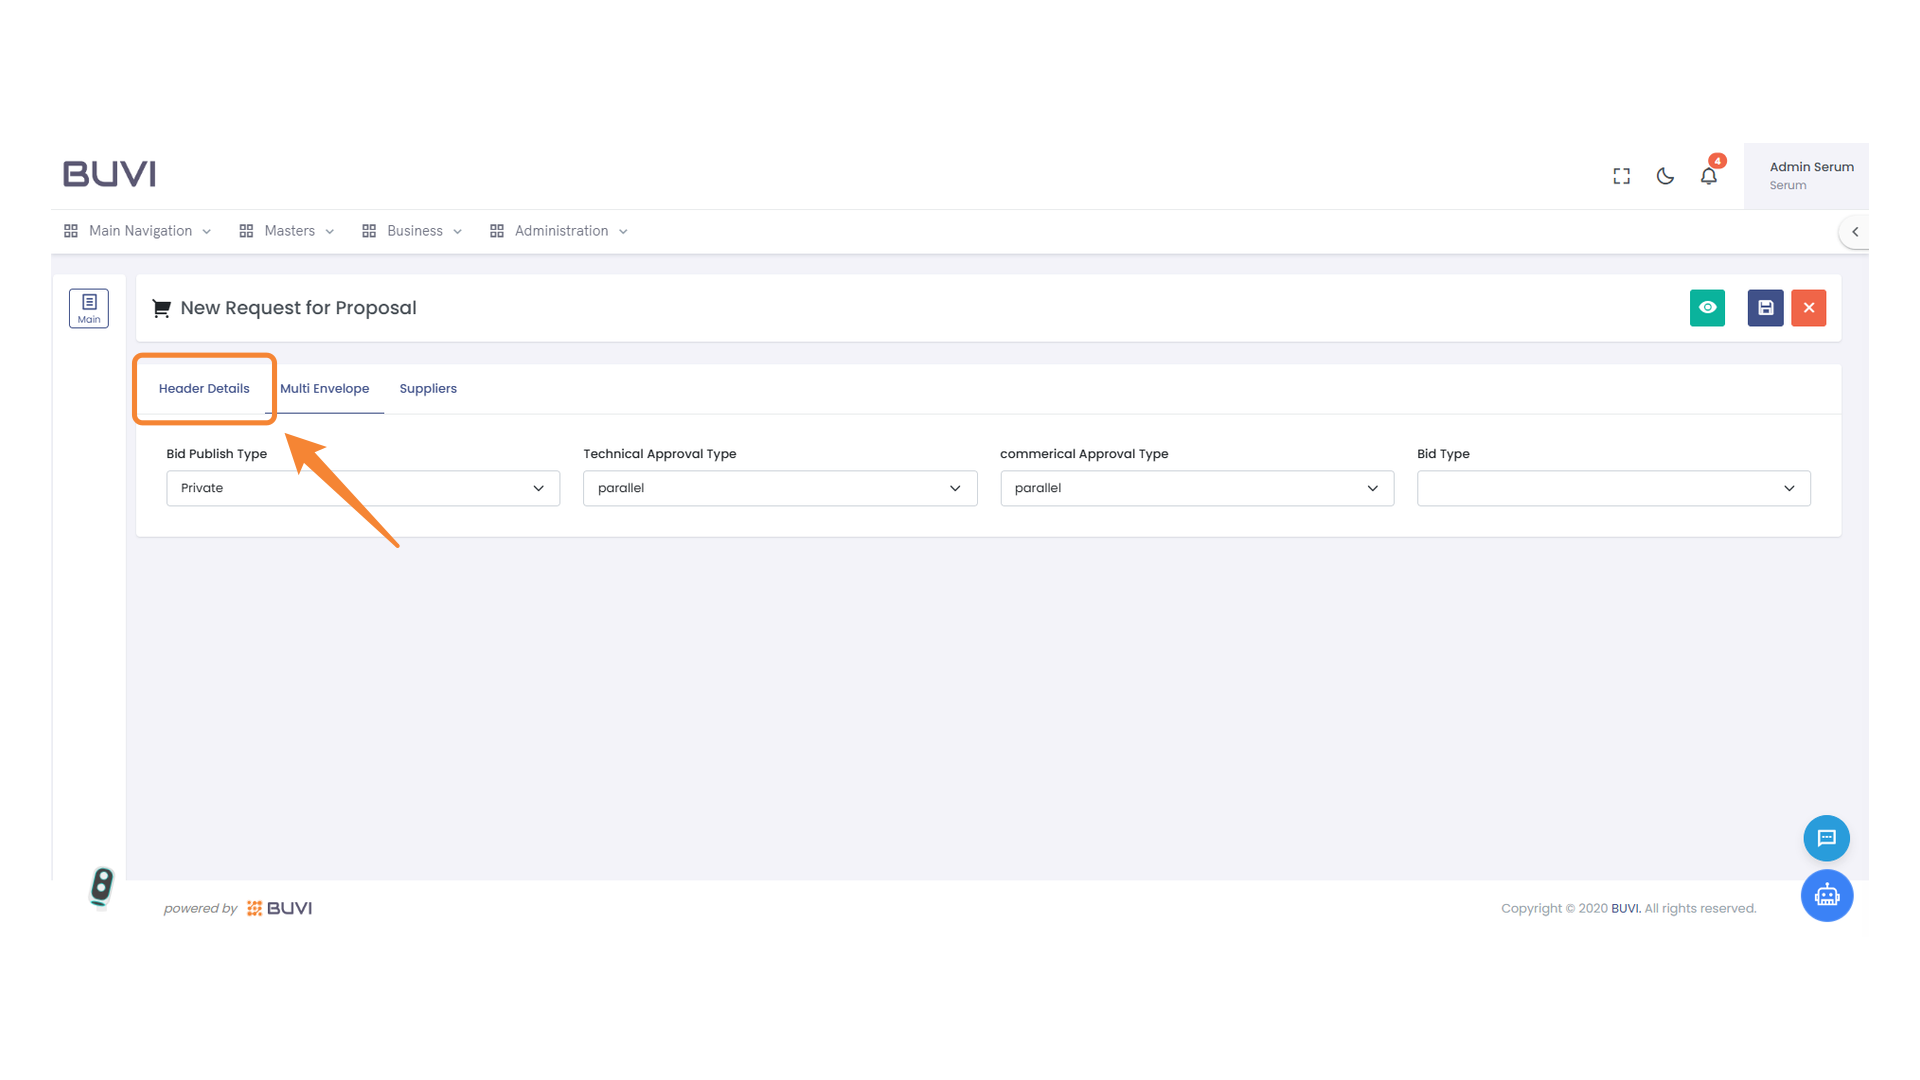
6. Header Details Tab
Select this tab to enter or modify the header details for the proposal request.
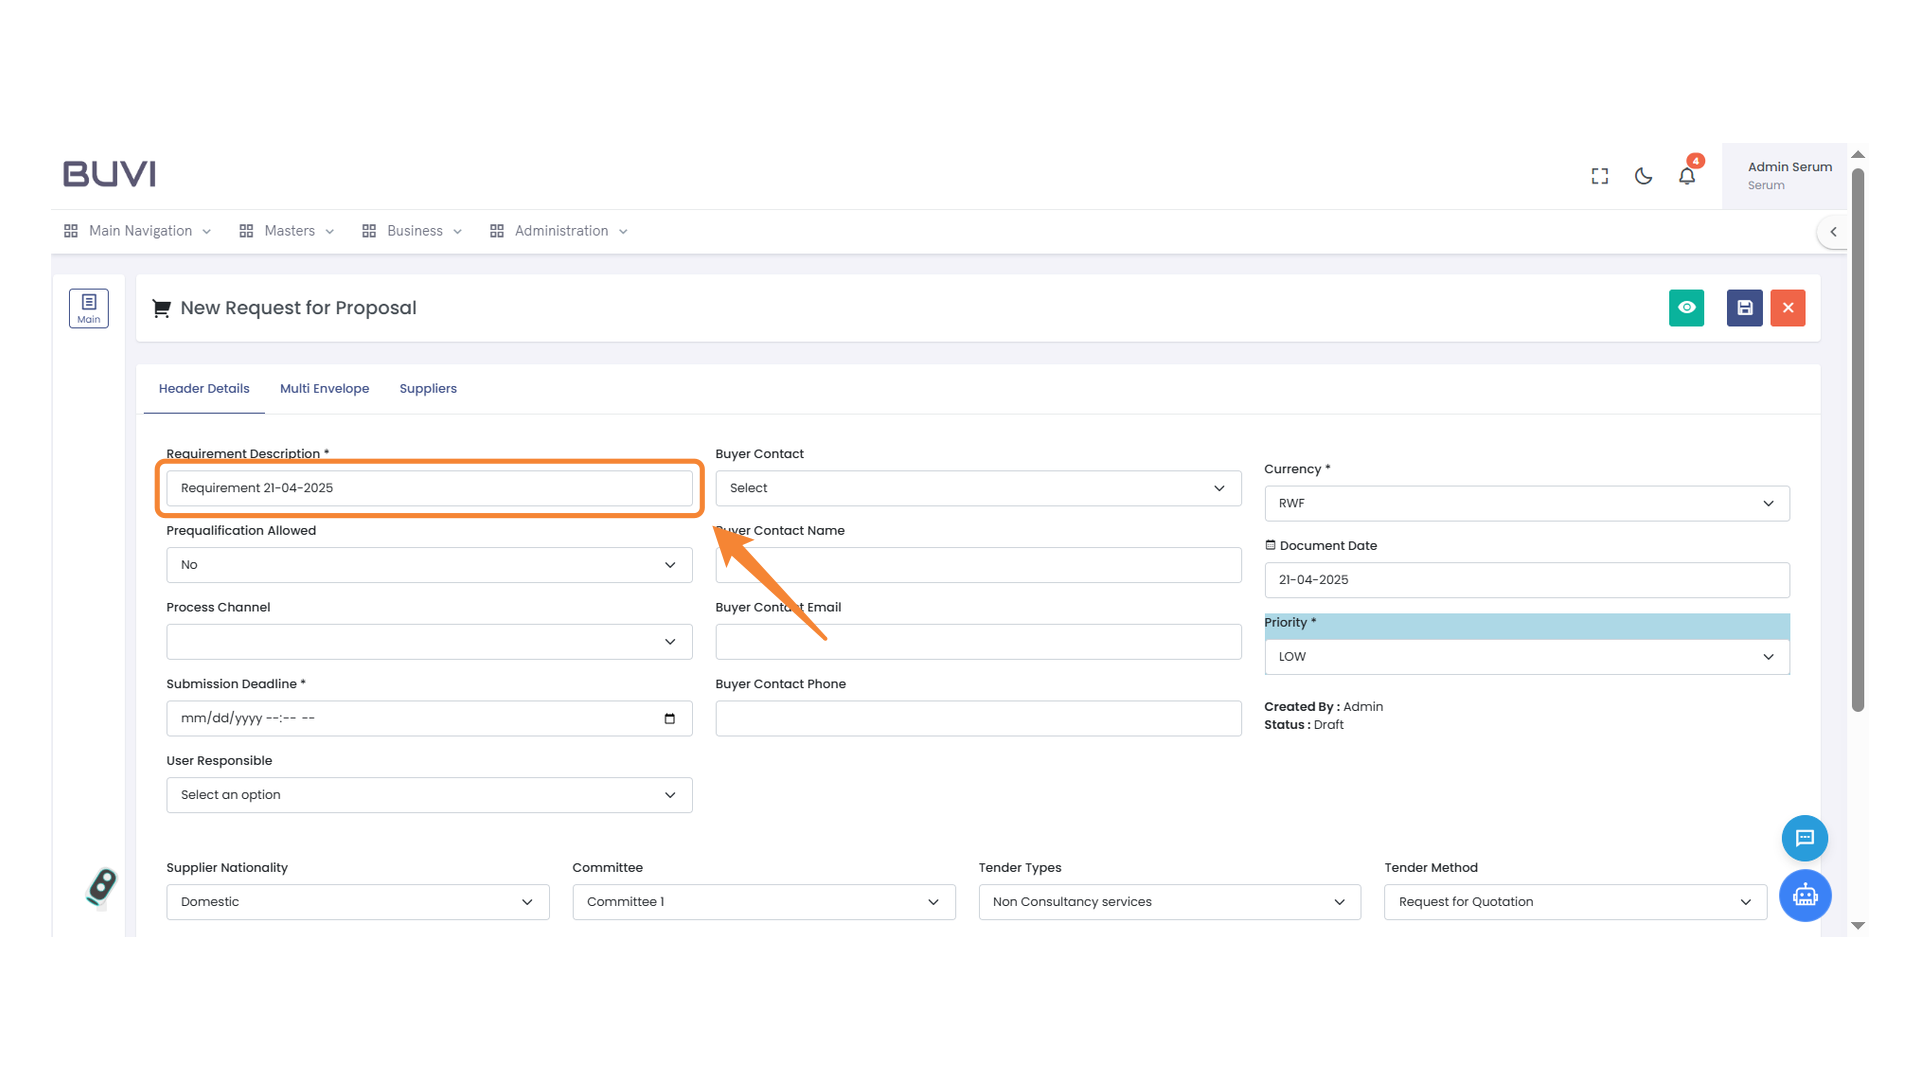
7. Requirement Description Field
Enter the detailed description of the requirement for the proposal.
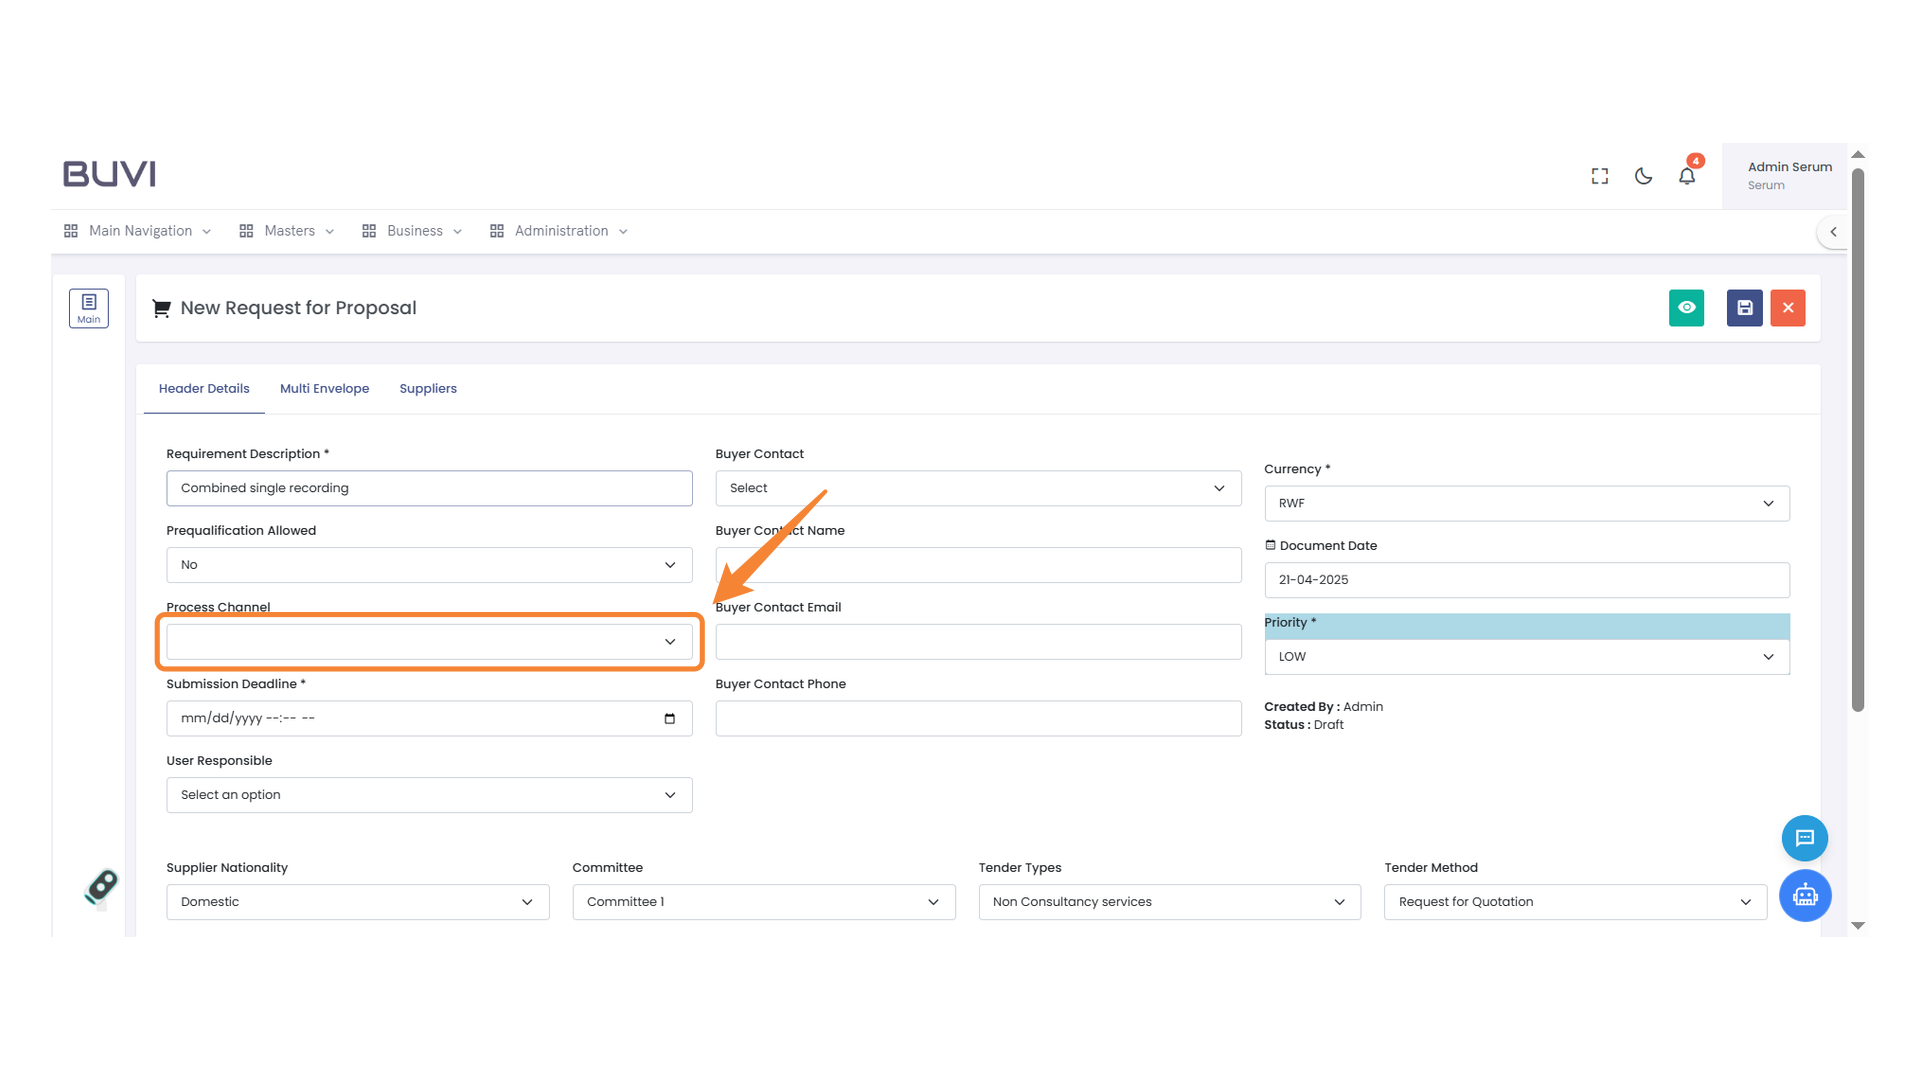
8. Process Channel Field
Select the appropriate process channel from the dropdown menu.
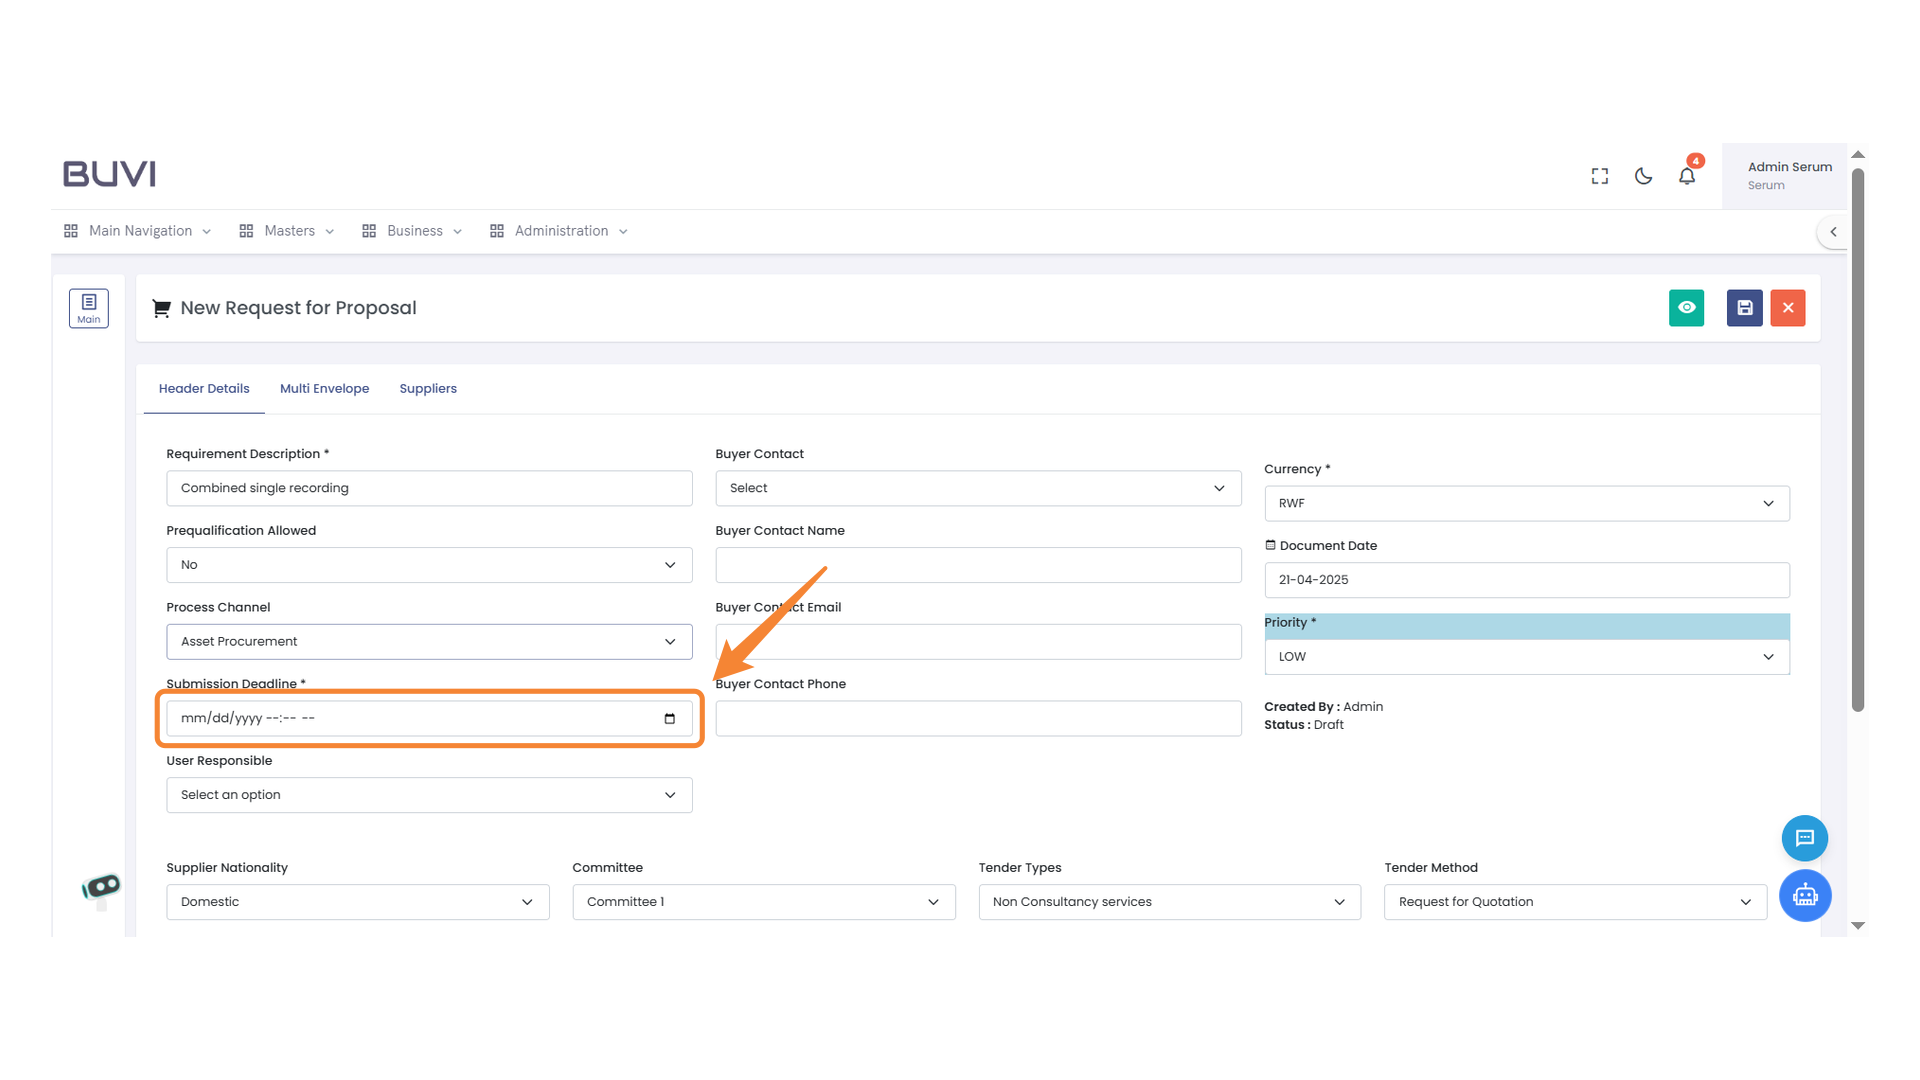
9. Submission Deadline Field
Enter the deadline for submission using the format mm/dd/yyyy and specify the time as necessary.
10. User Responsibility Selection
Choose an option to designate the responsible user.

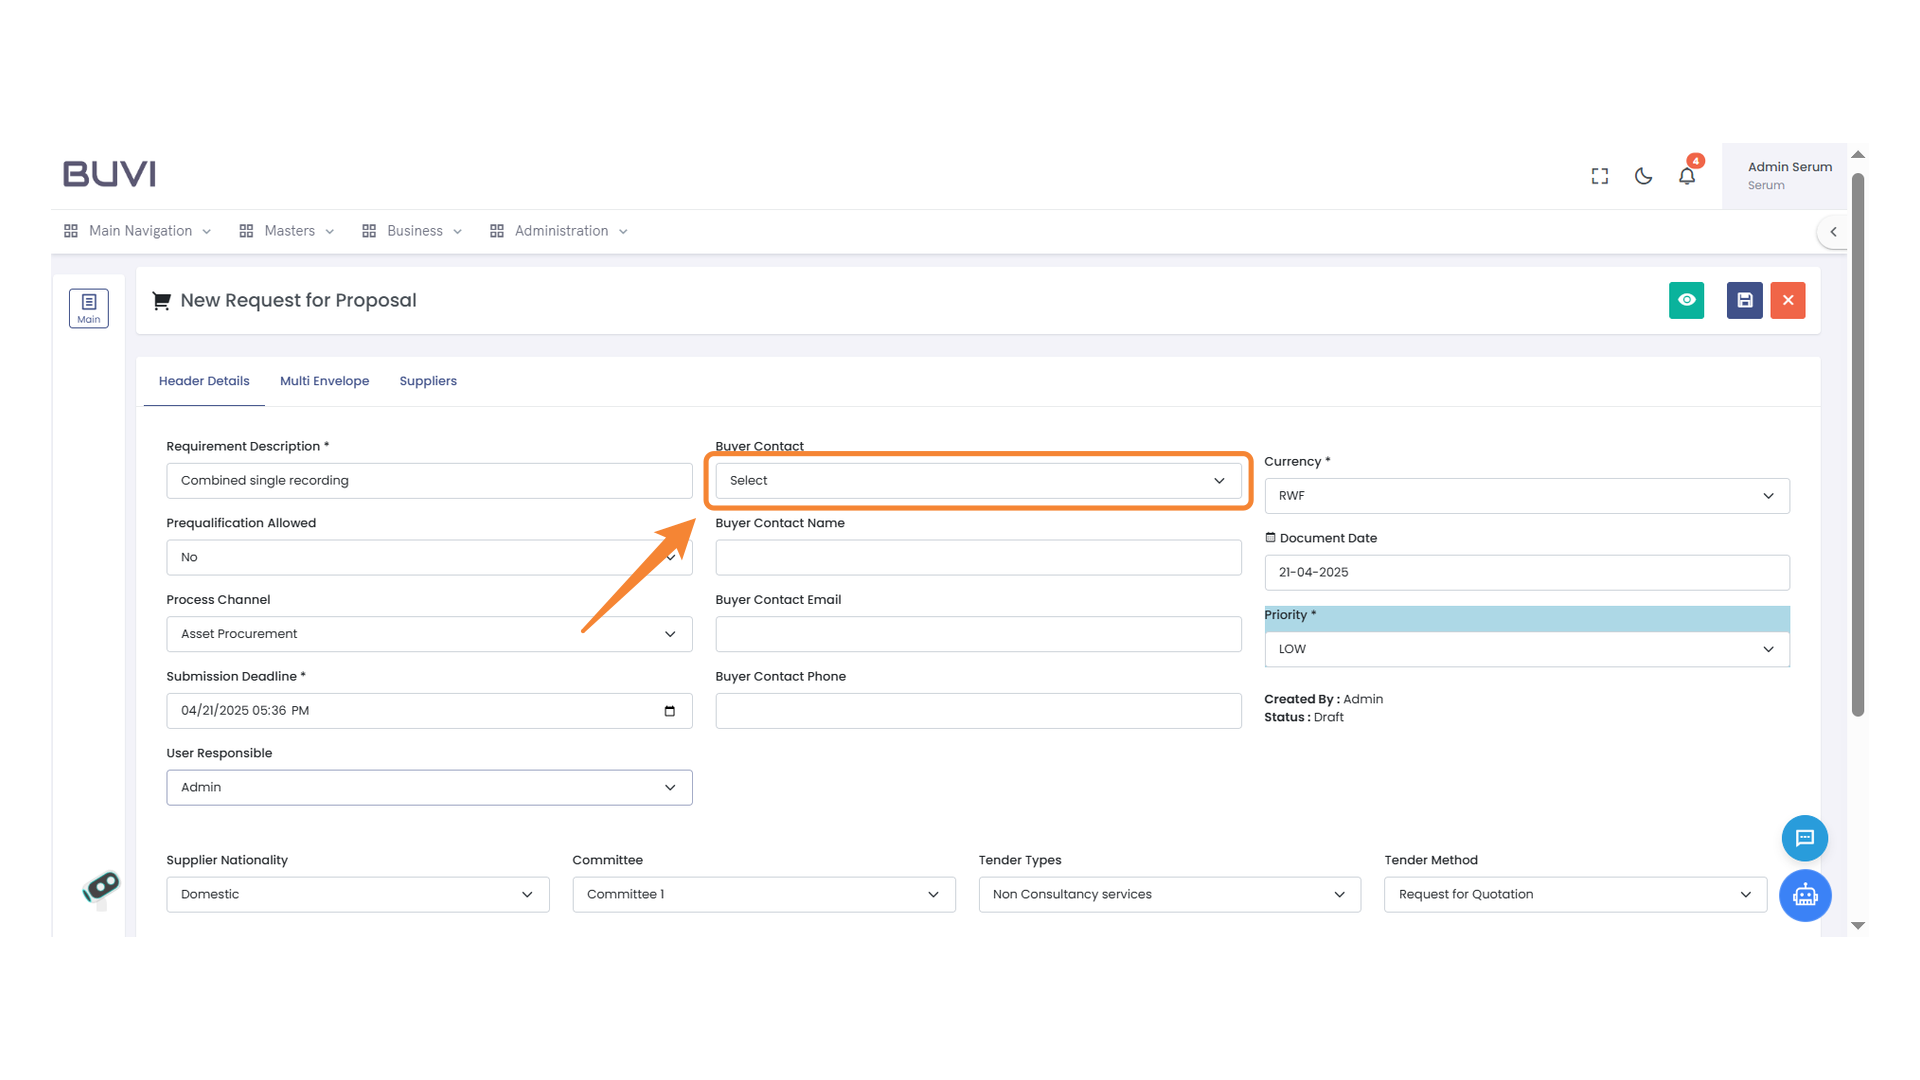
11. Buyer Contact Selection
Choose a contact from the dropdown list to assign a buyer.
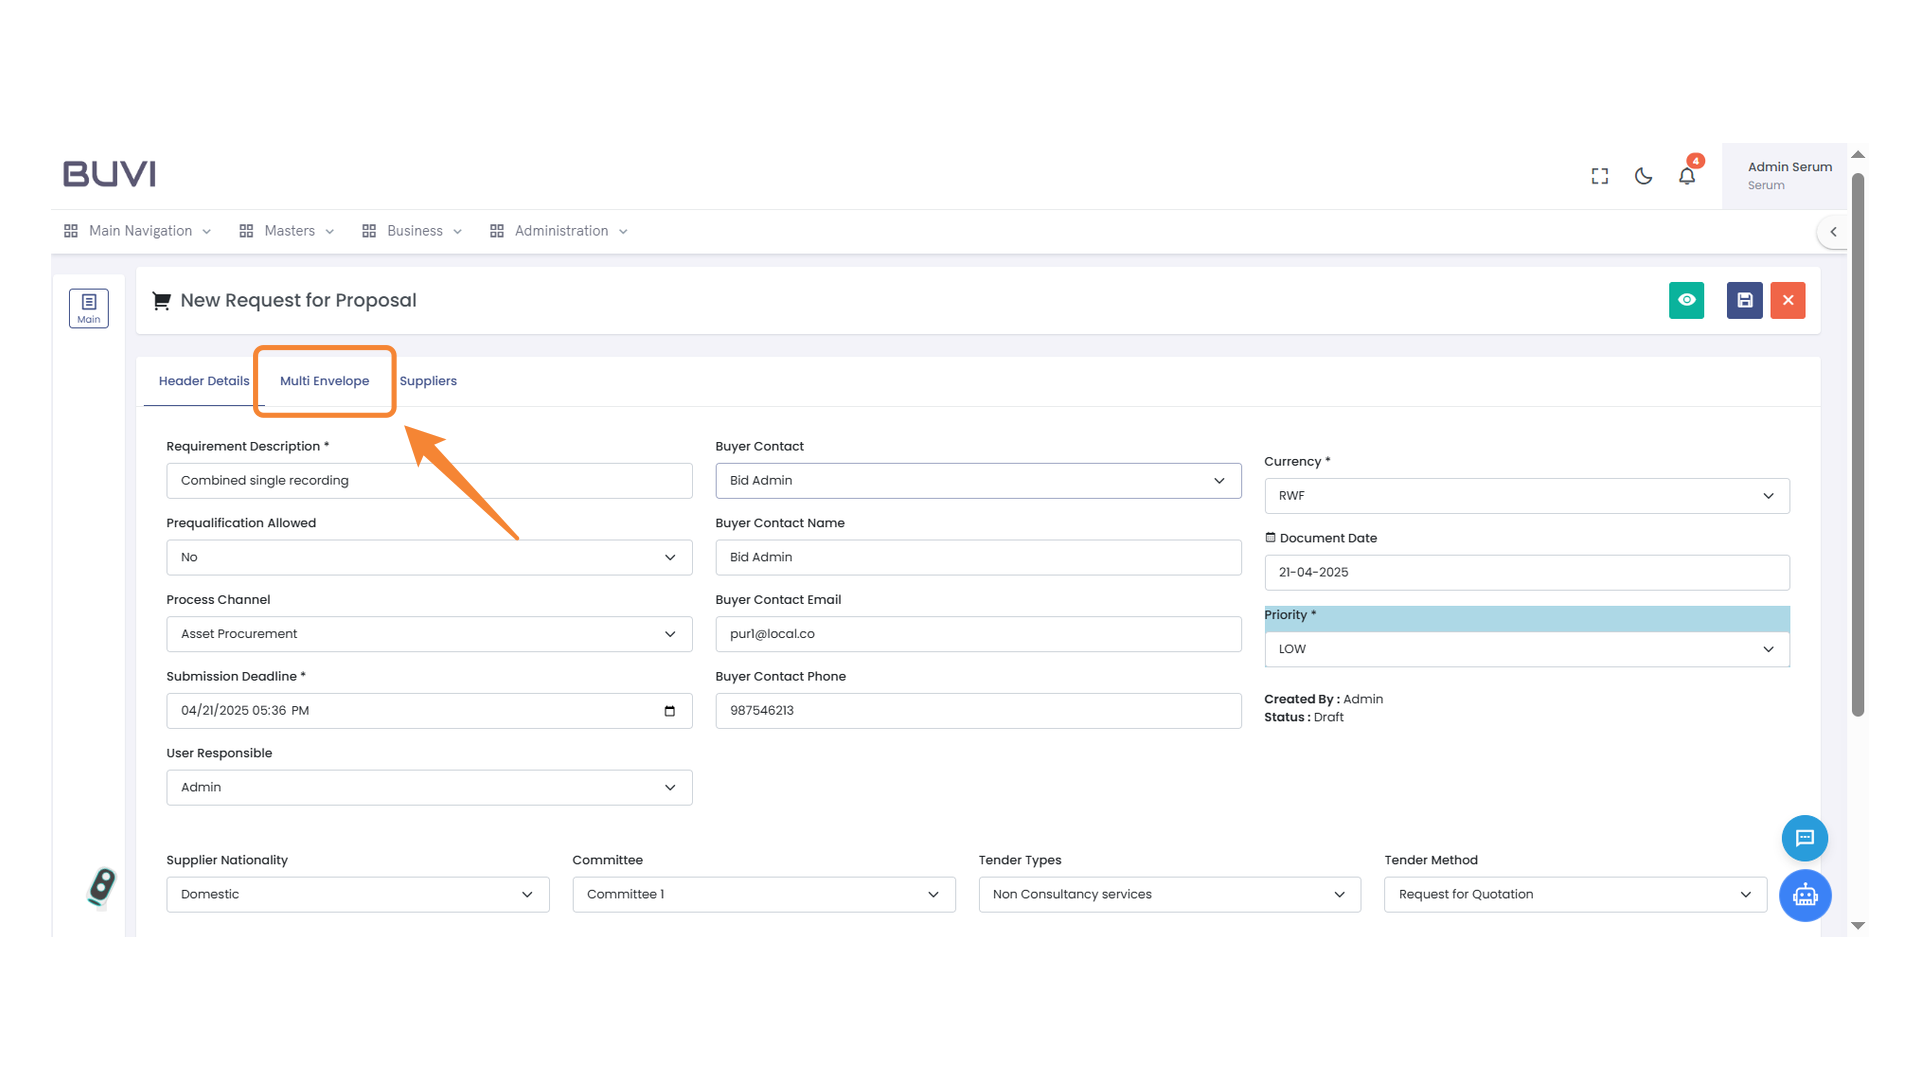
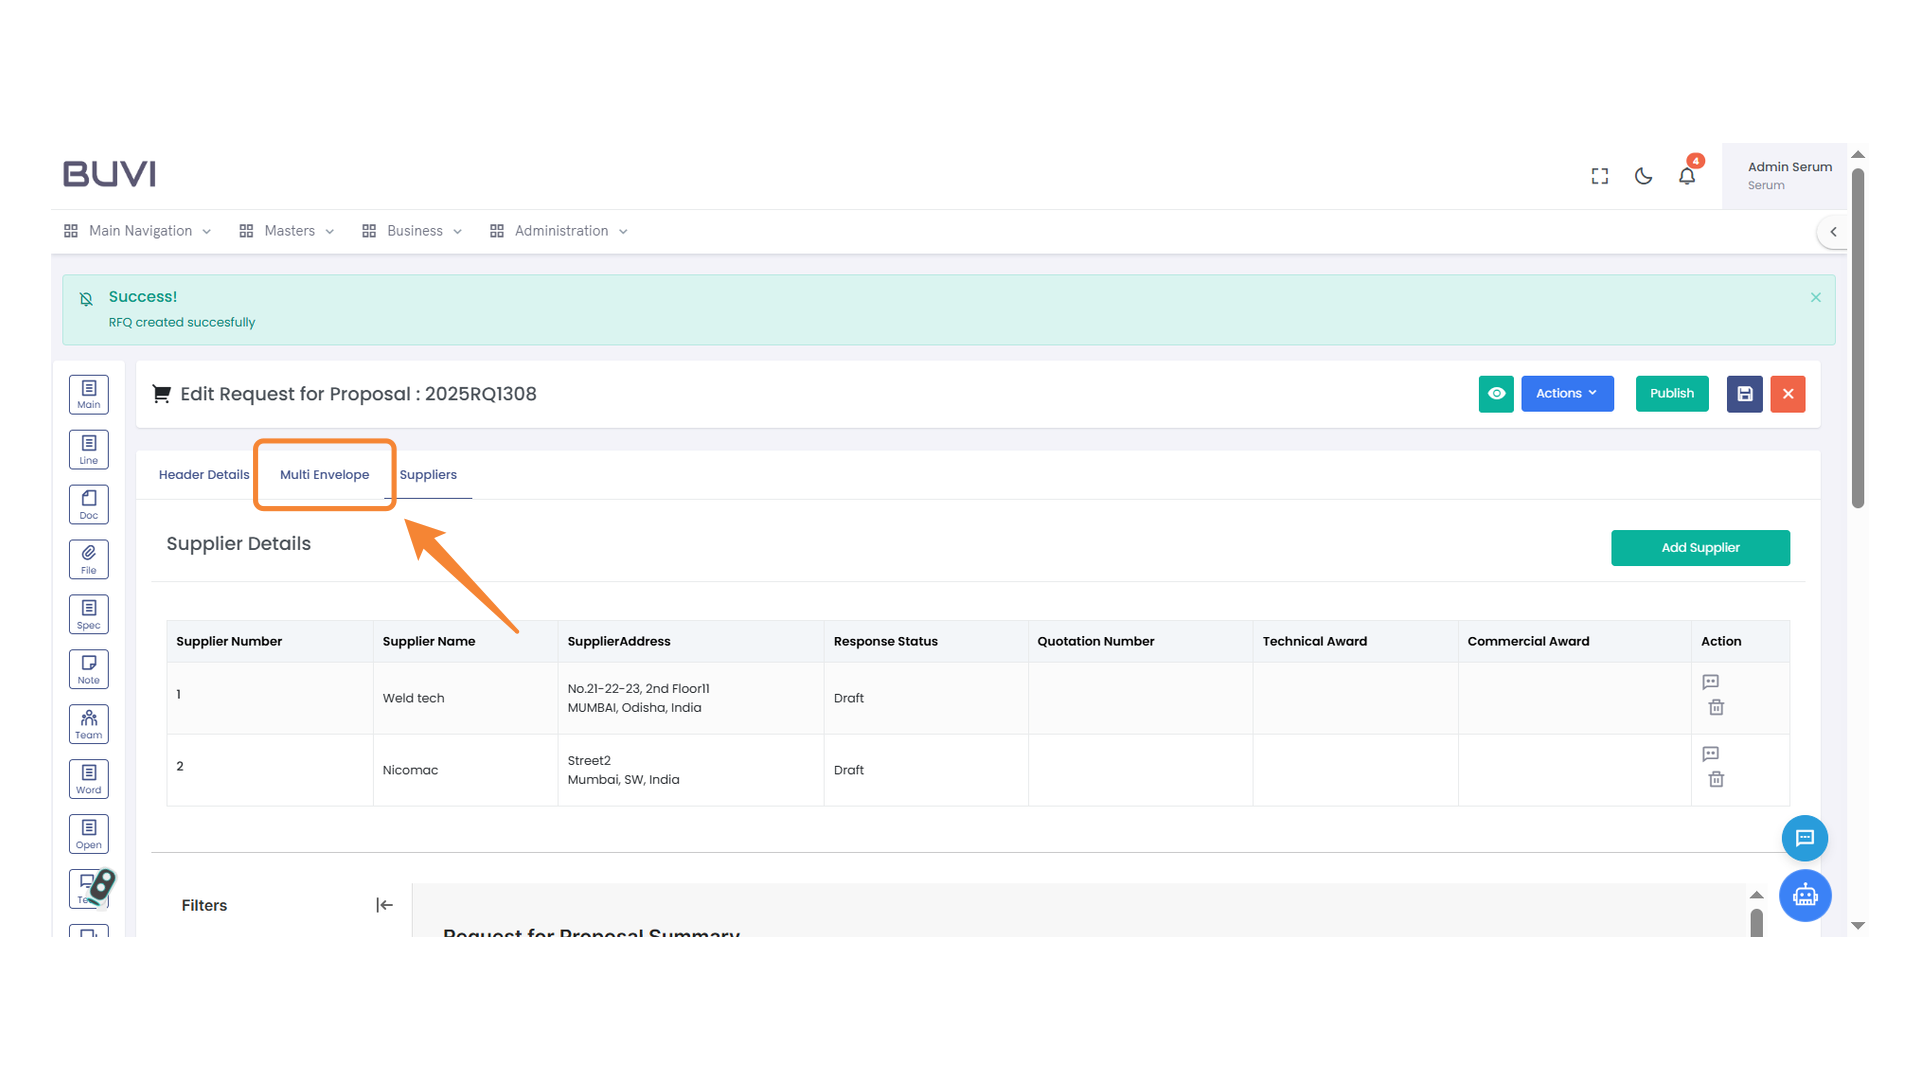
12. Multi Envelope Tab
Select this tab to manage settings for multi-envelope proposals.
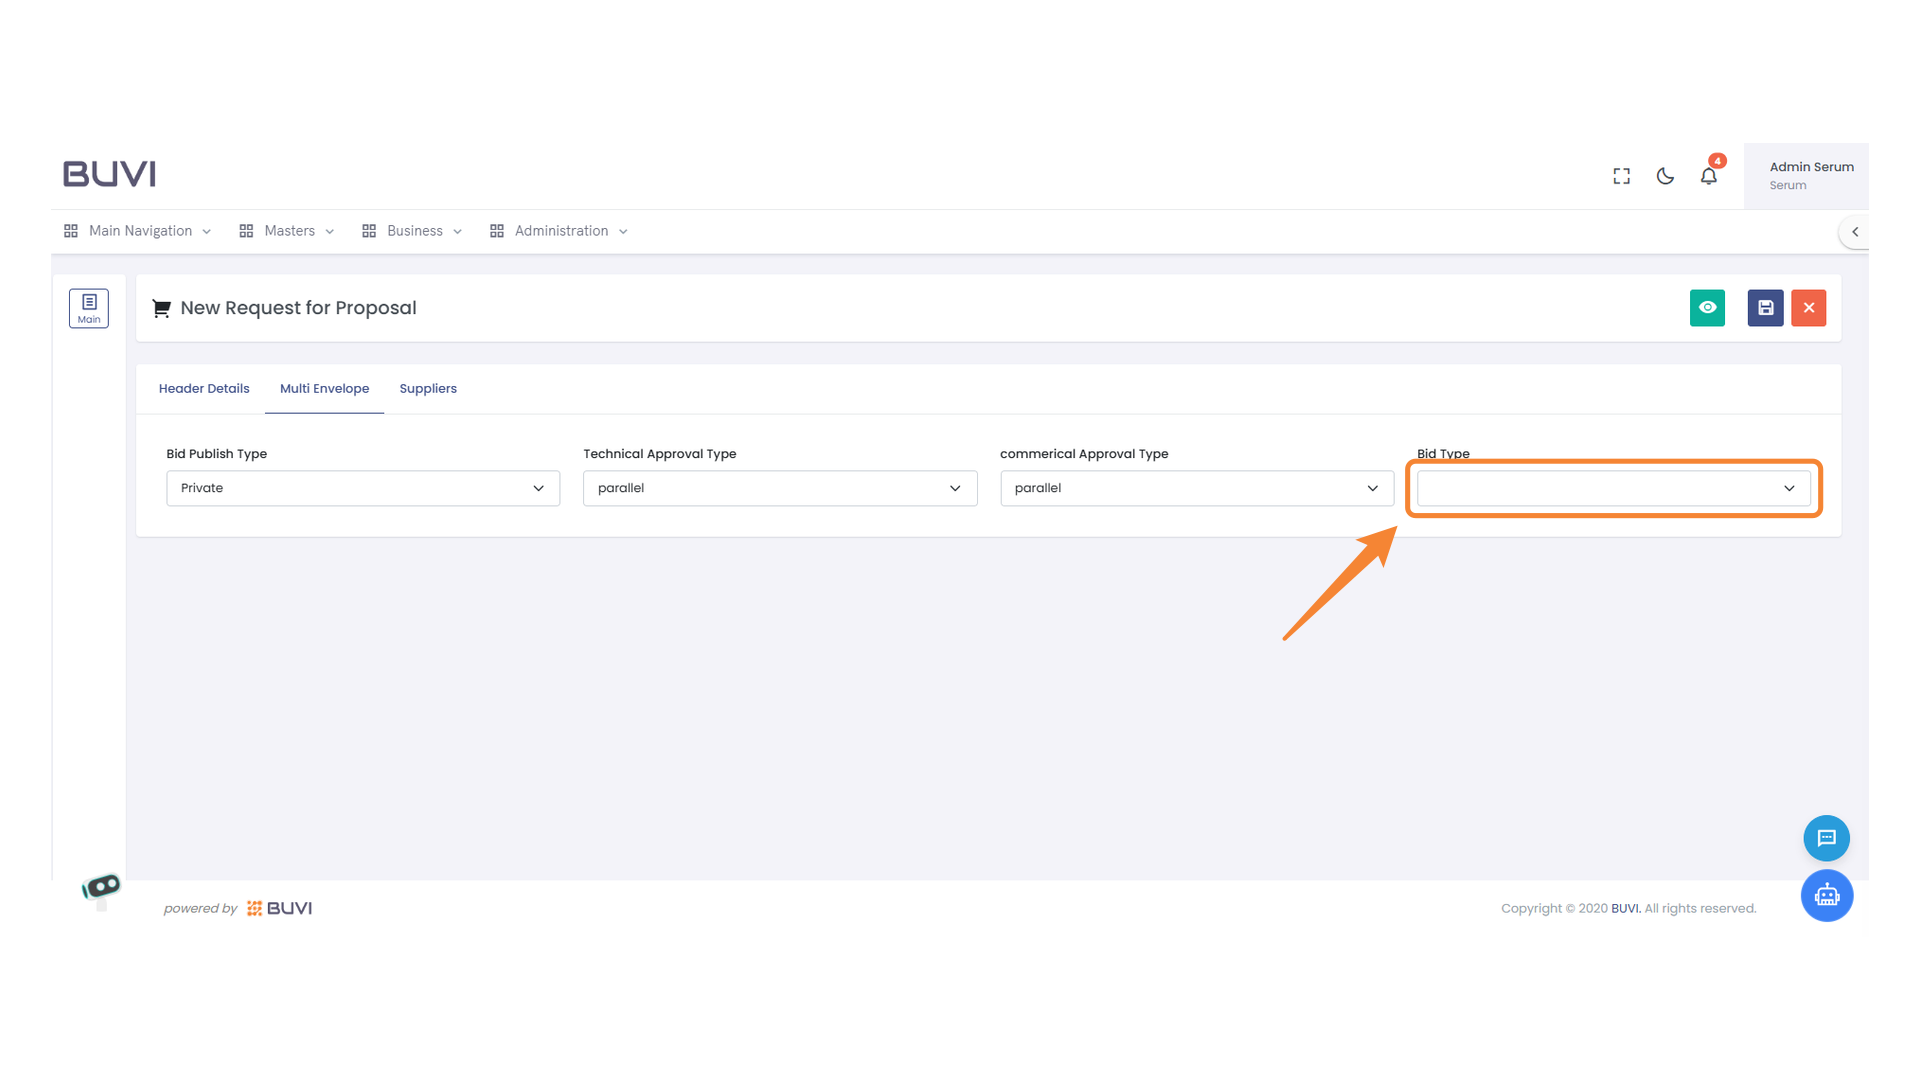
13. Bid Type Selection
Choose the appropriate bid type from the dropdown list.
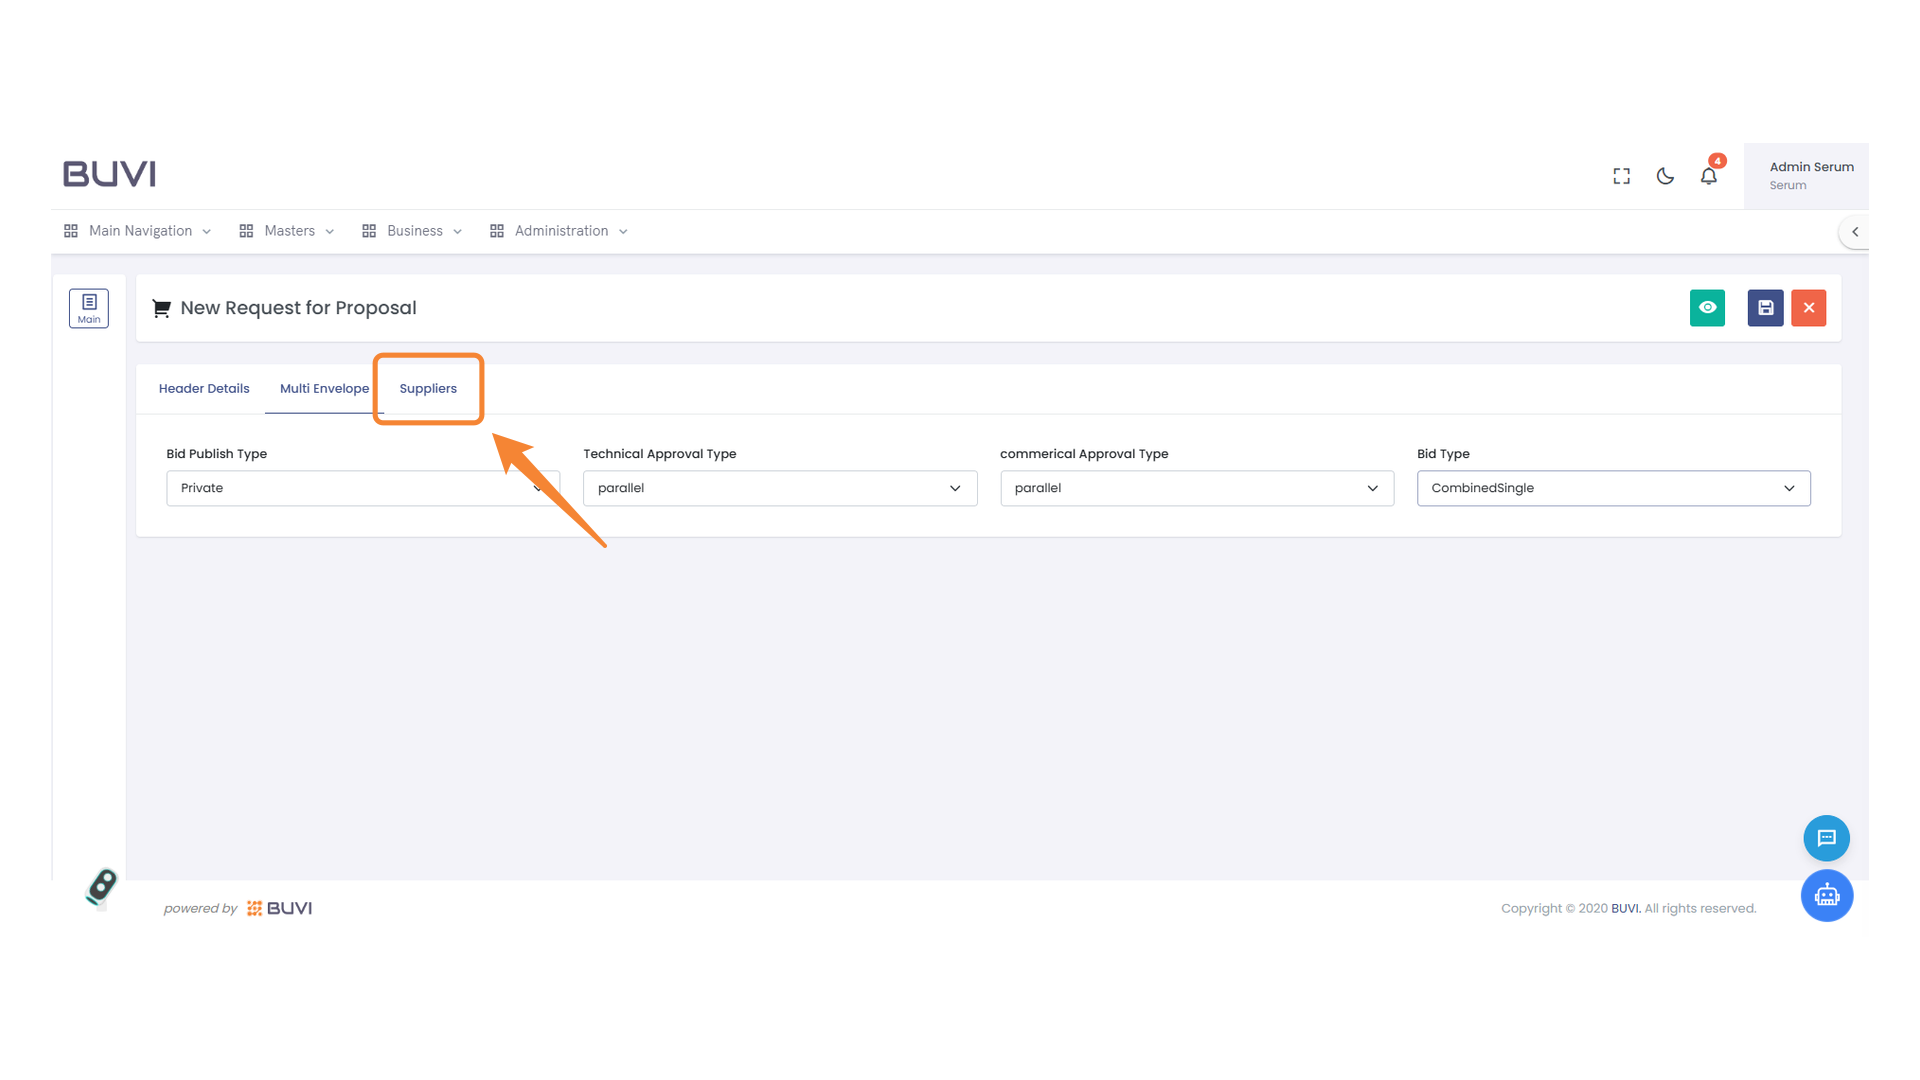
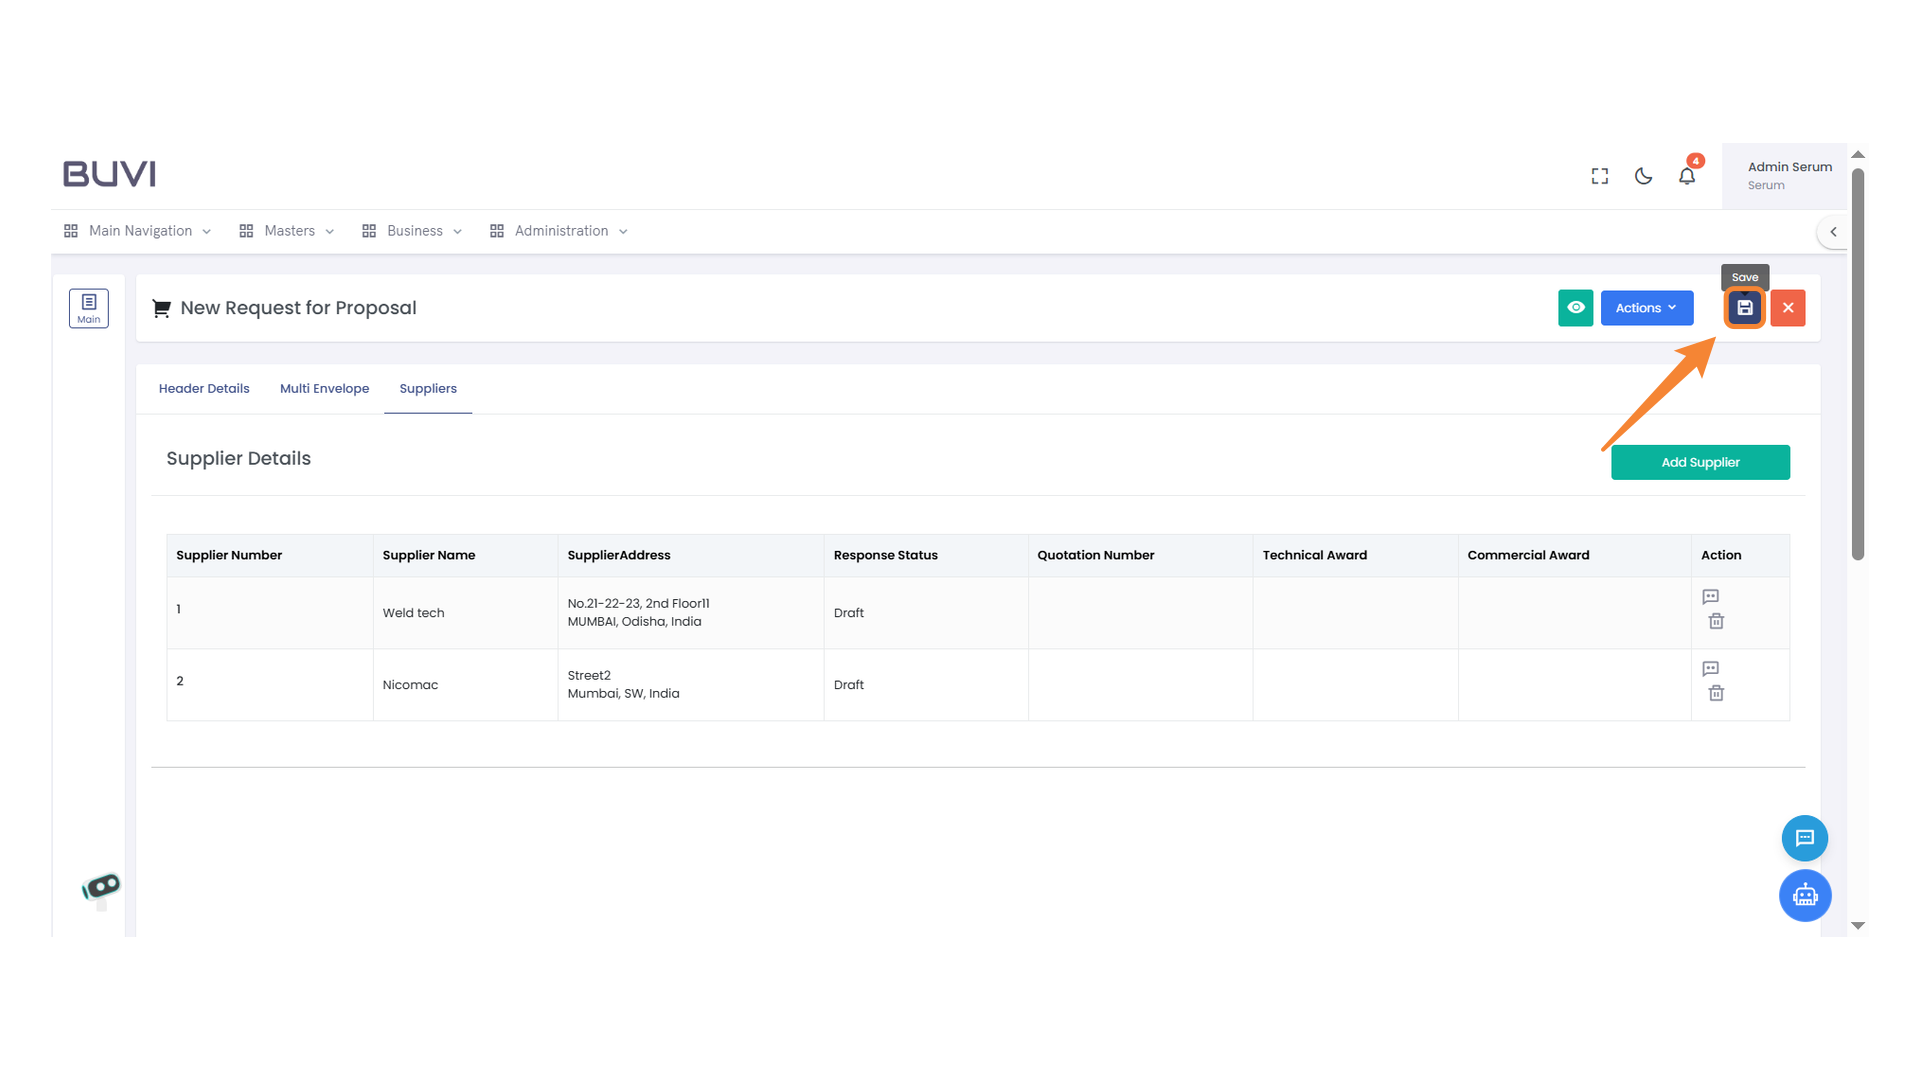
14. Suppliers Tab Selection
Click to view and manage supplier information for the proposal.
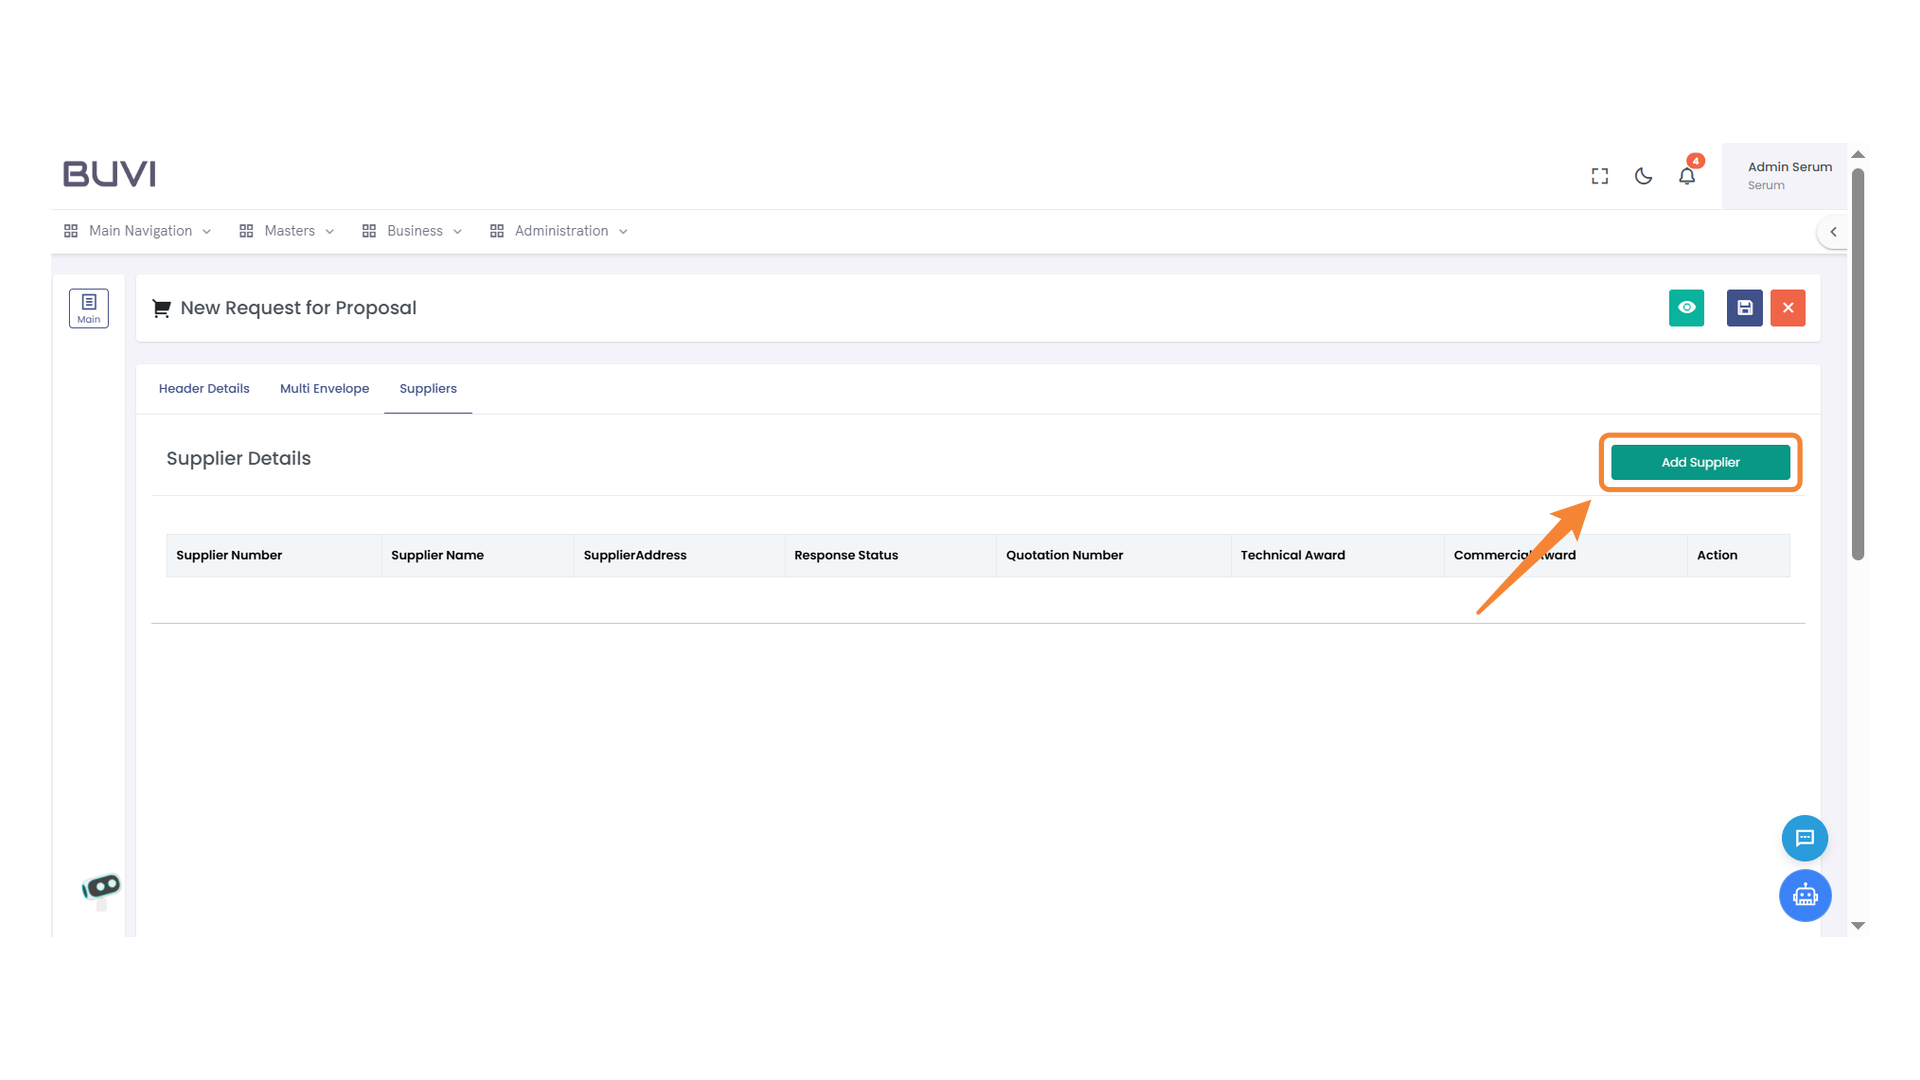
15. Add Supplier Button
Click to add a new supplier to the list.
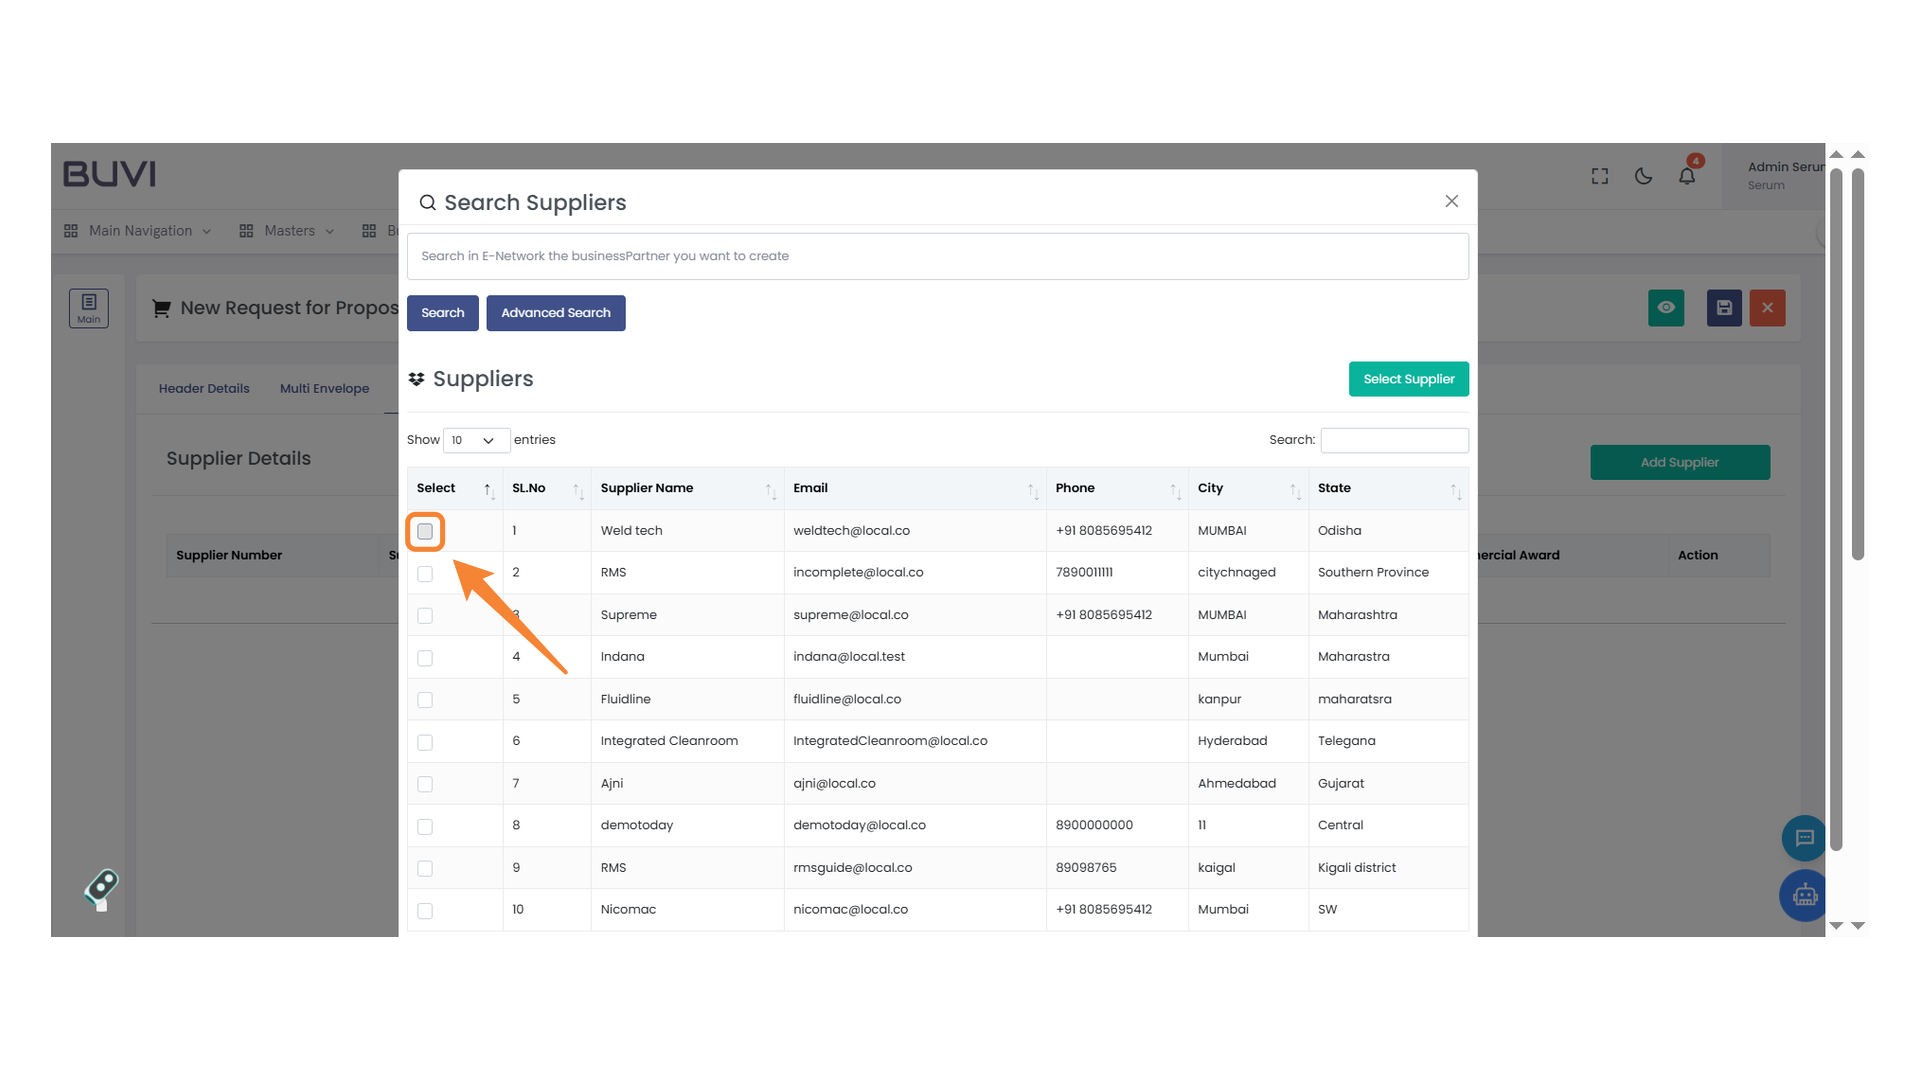
16. Supplier Selection Checkbox
Select this checkbox to choose the supplier from the list.
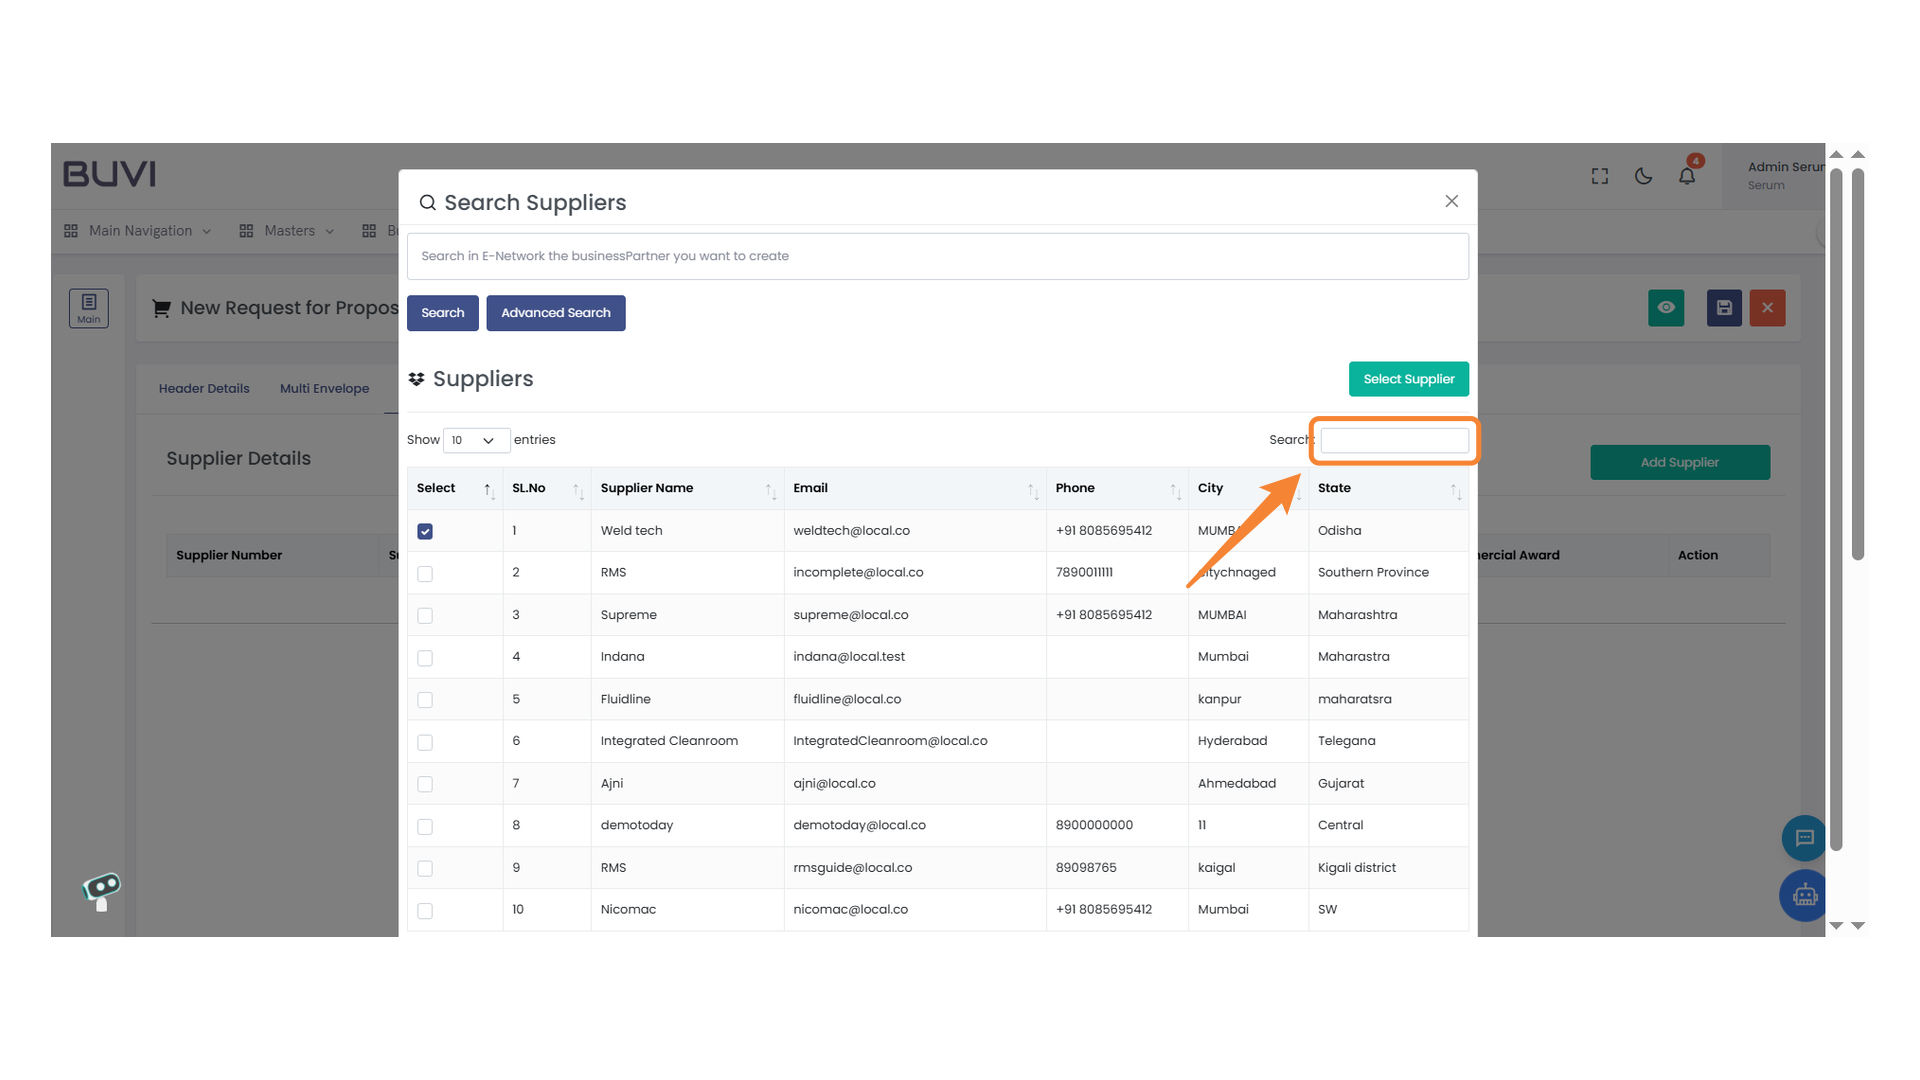
17. Search Field
Enter the search term to filter the supplier list.
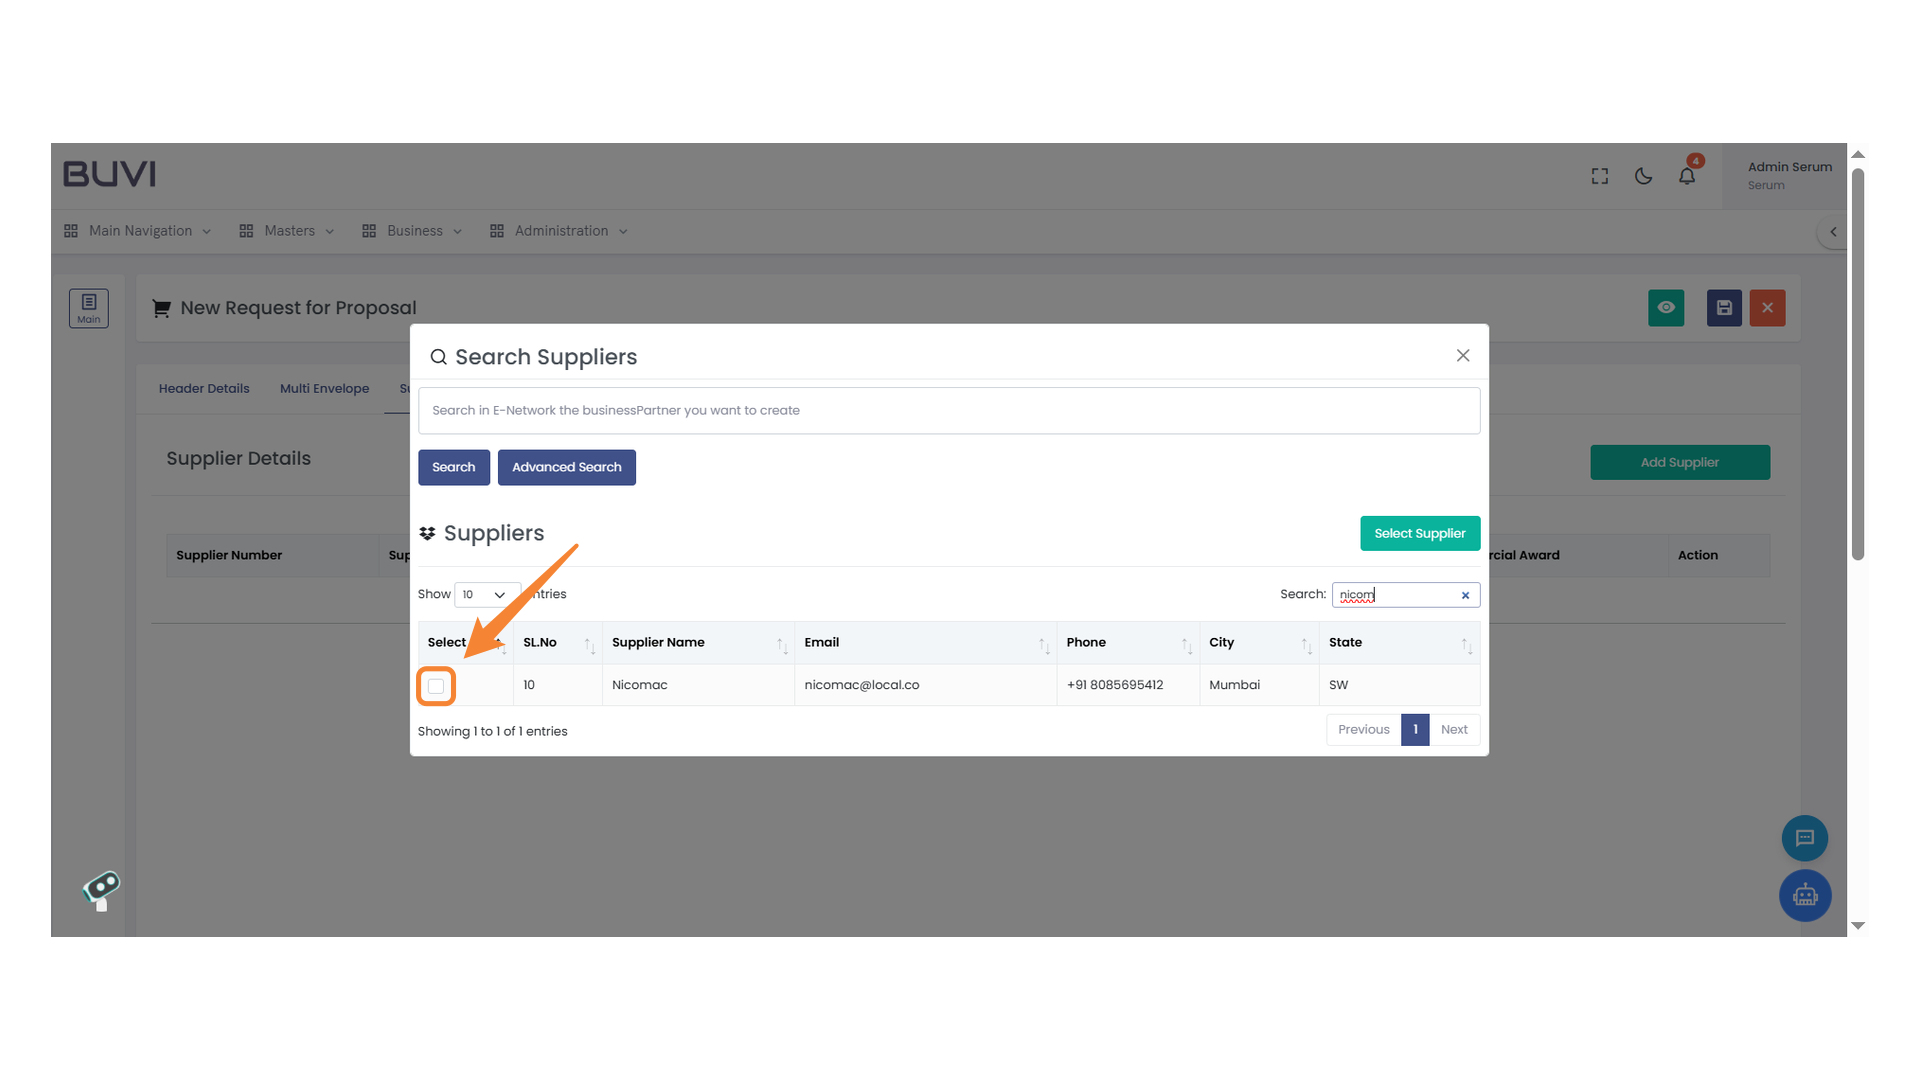
18. Checkbox Selection
Click the checkbox to select a supplier.
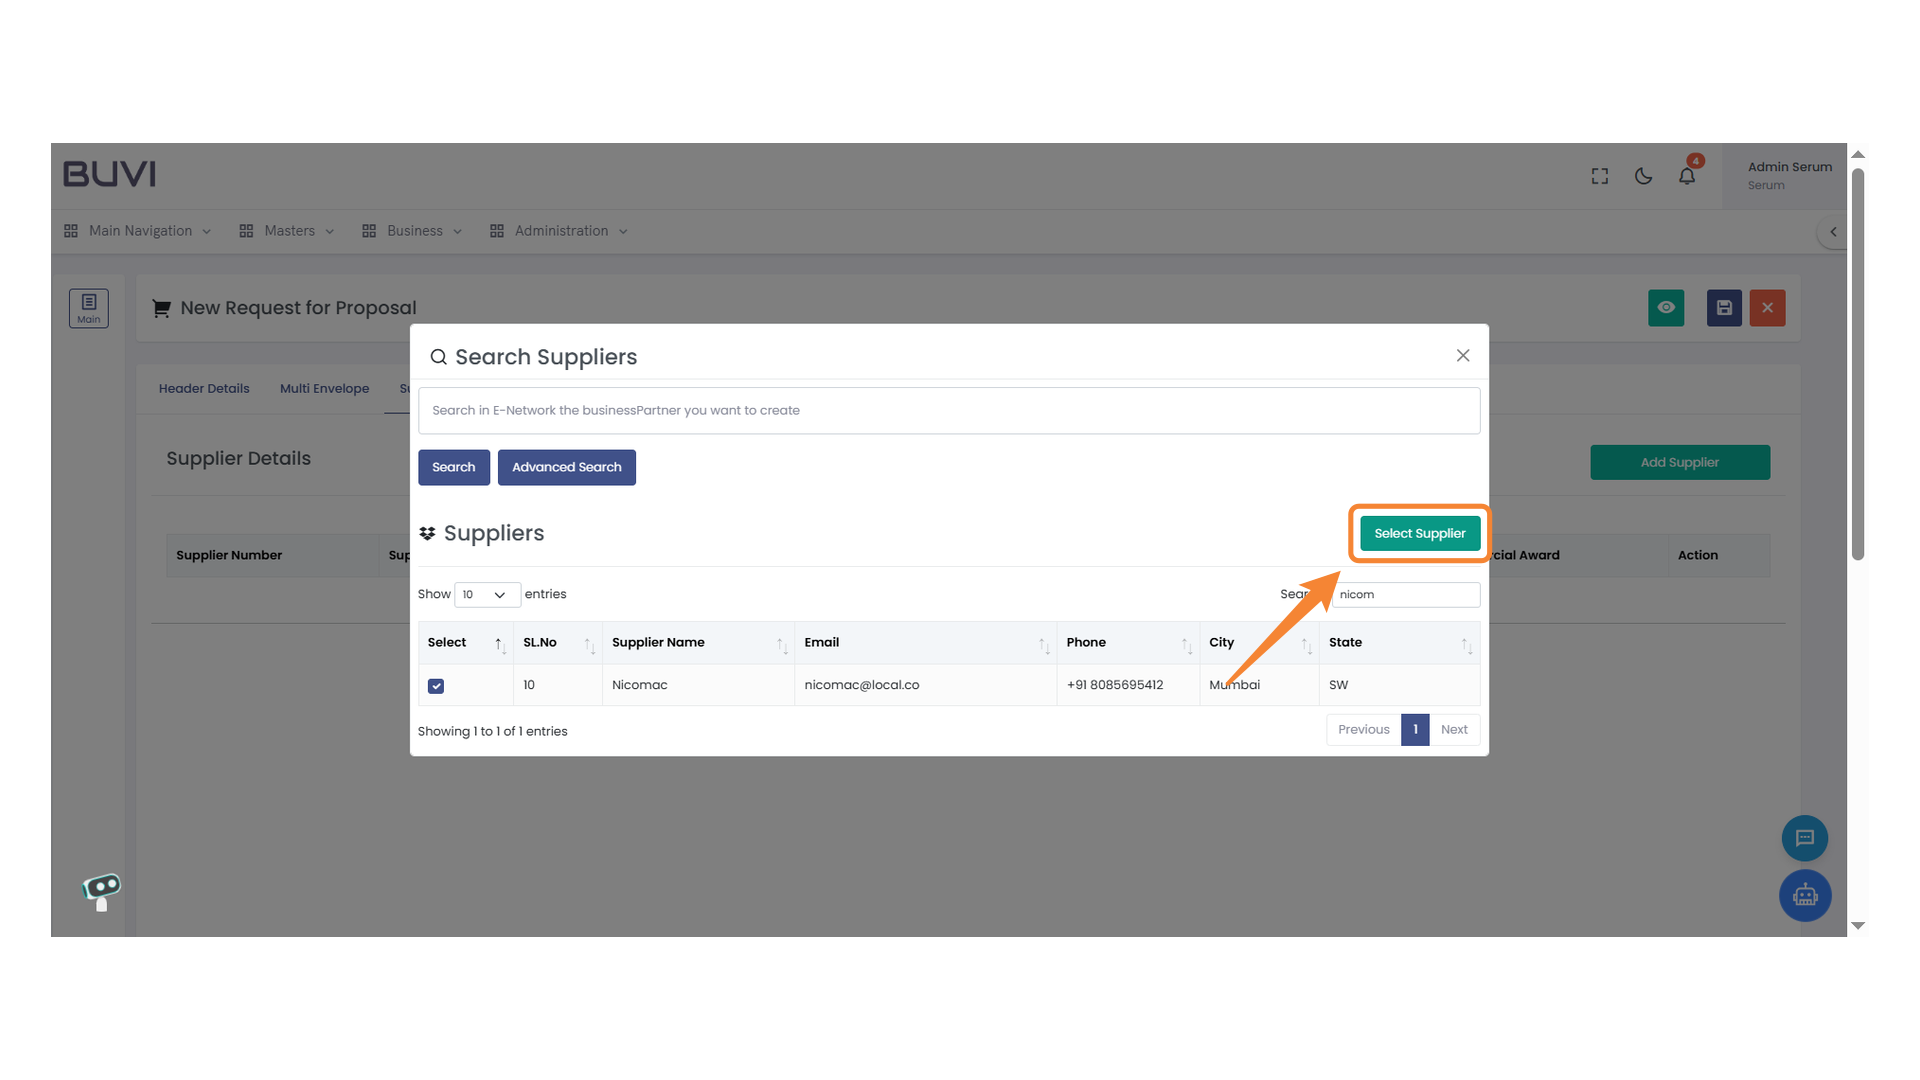
19. Select Supplier Button
Click to choose the highlighted supplier for your request.
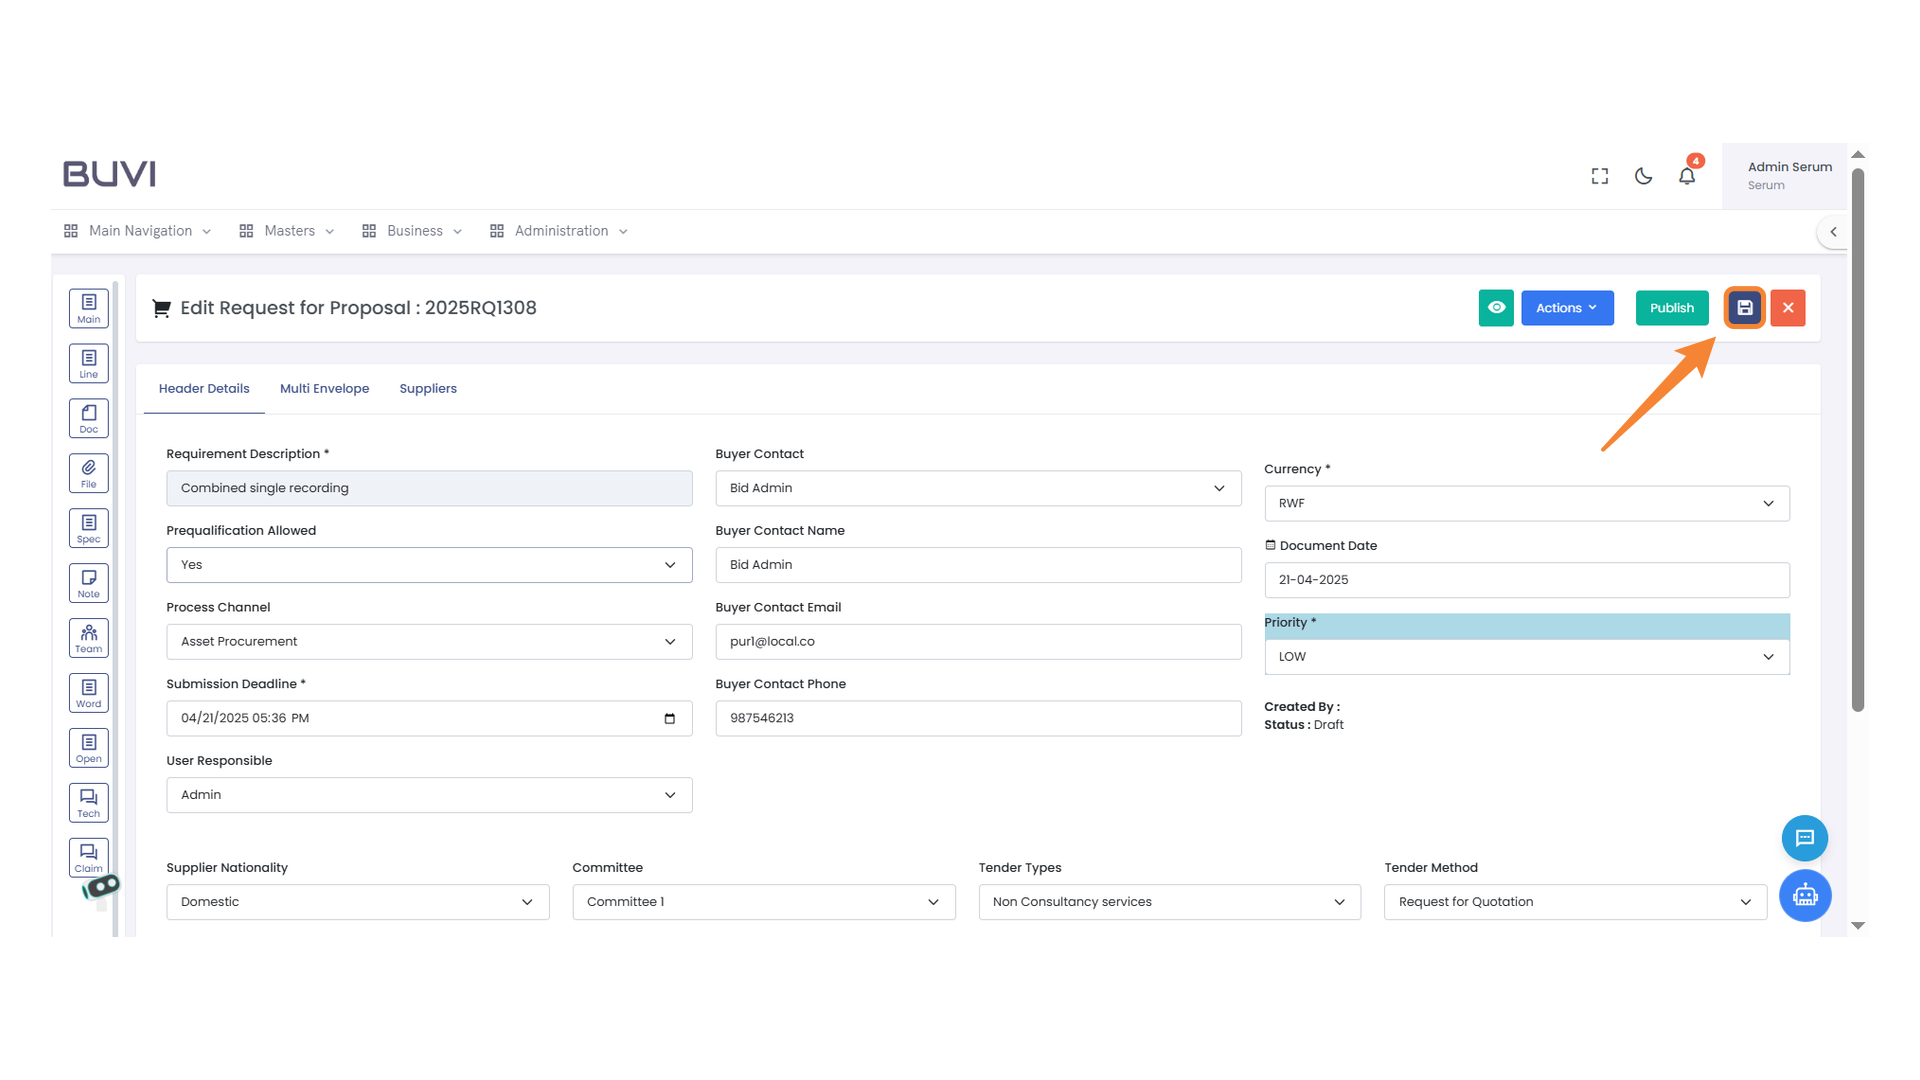
20. Save Button
Click to save your changes in the system.
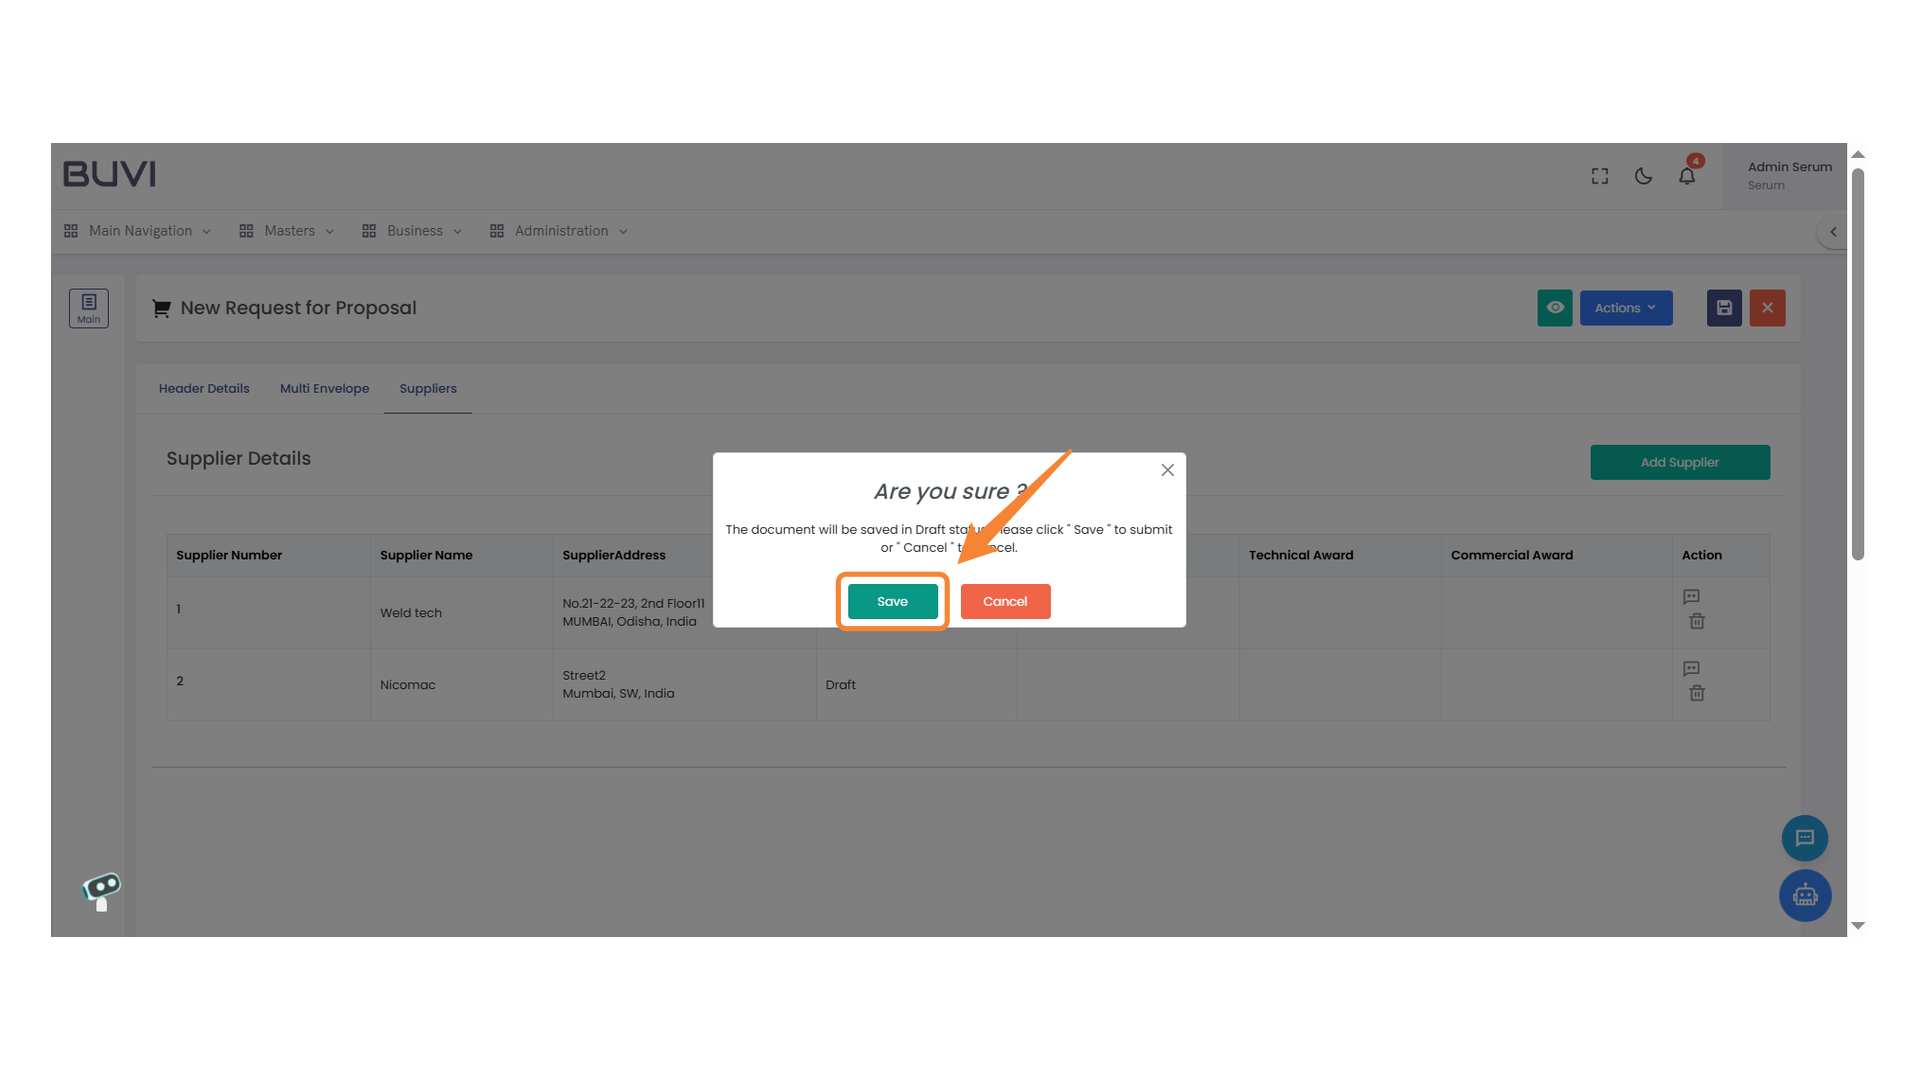
21. Save Confirmation Dialog
Click 'Save' to store your changes or 'Cancel' to discard them.
22. Multi Envelope Tab
Access detailed multi-envelope request settings.
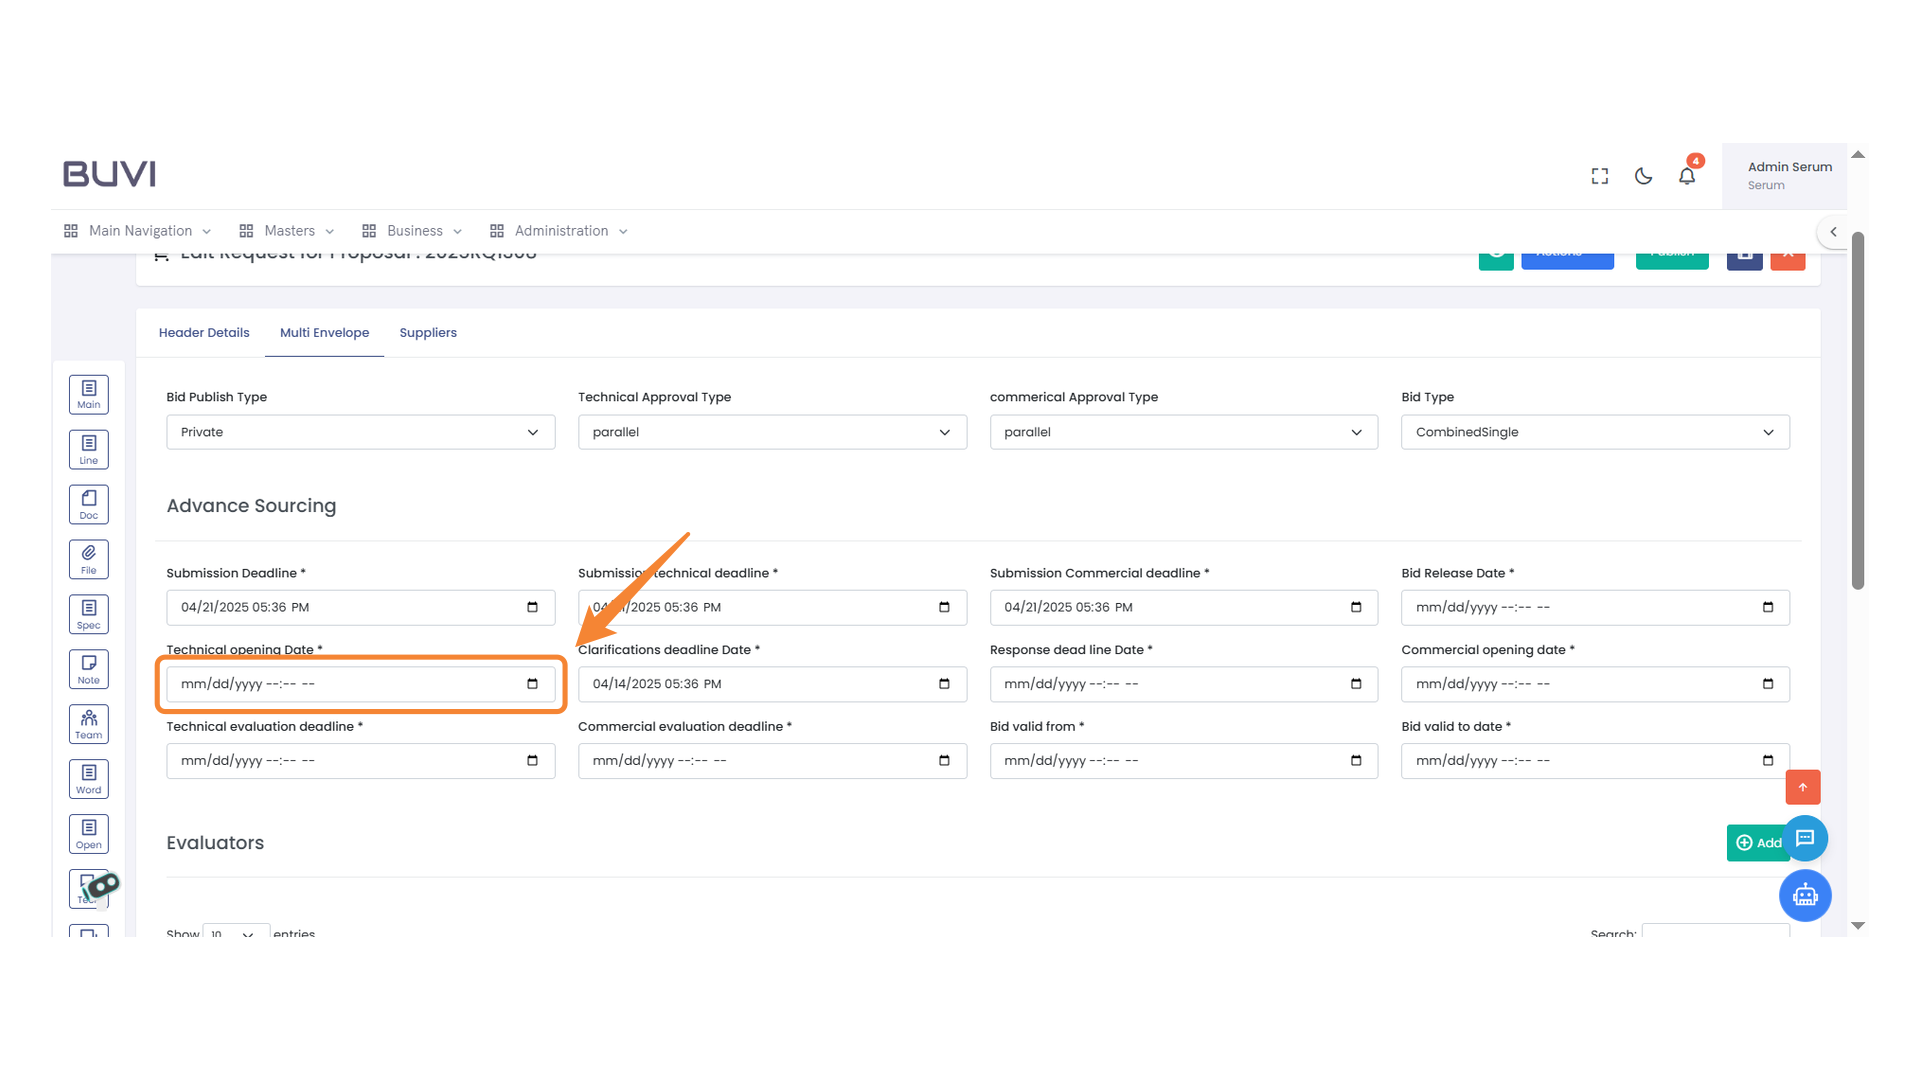
23. Technical Opening Date Input
Enter the date and time for the technical opening.
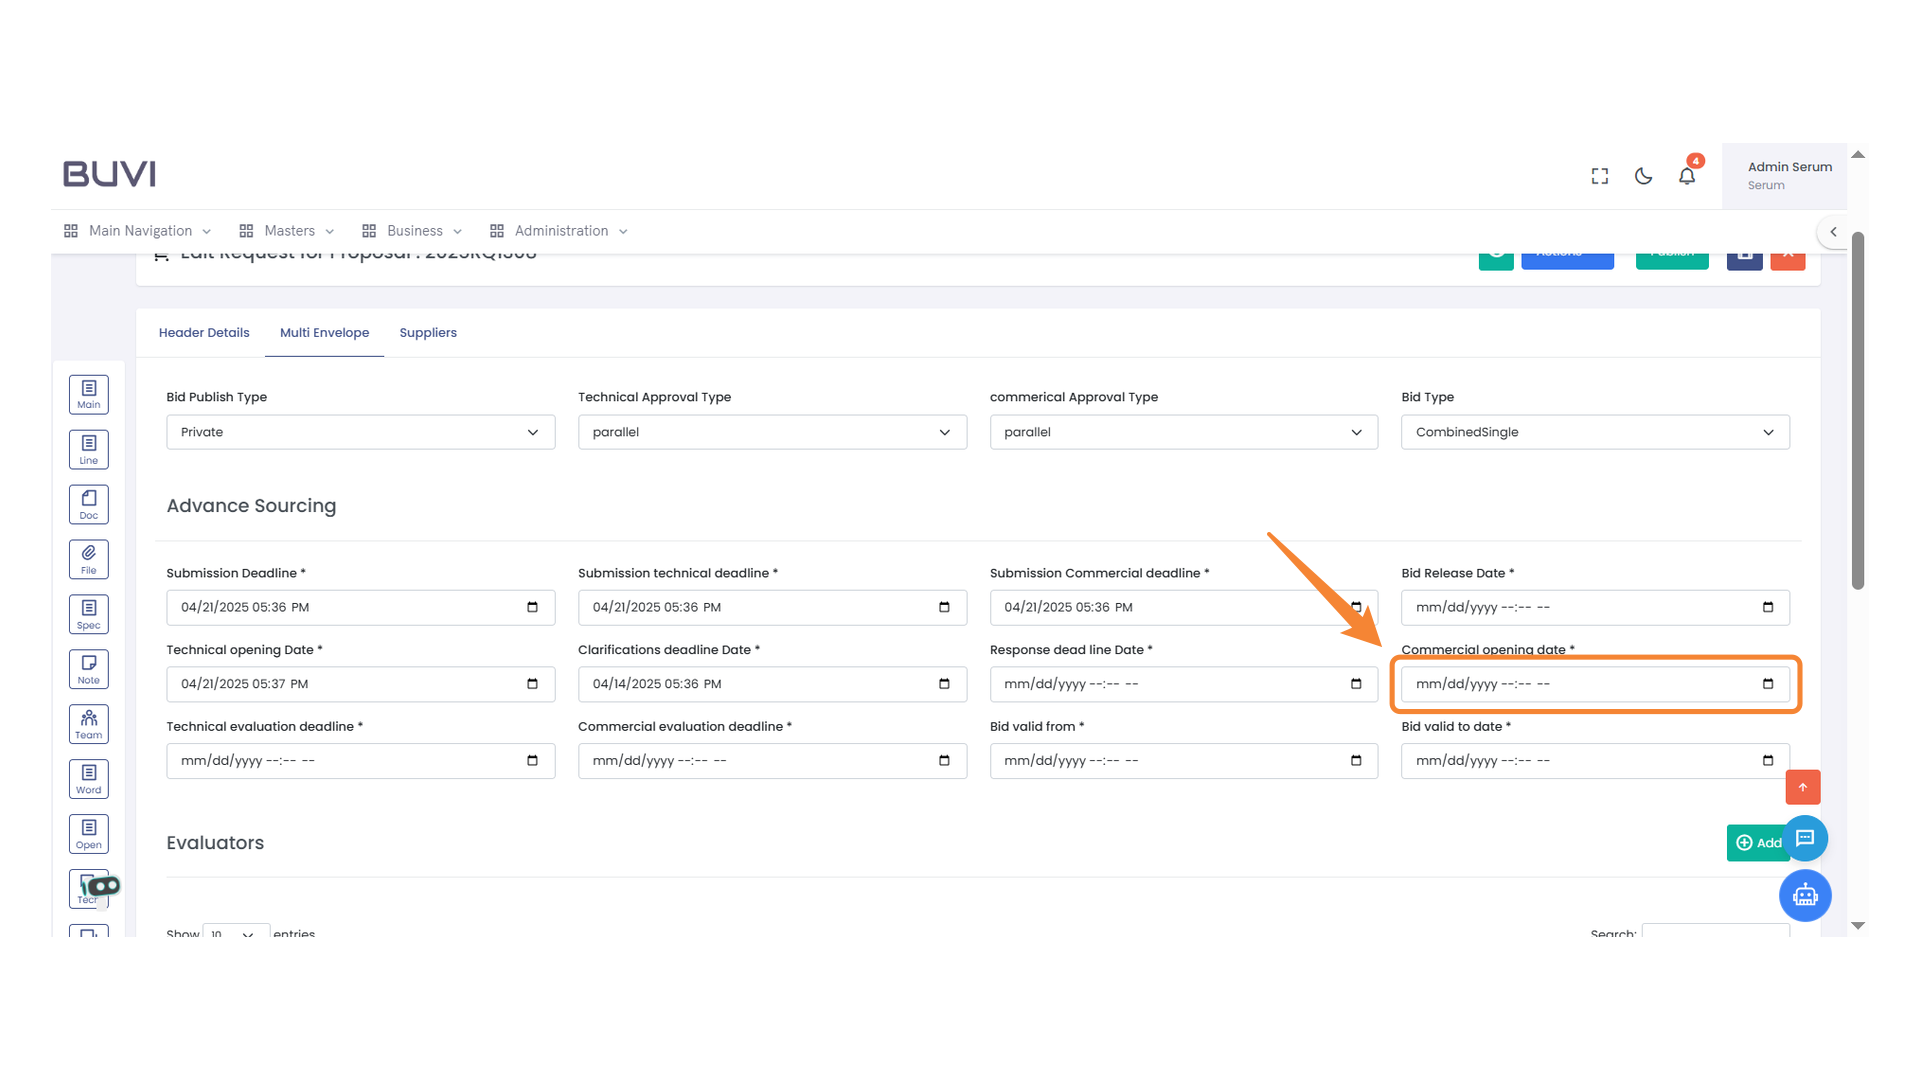
24. Commercial Opening Date Field
Enter the date and time for the commercial opening in the specified format.
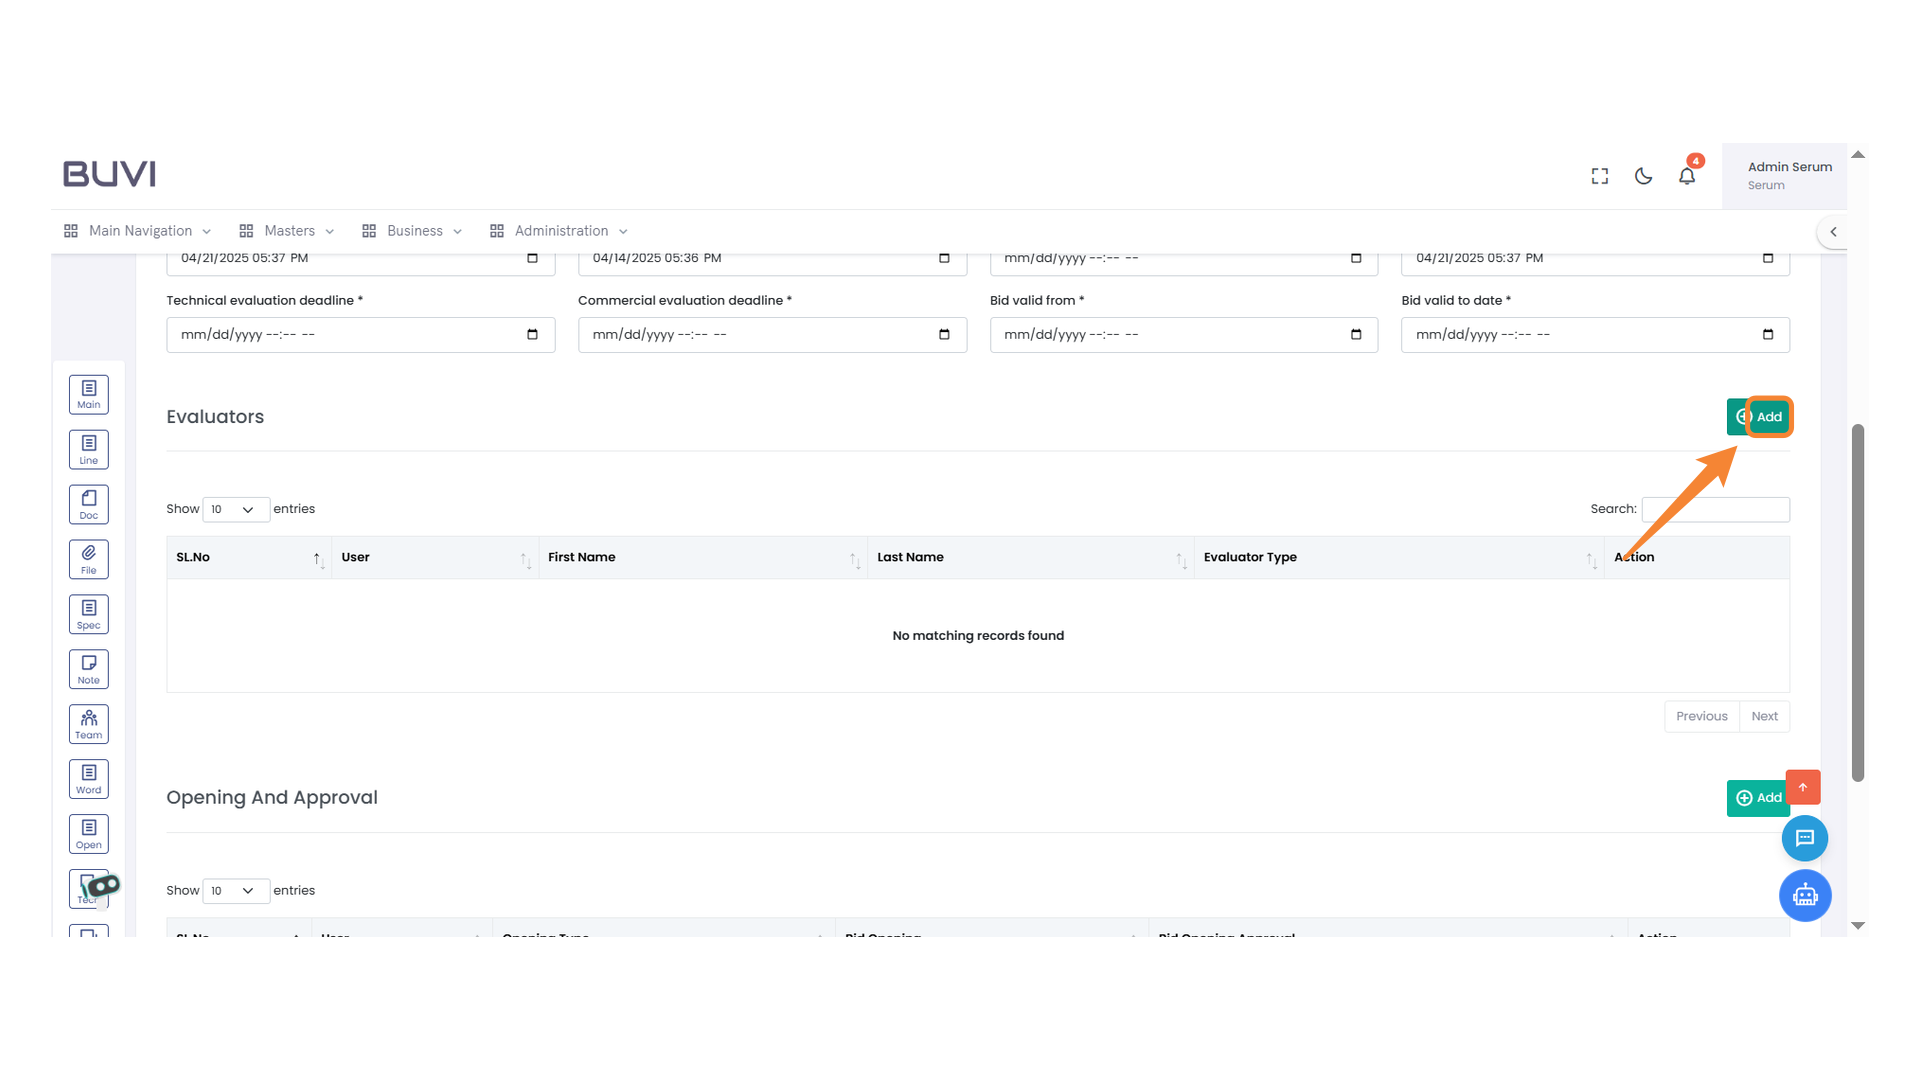
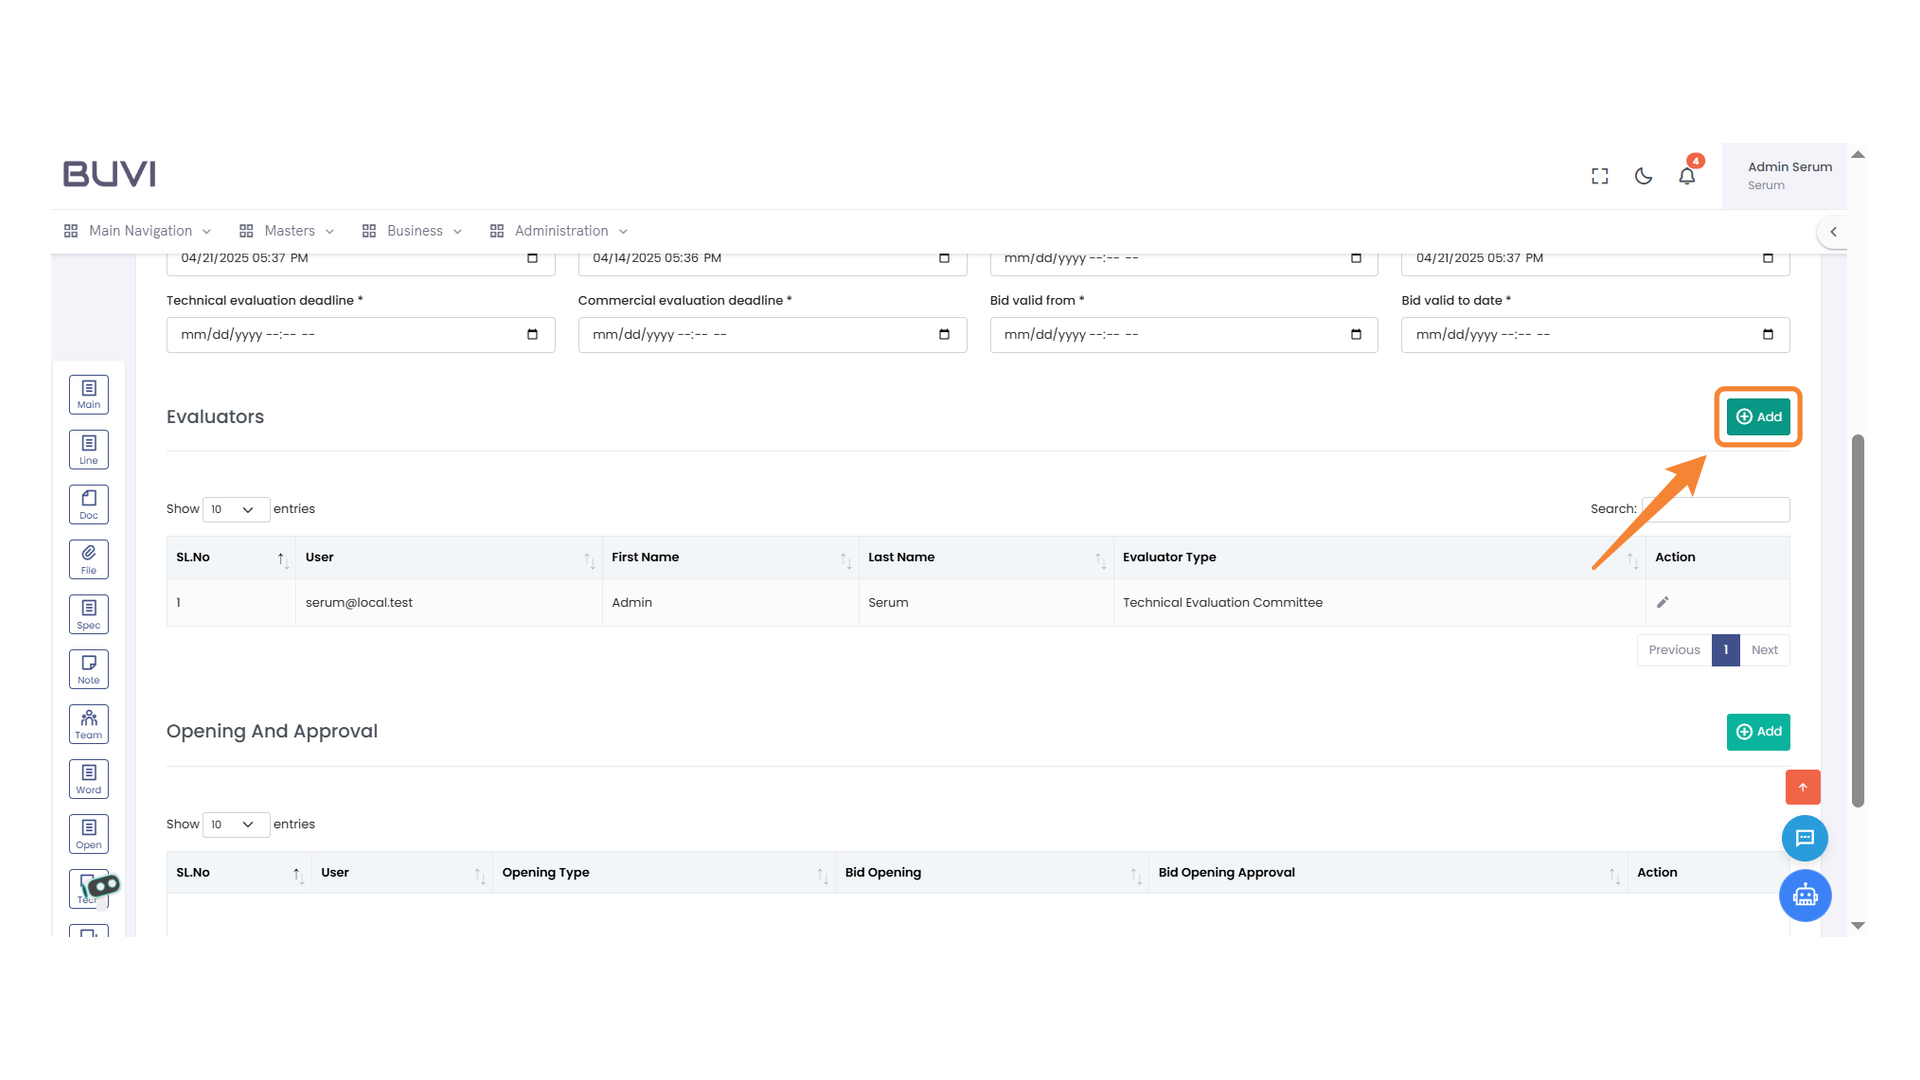
25. Add Button
Click to add a new entry to the list of evaluators.
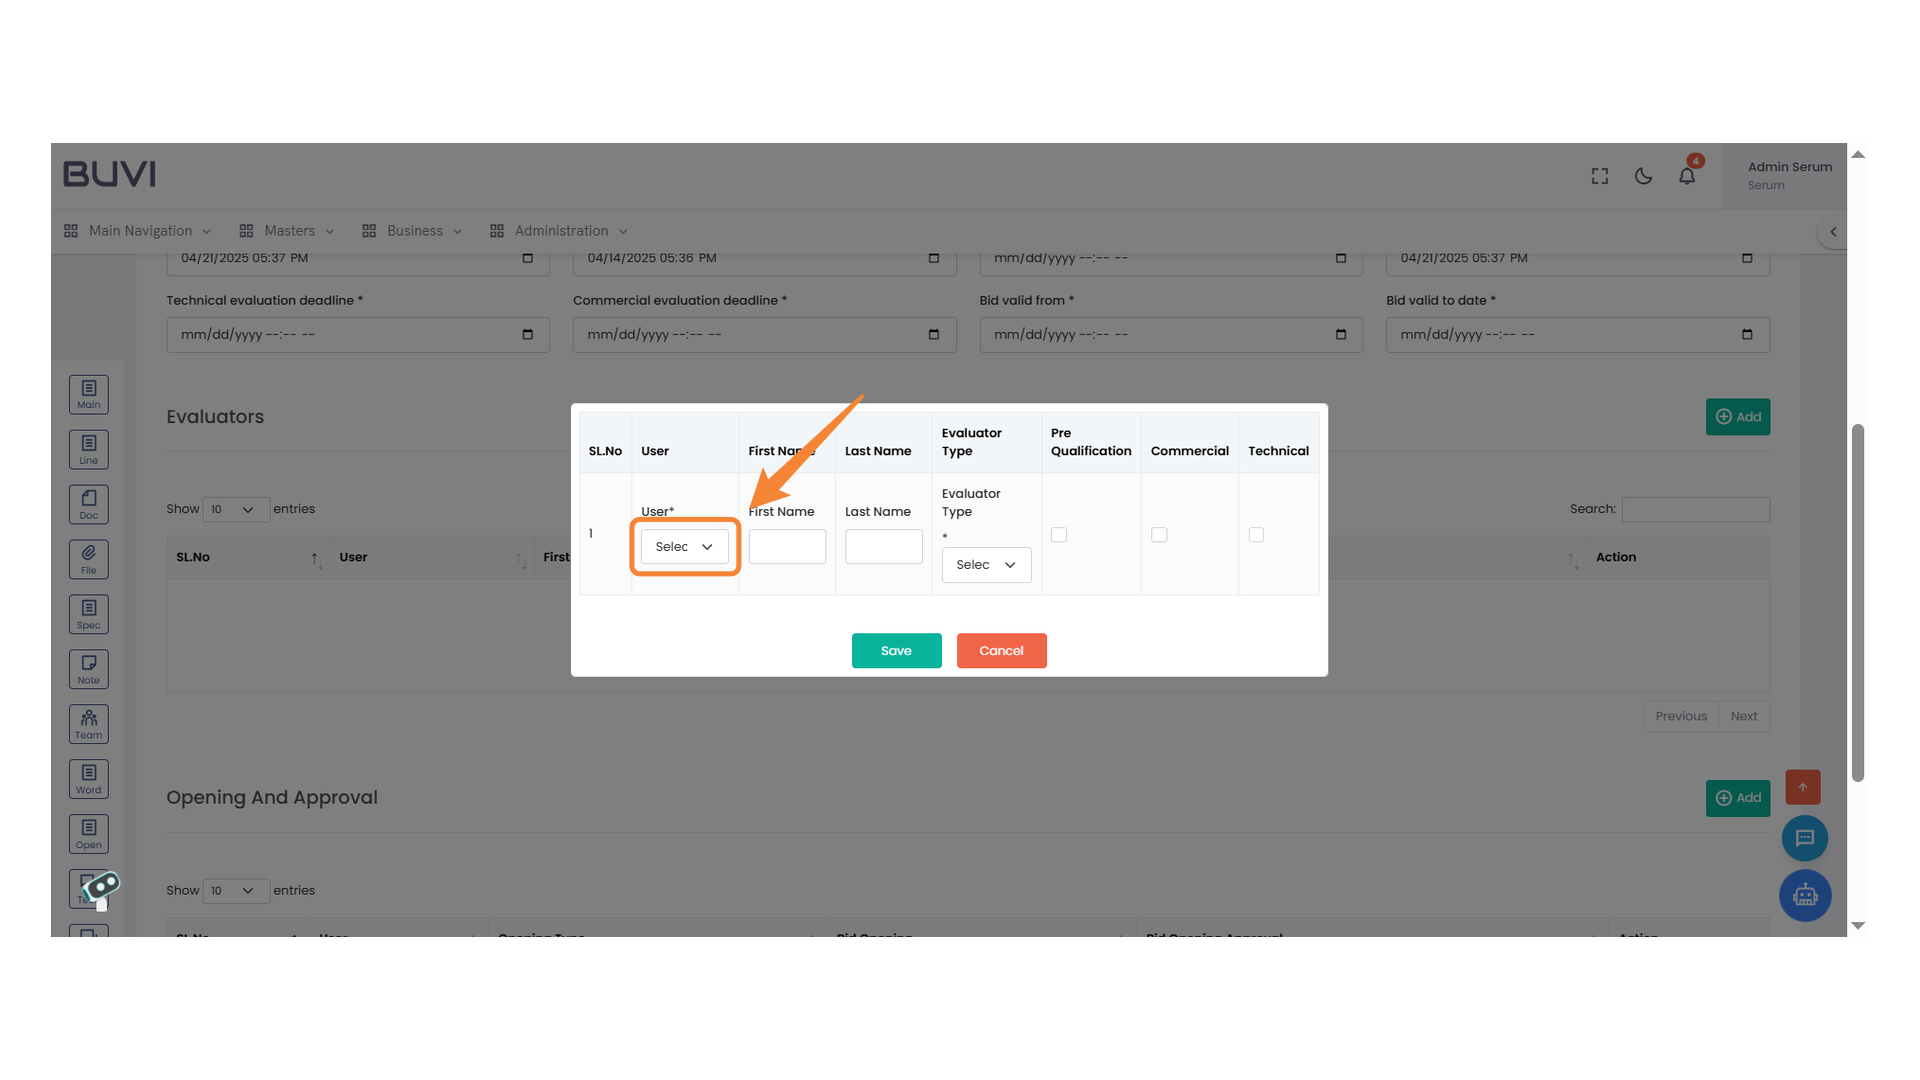
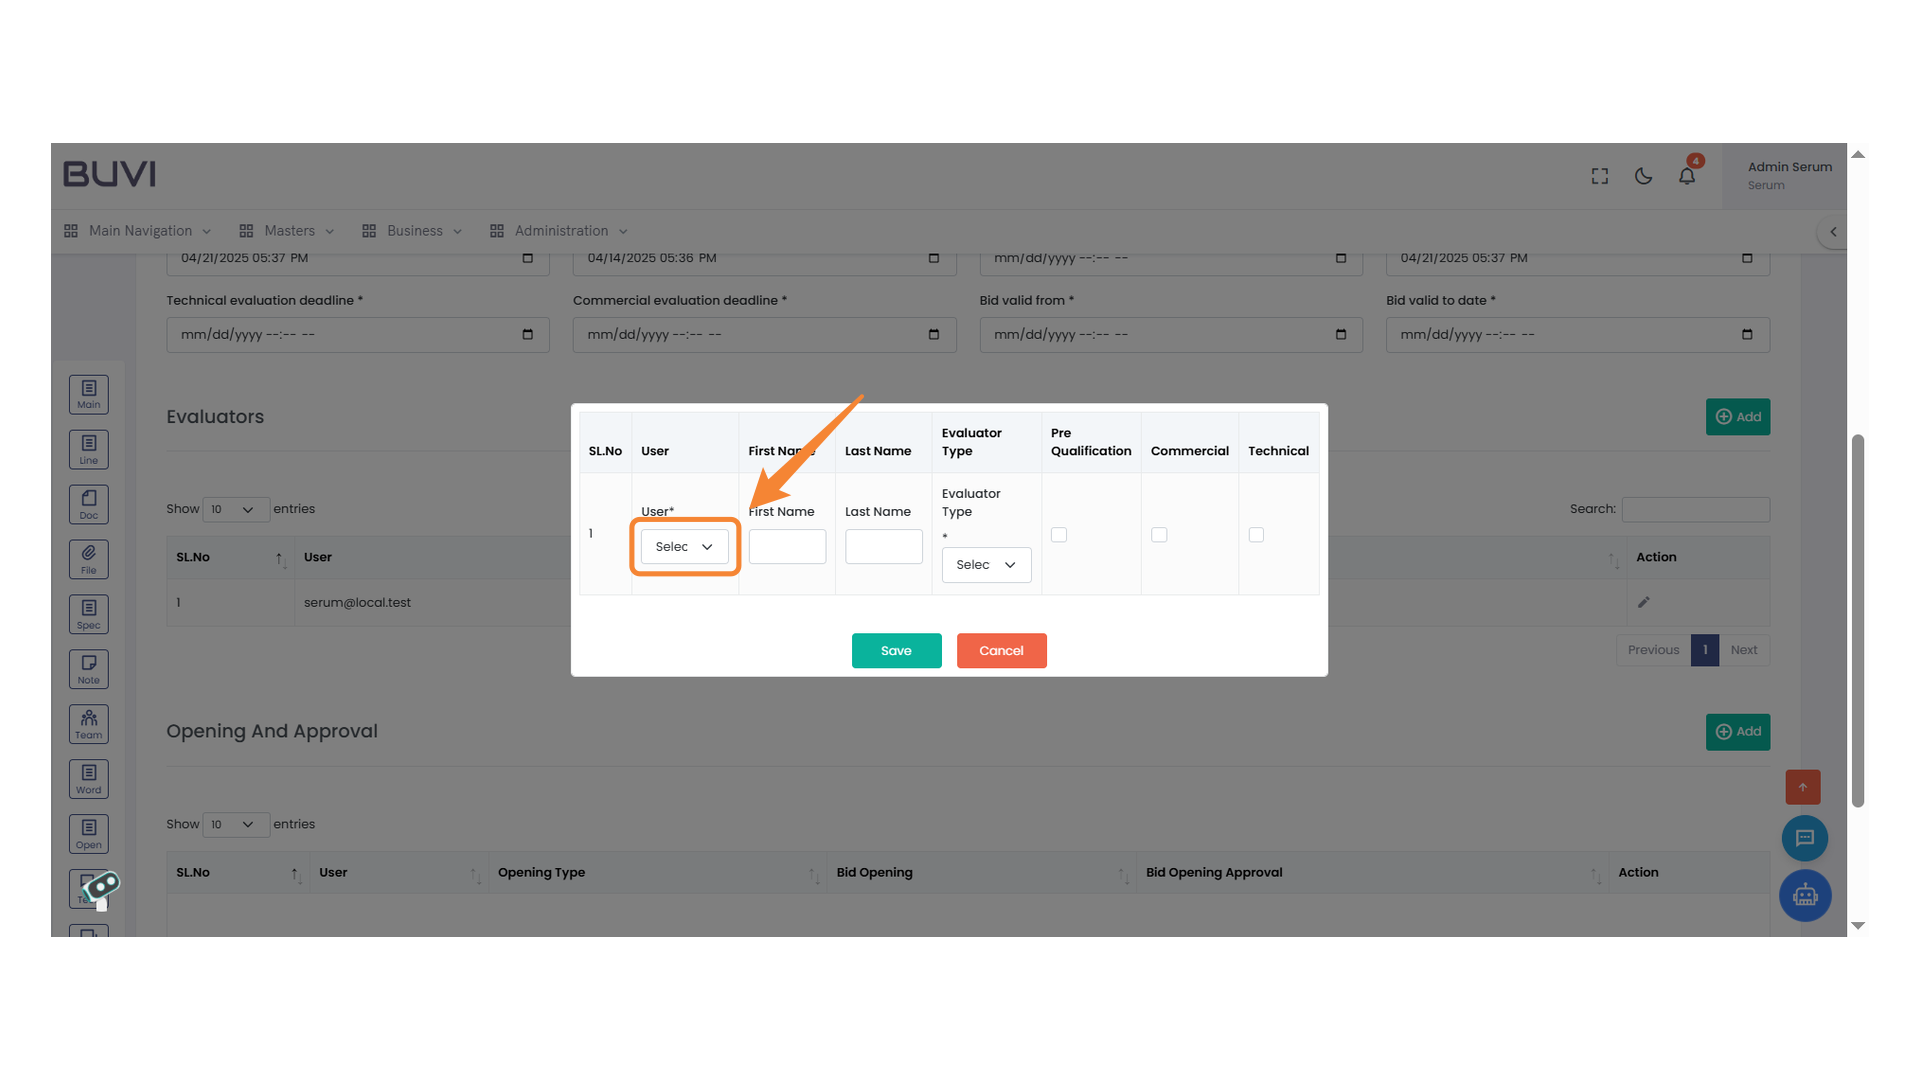
26. User Selection Dropdown Menu
Choose a user from the dropdown menu to assign their role and details.
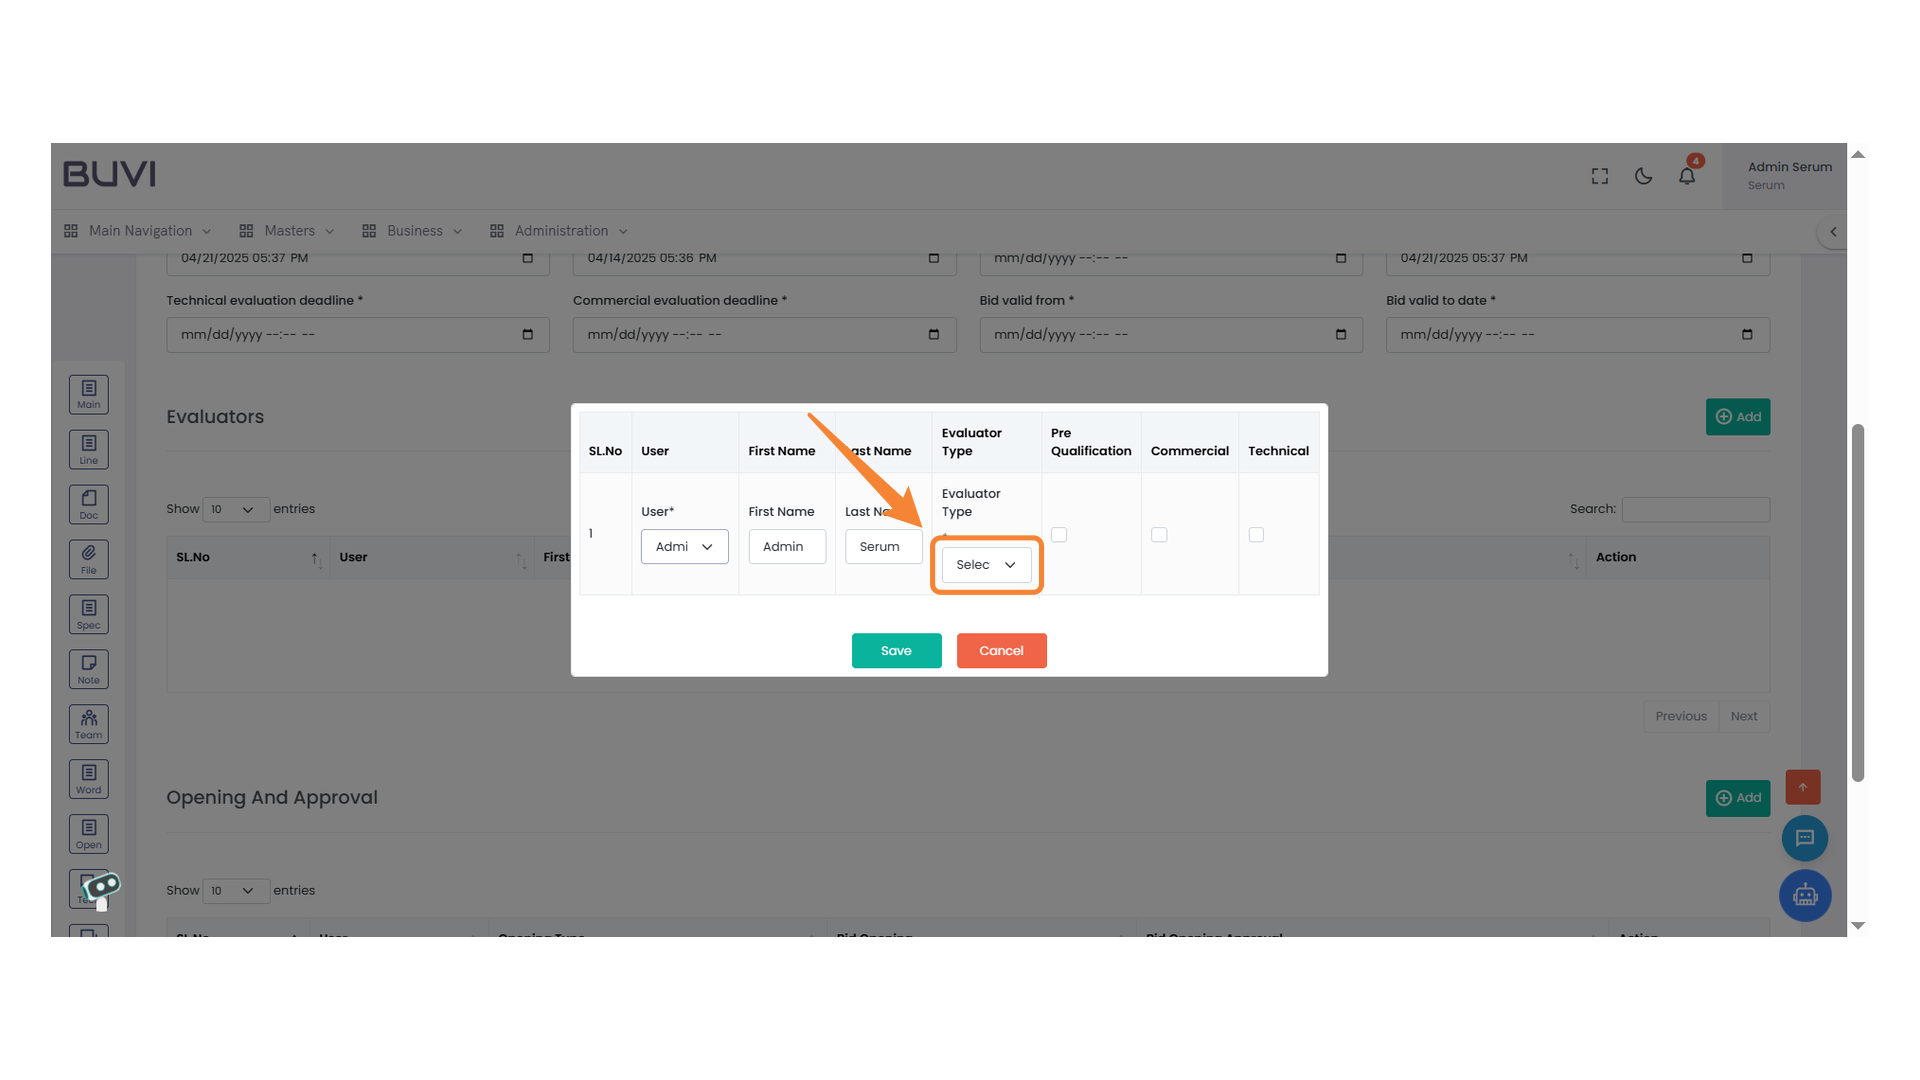
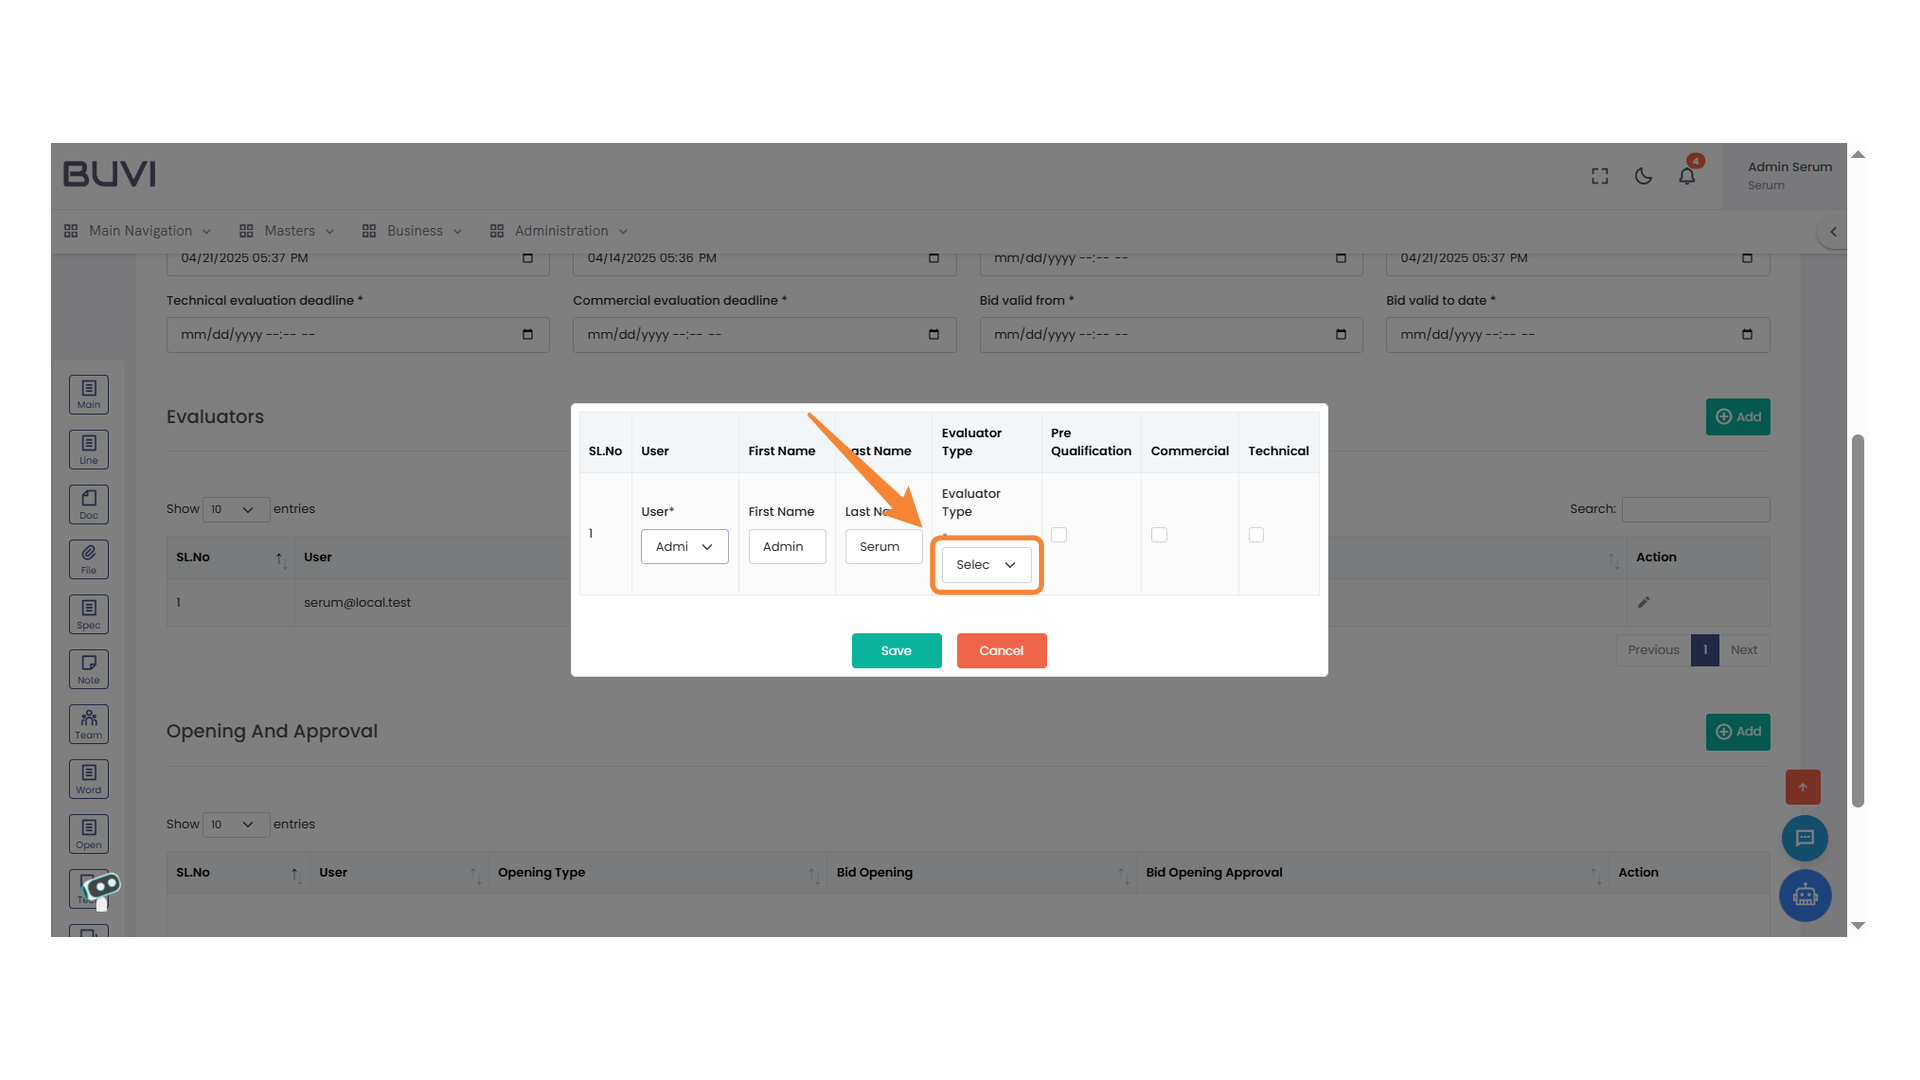
27. Evaluator Type Selection
Choose the appropriate evaluator type from the dropdown menu.
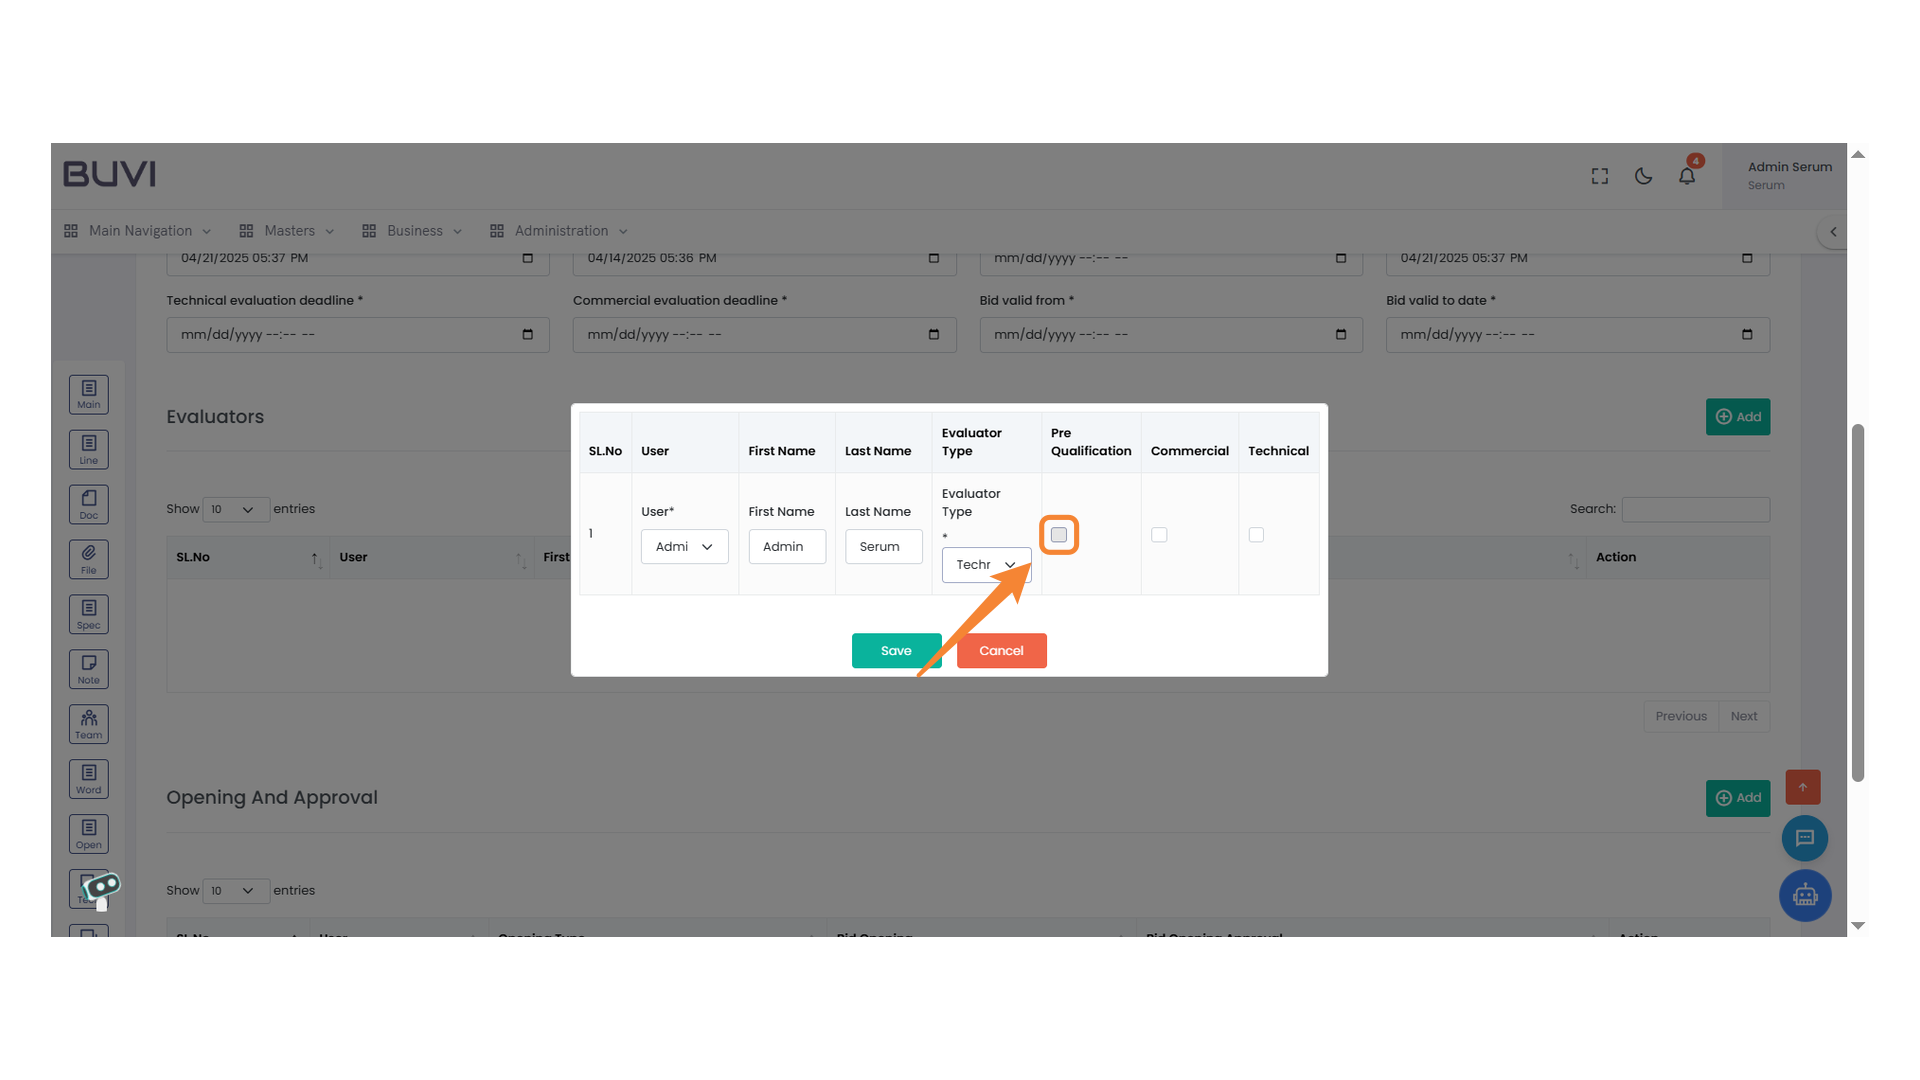
28. Checkbox for Pre-Qualification
Select the checkbox to mark this user for pre-qualification evaluation.
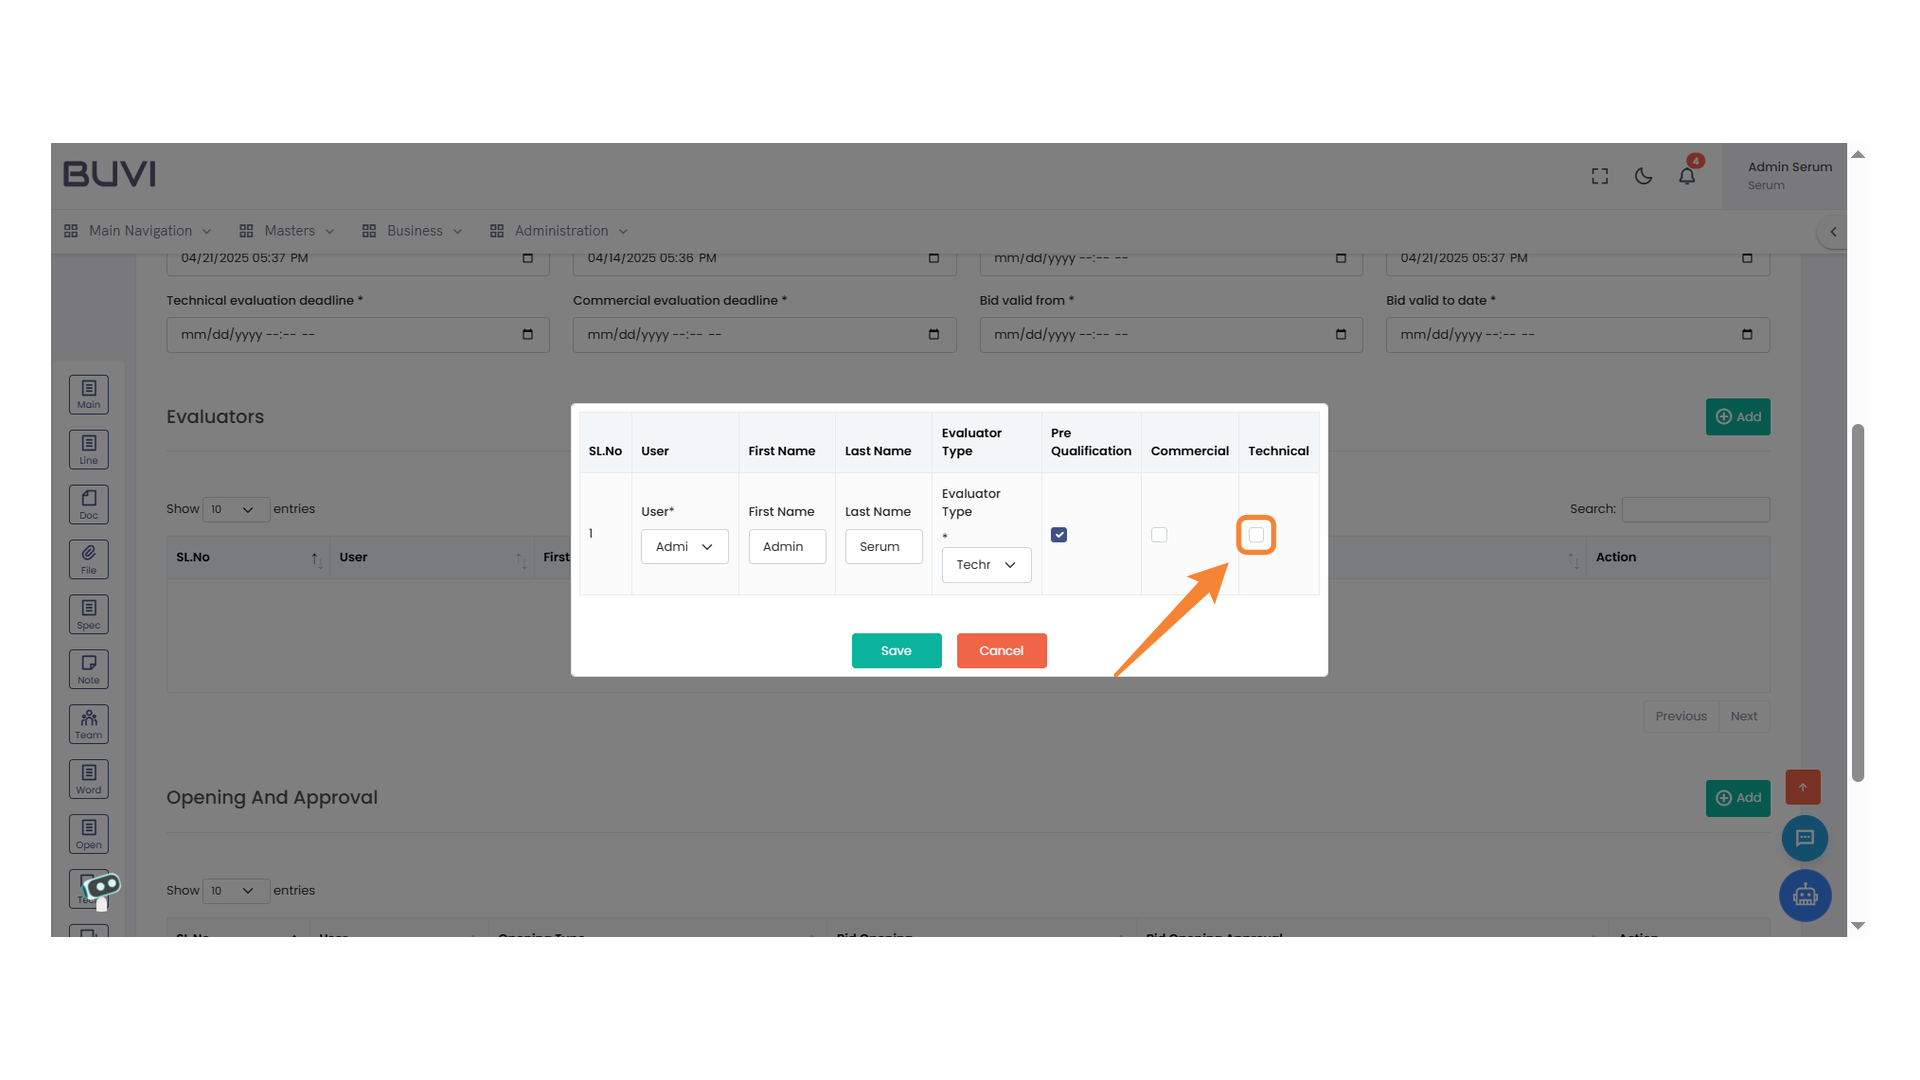
29. Technical Evaluation Checkbox
Select this checkbox to include the user in the technical evaluation criteria.
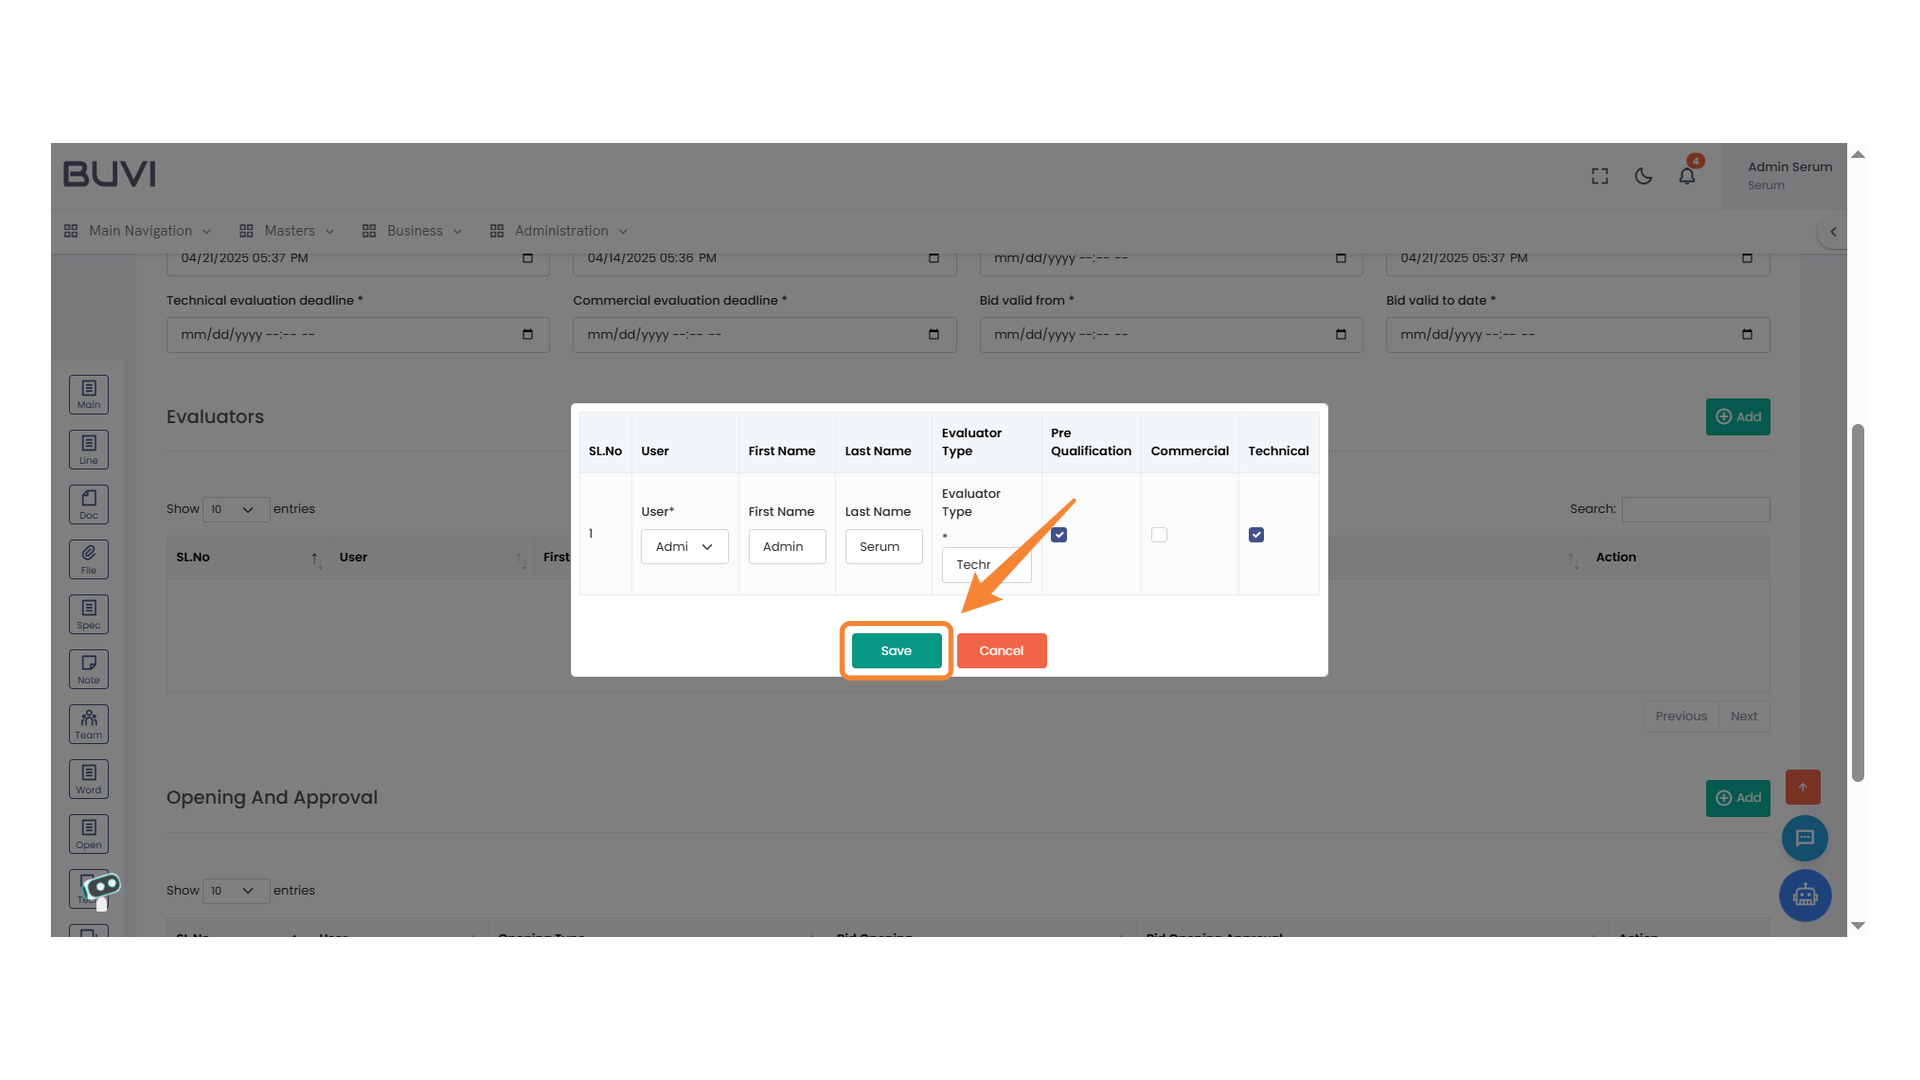
30. Save Button
Click the button to save your changes.
31. Add Button Confirmation
Press the '+' button to add a new entry.
32. User Selection Dropdown
Choose a user from the dropdown list to proceed.
33. Evaluator Type Selection
Select the appropriate evaluator type from the dropdown menu.
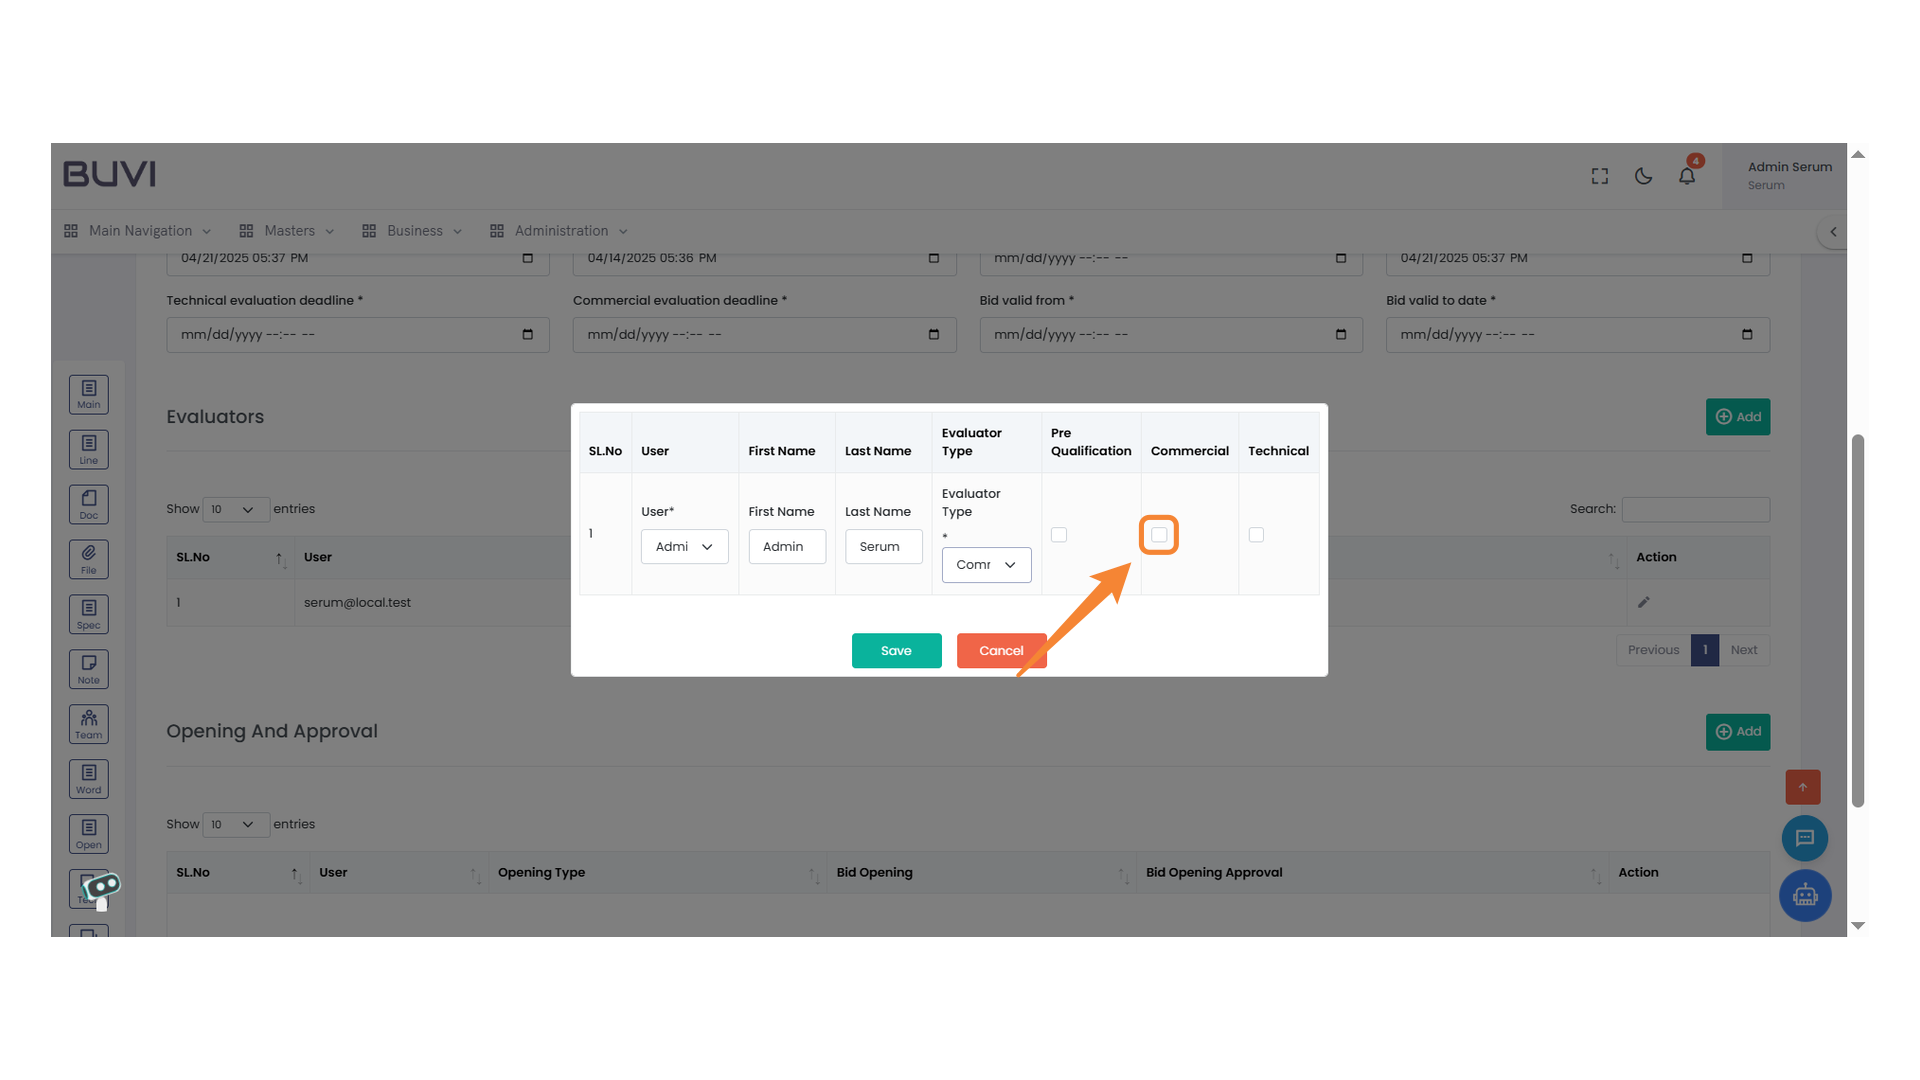
34. Commercial Evaluation Checkbox
Select this option to include the user in commercial evaluations.
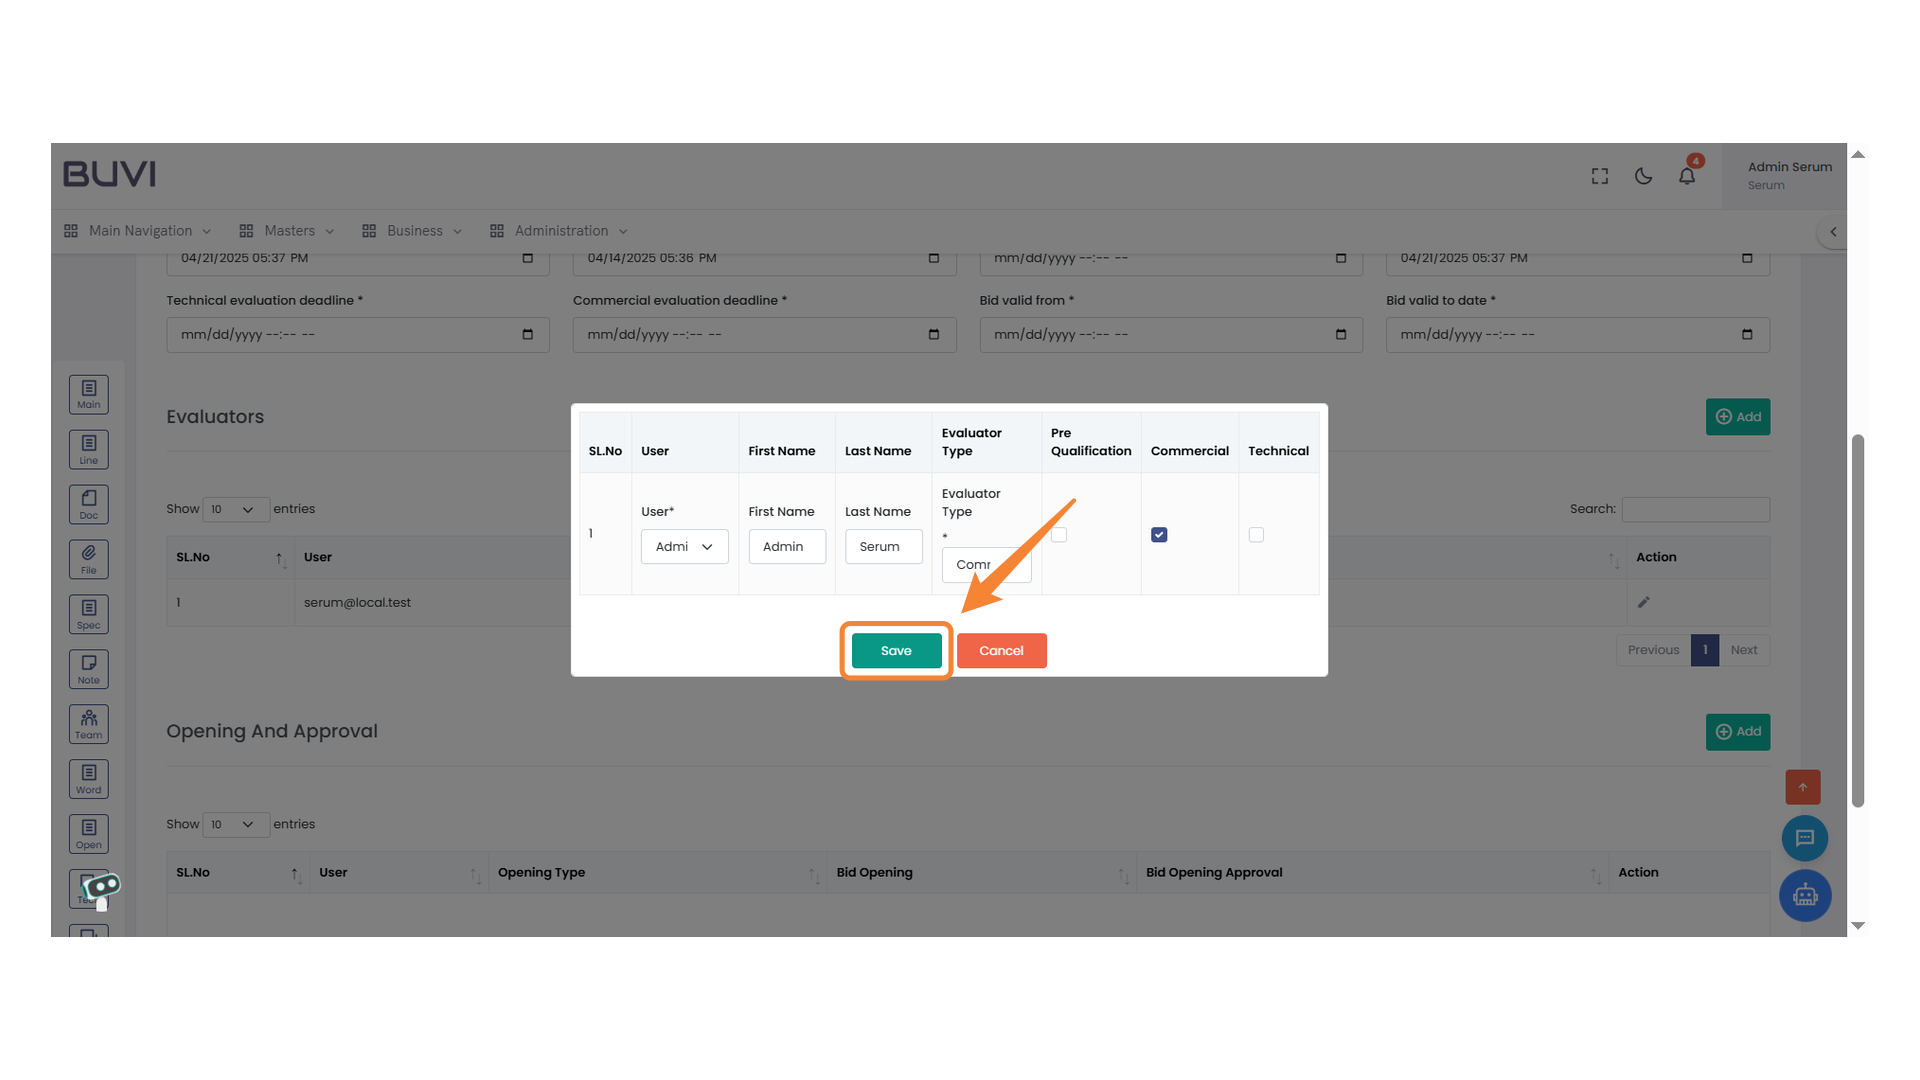
35. Save Button Highlighted
Click the save button to confirm your changes.
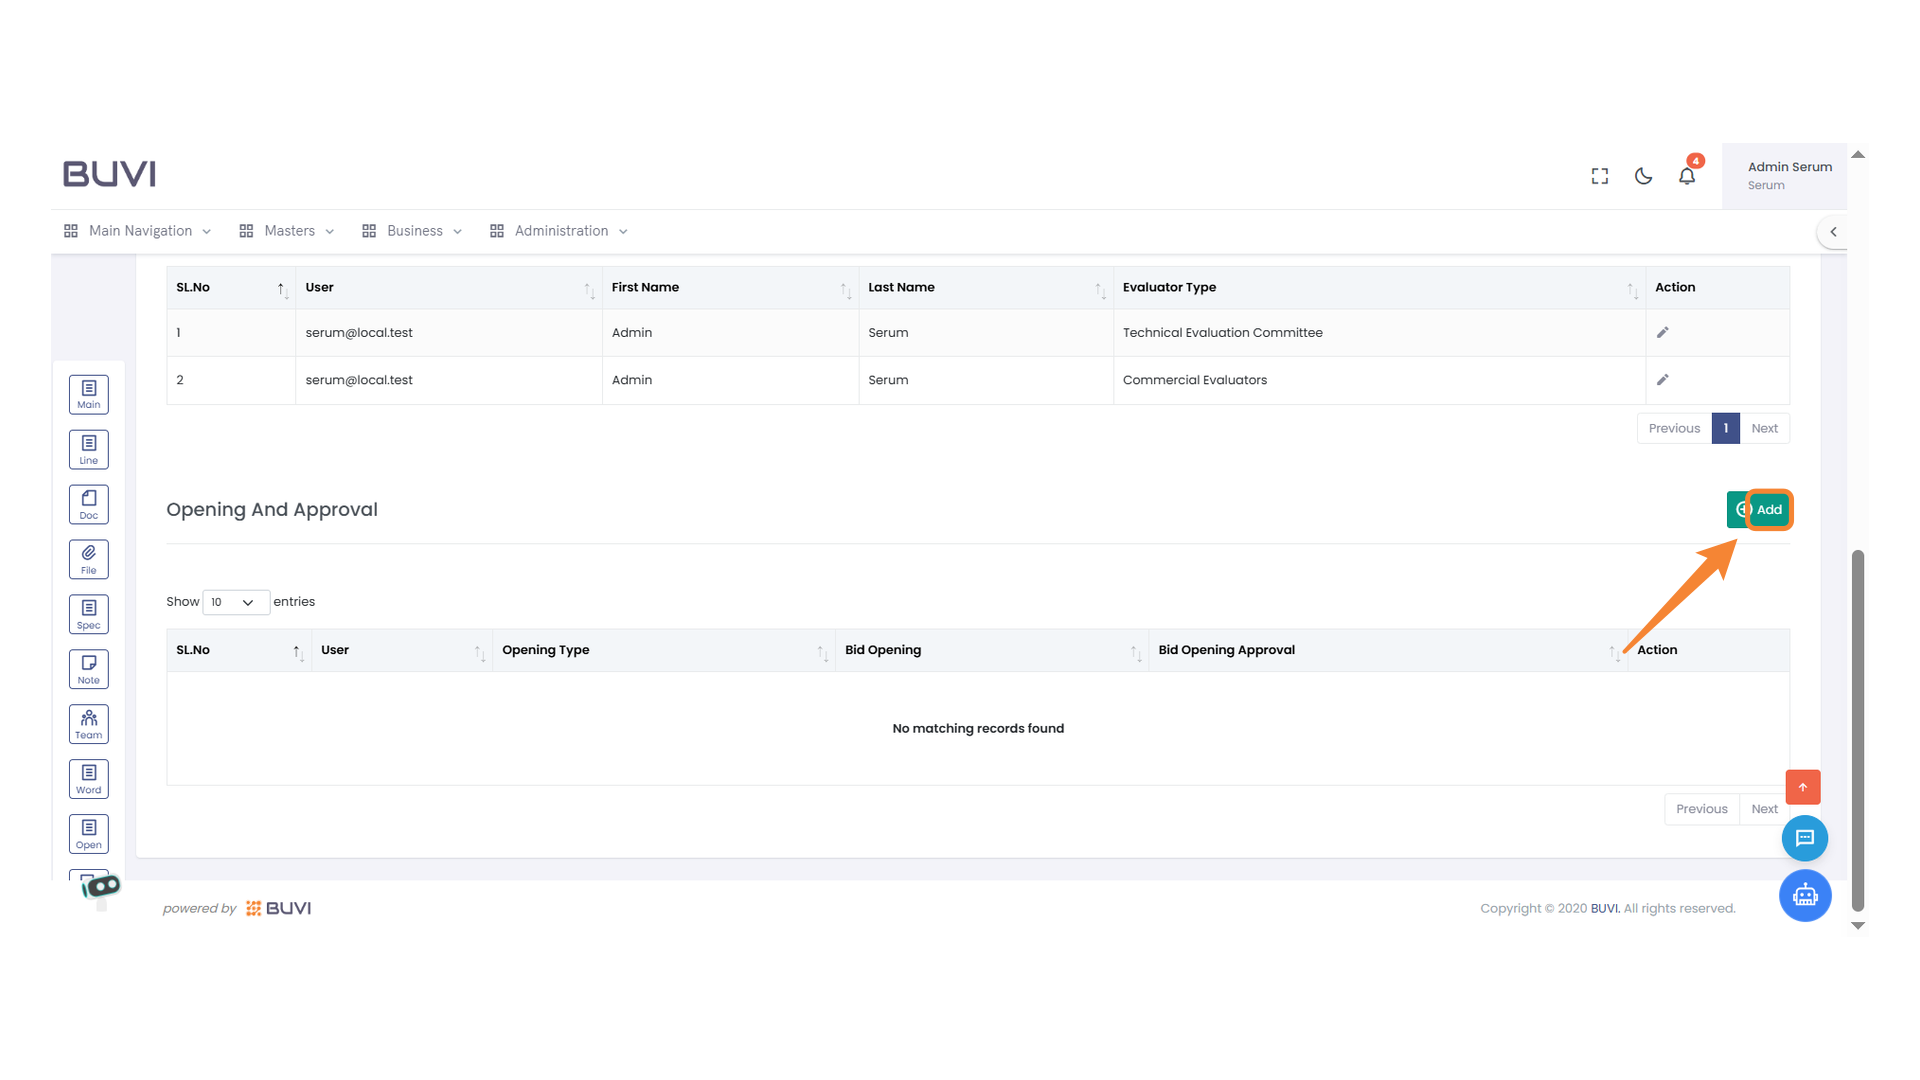
36. Add Button
Click this button to initiate adding a new entry.
37. User Selection Dropdown
Choose a user from the dropdown menu to proceed.
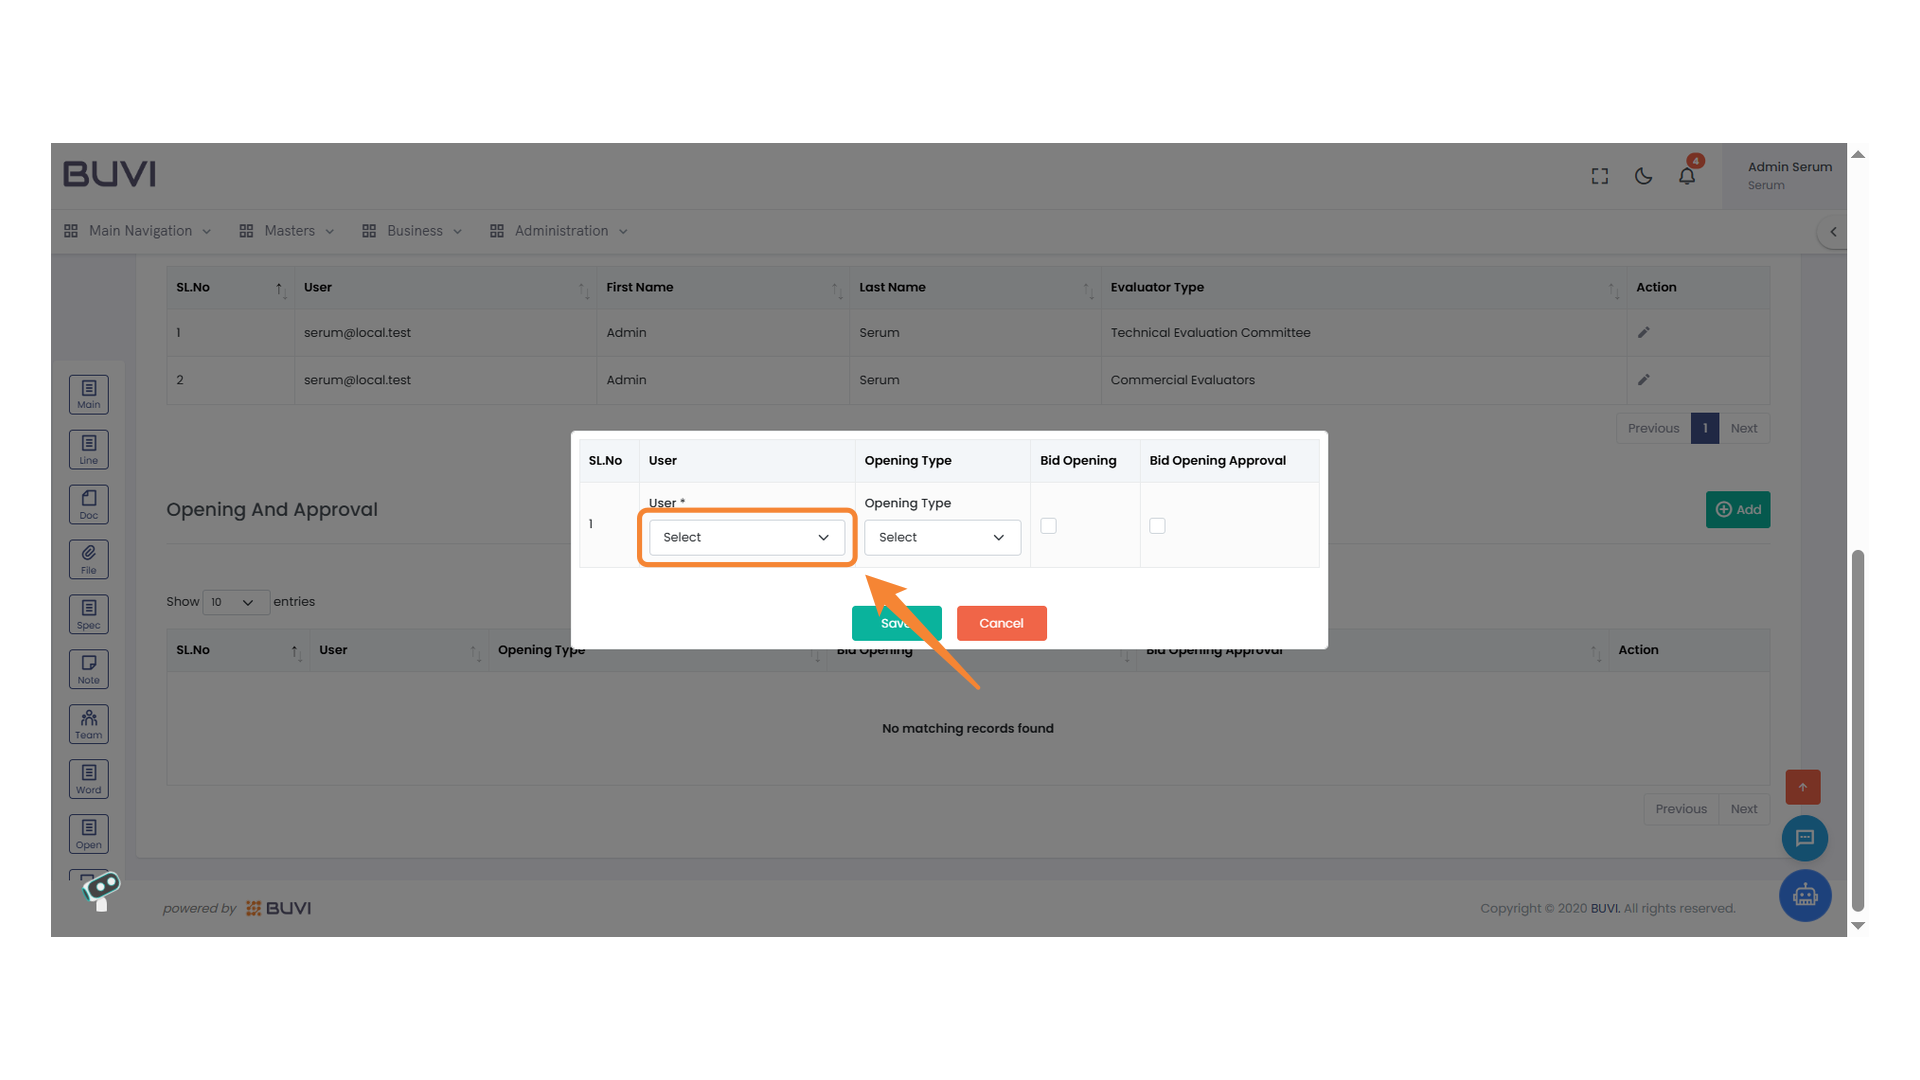
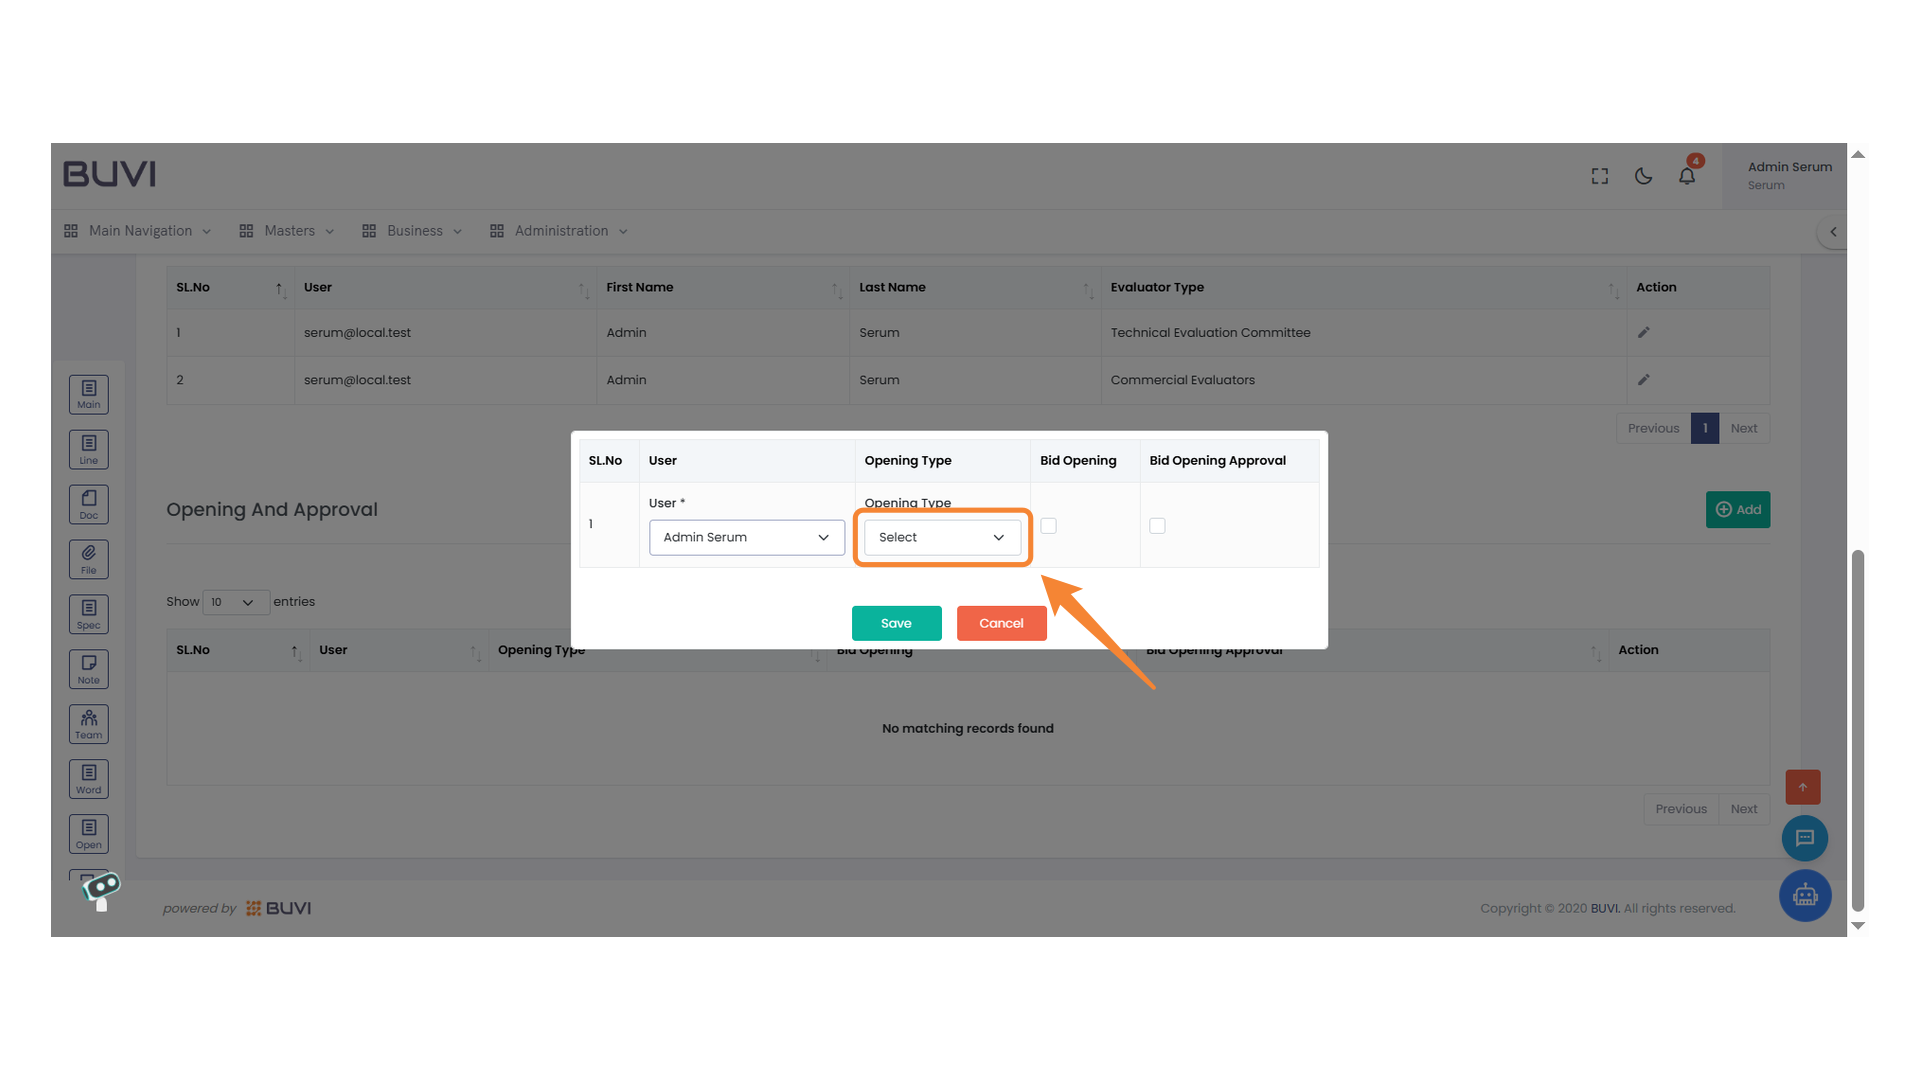
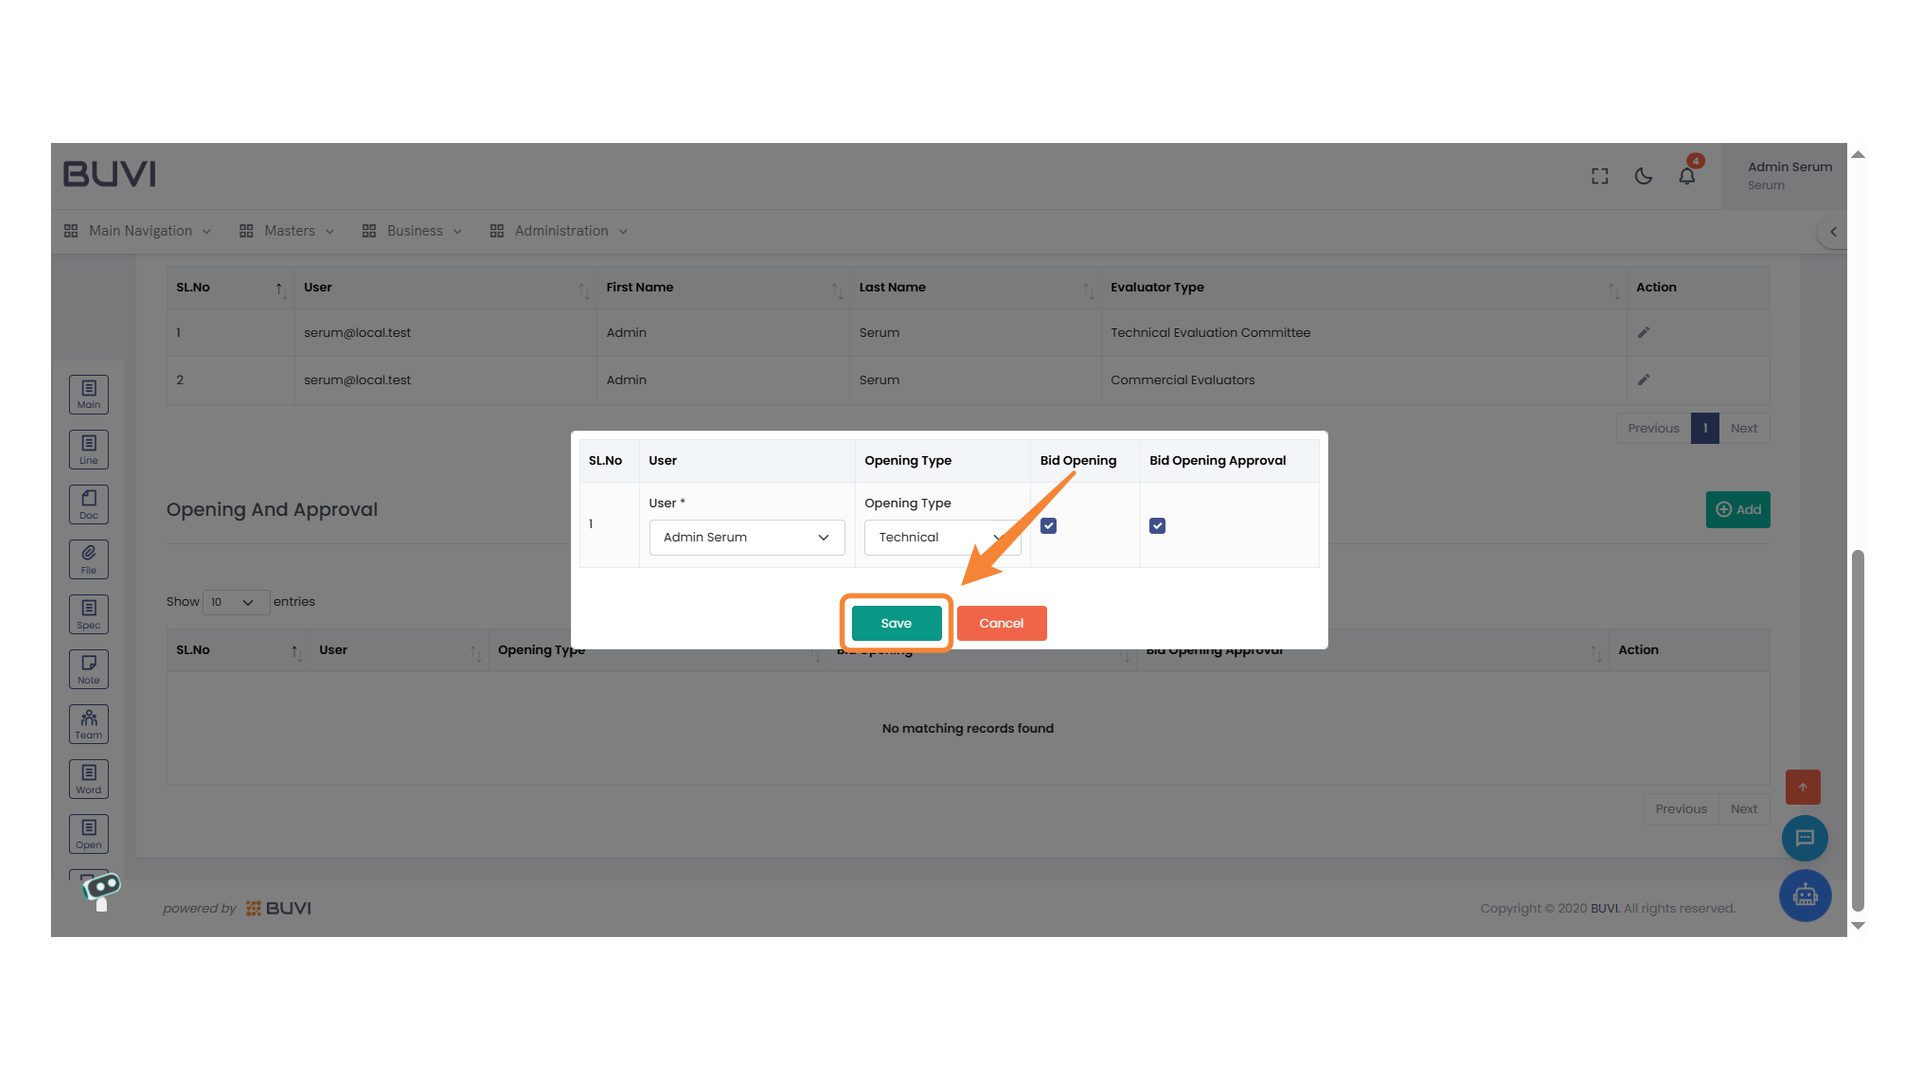
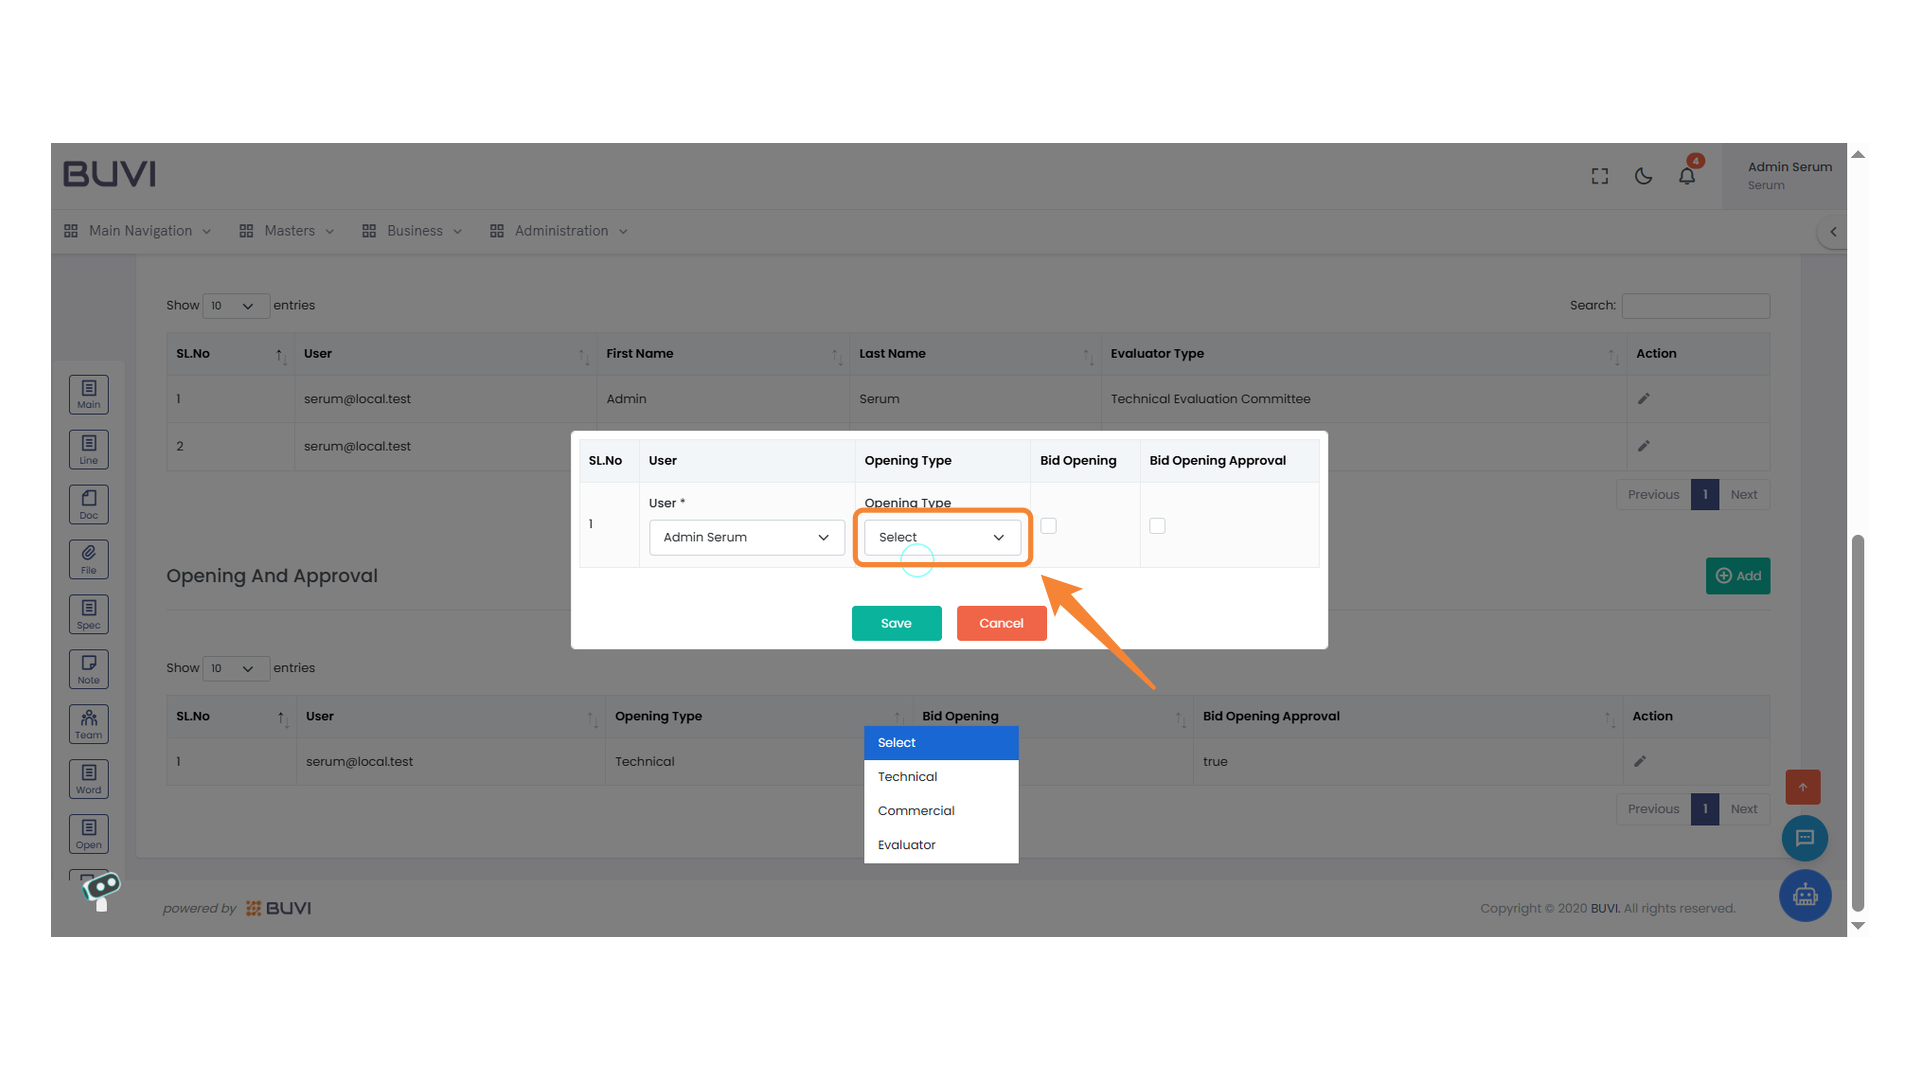
38. Select Opening Type
Choose your desired opening type from the dropdown menu.
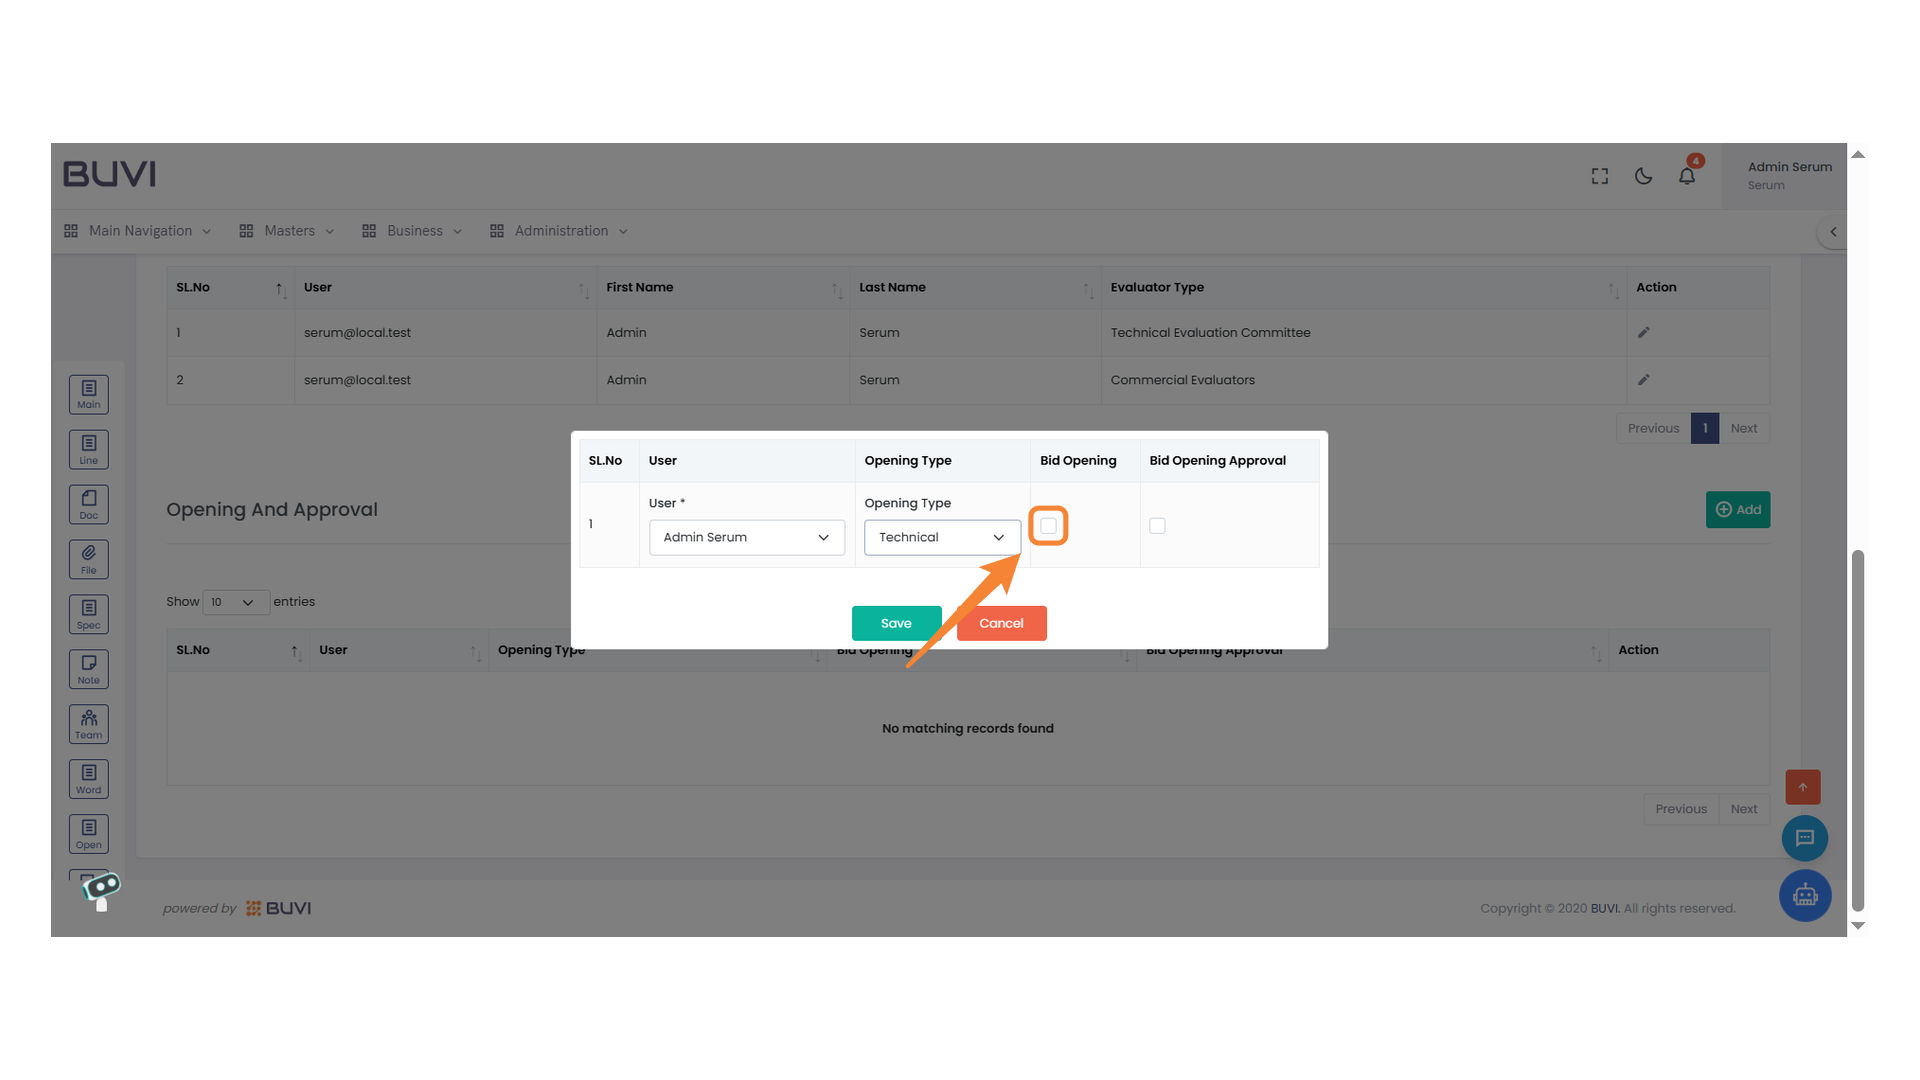
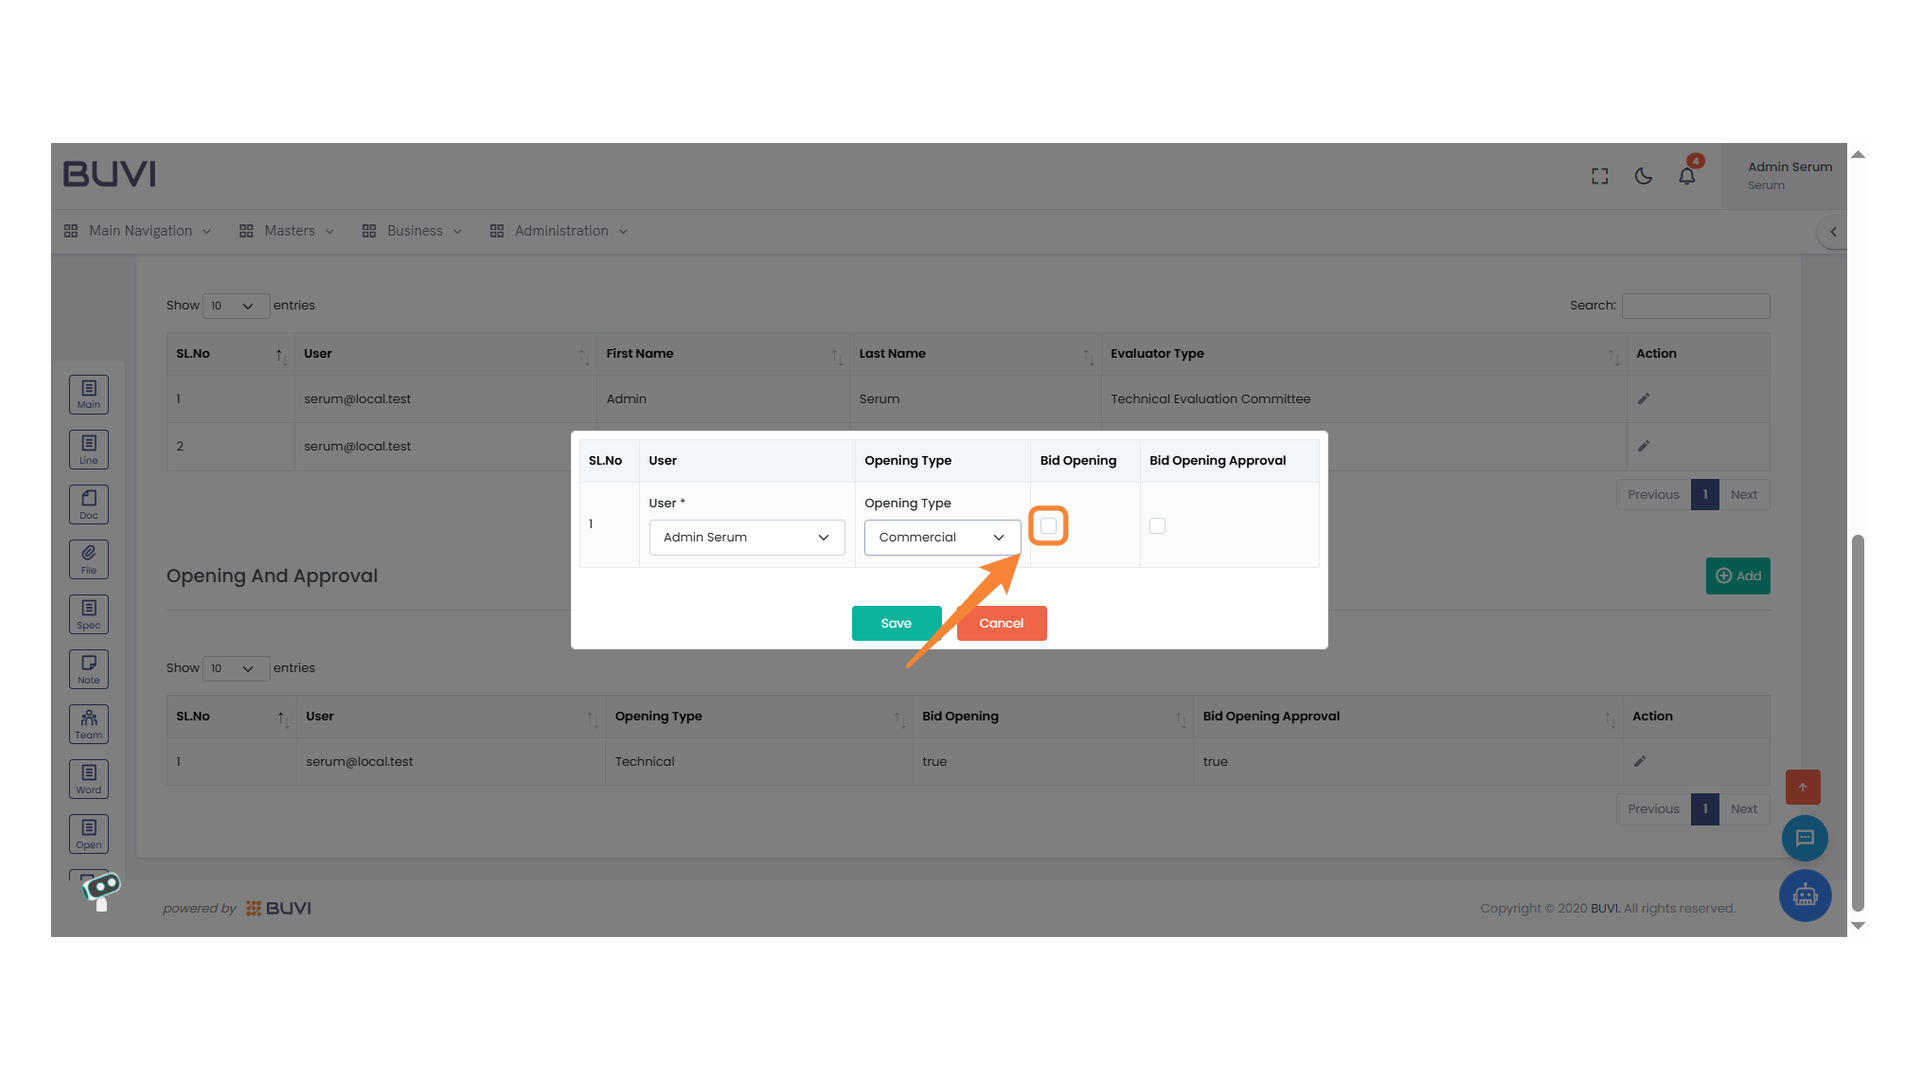
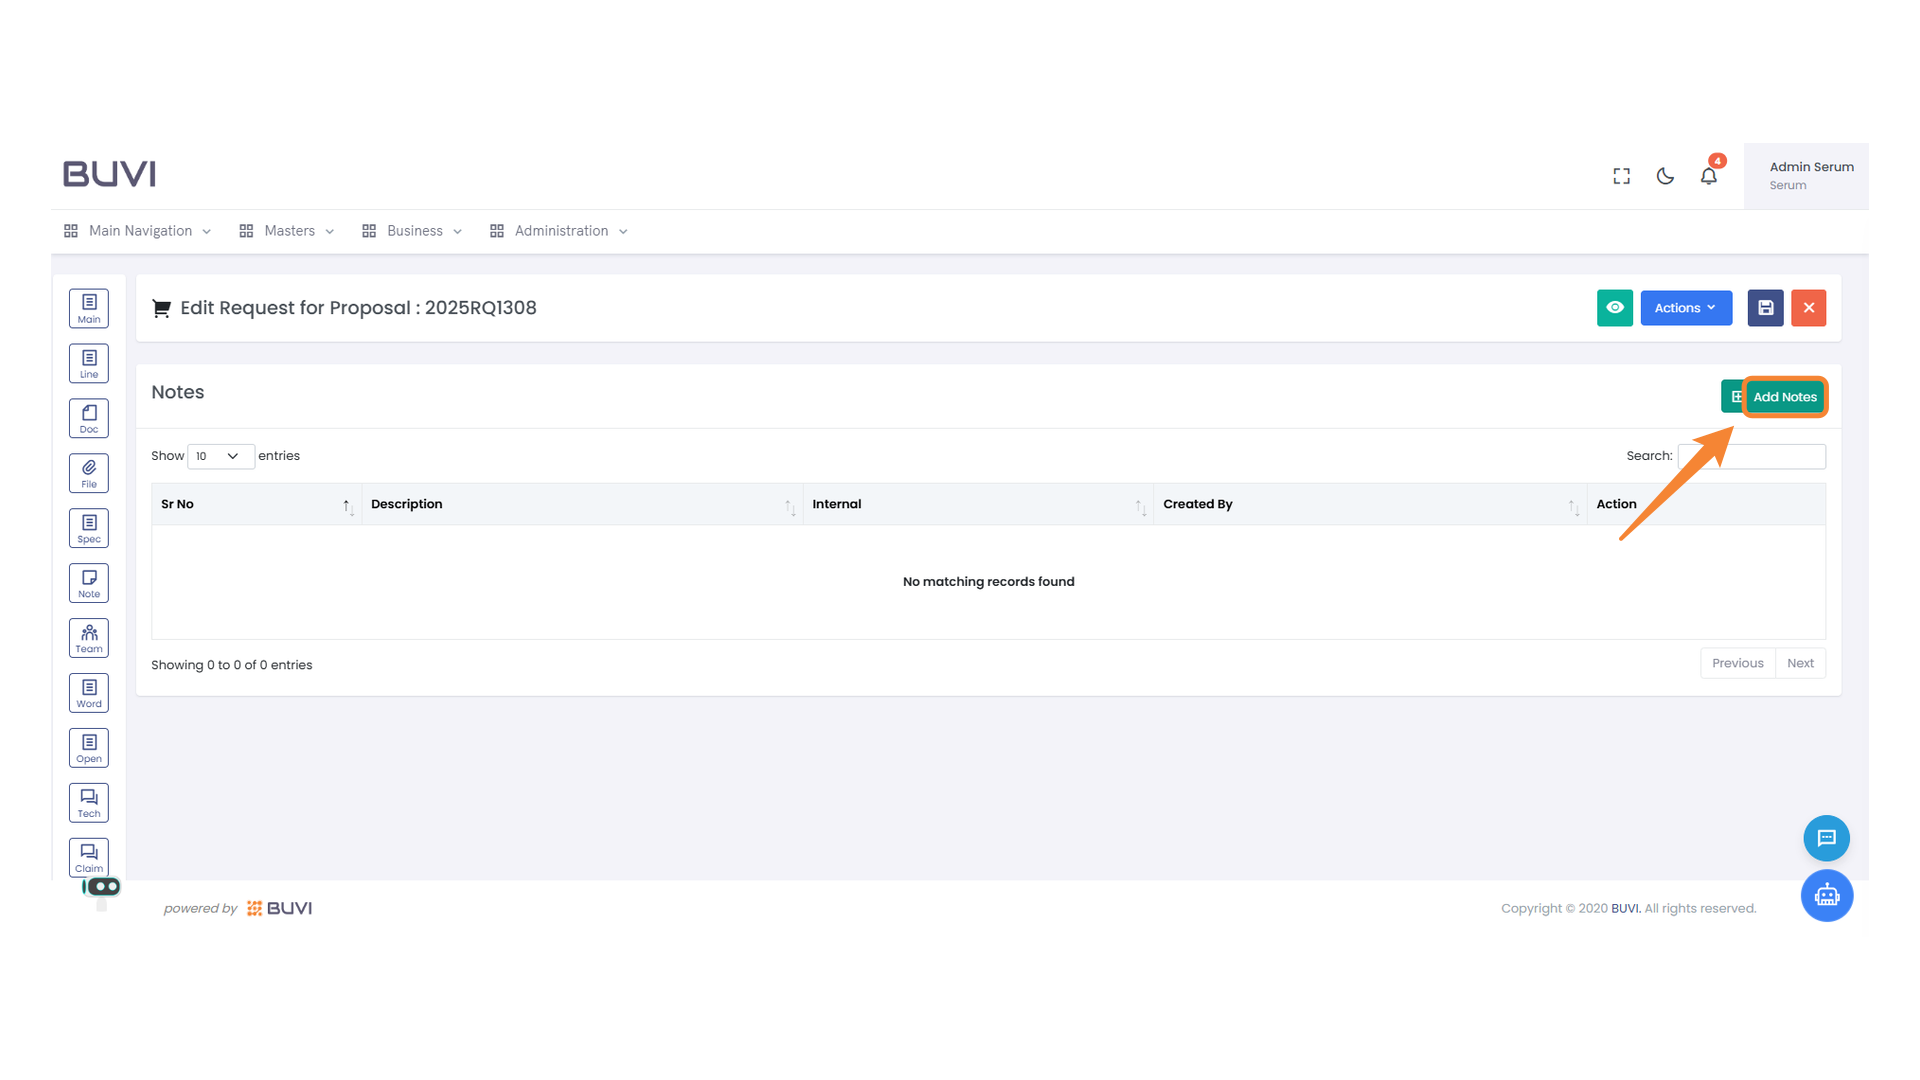
39. Bid Opening Checkbox
Select the checkbox to mark the bid as open.
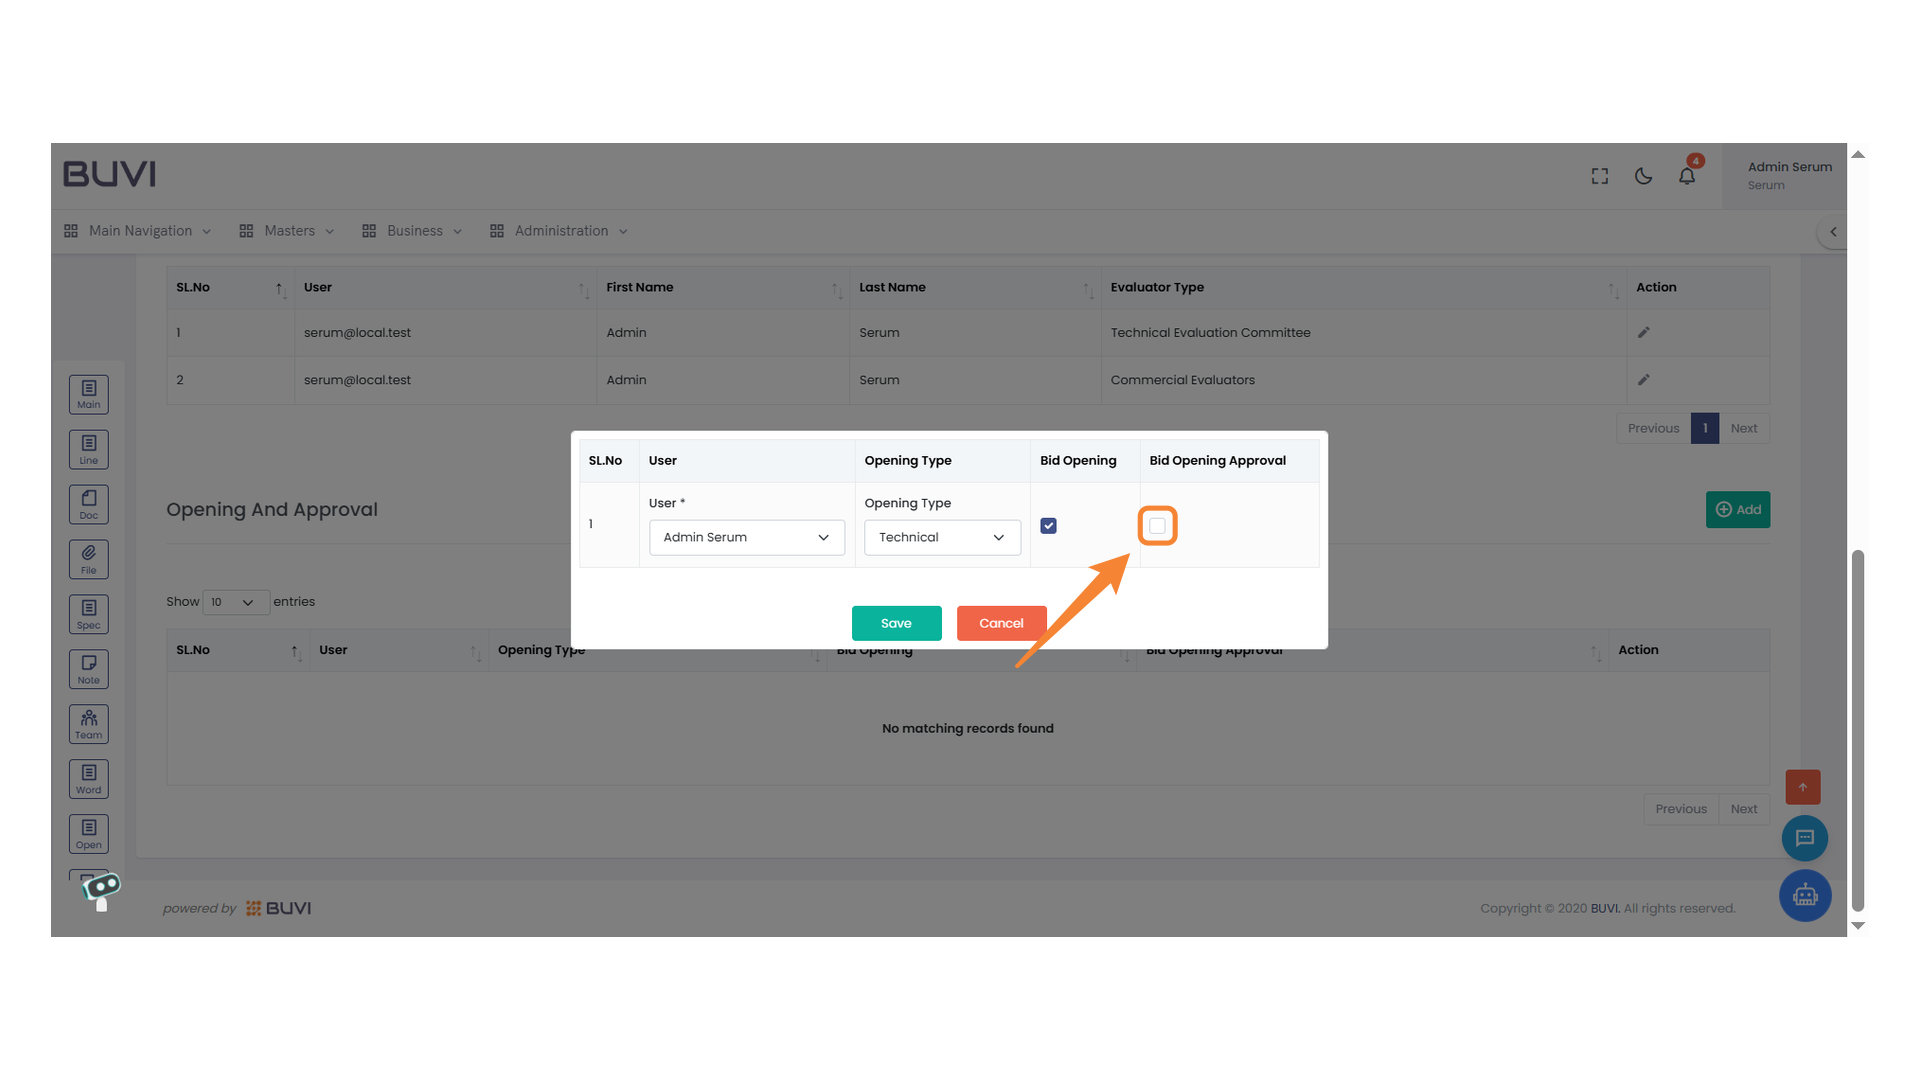
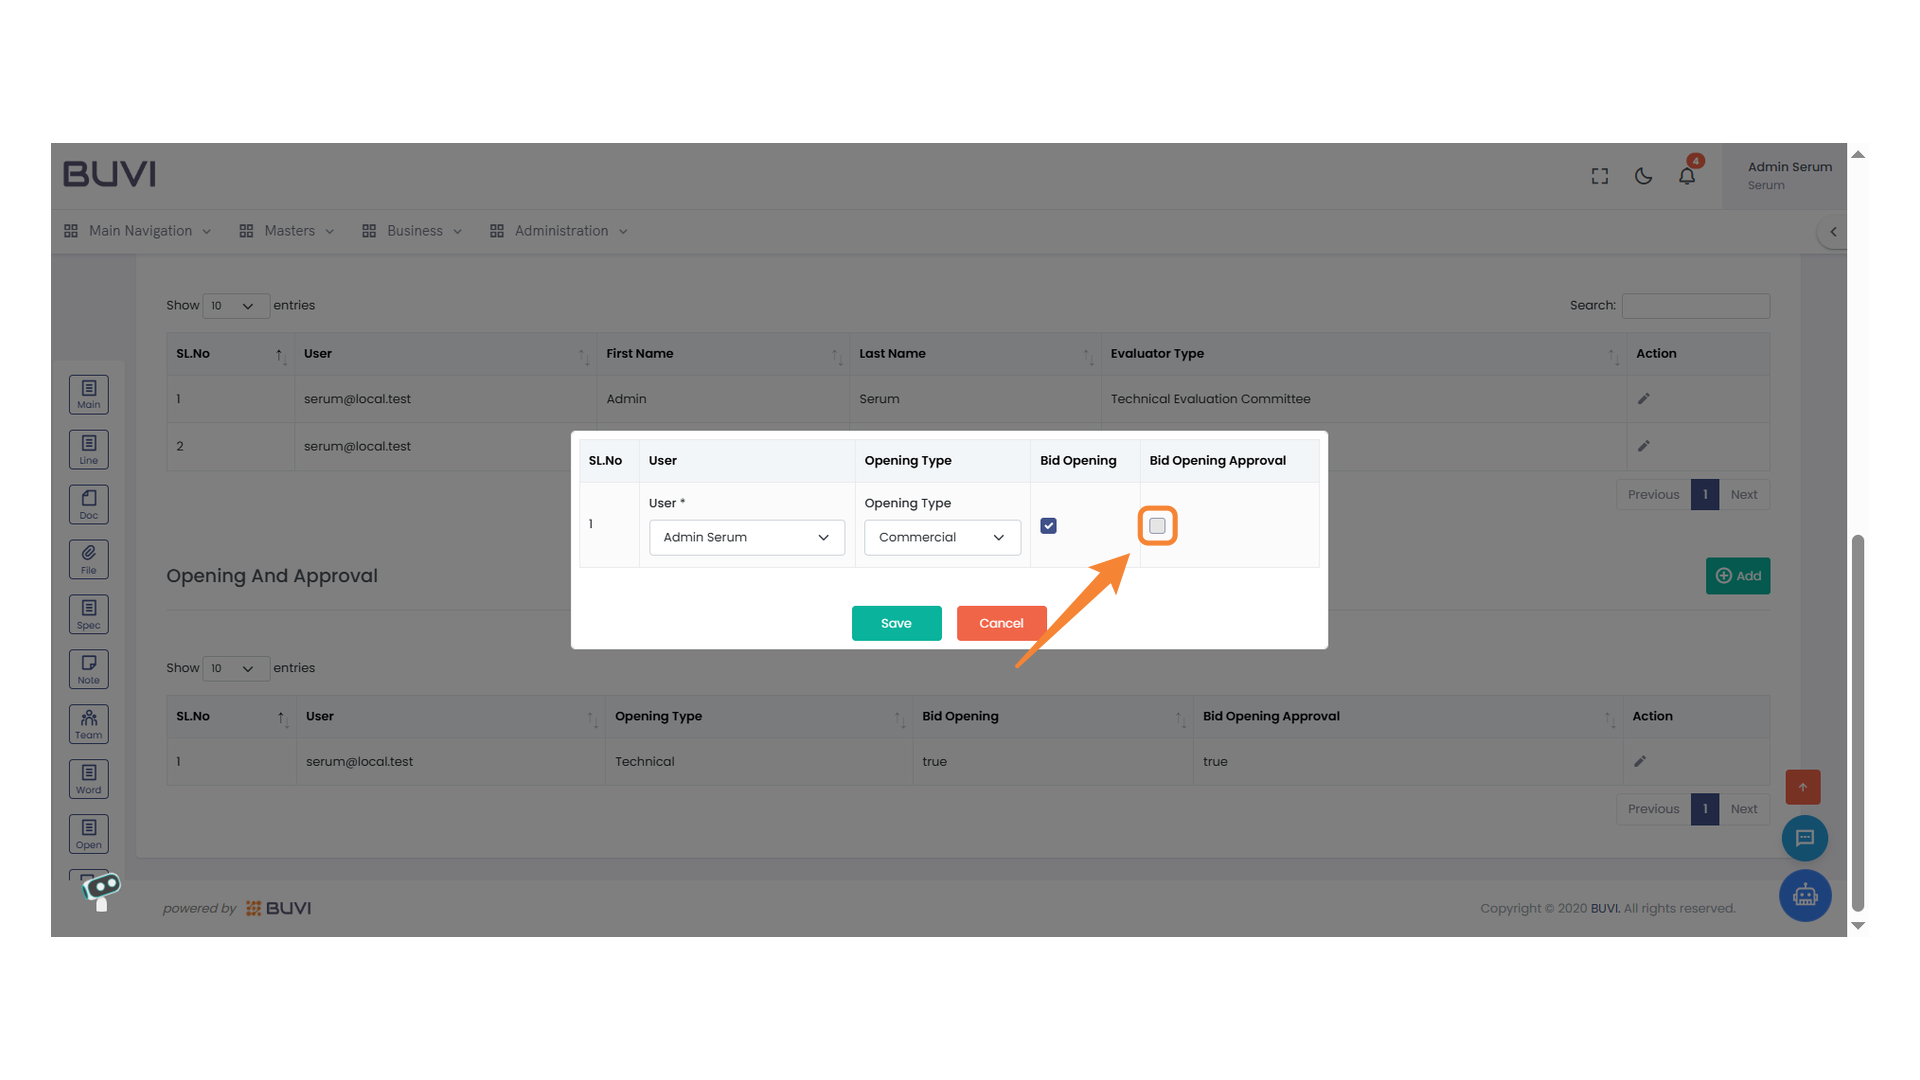
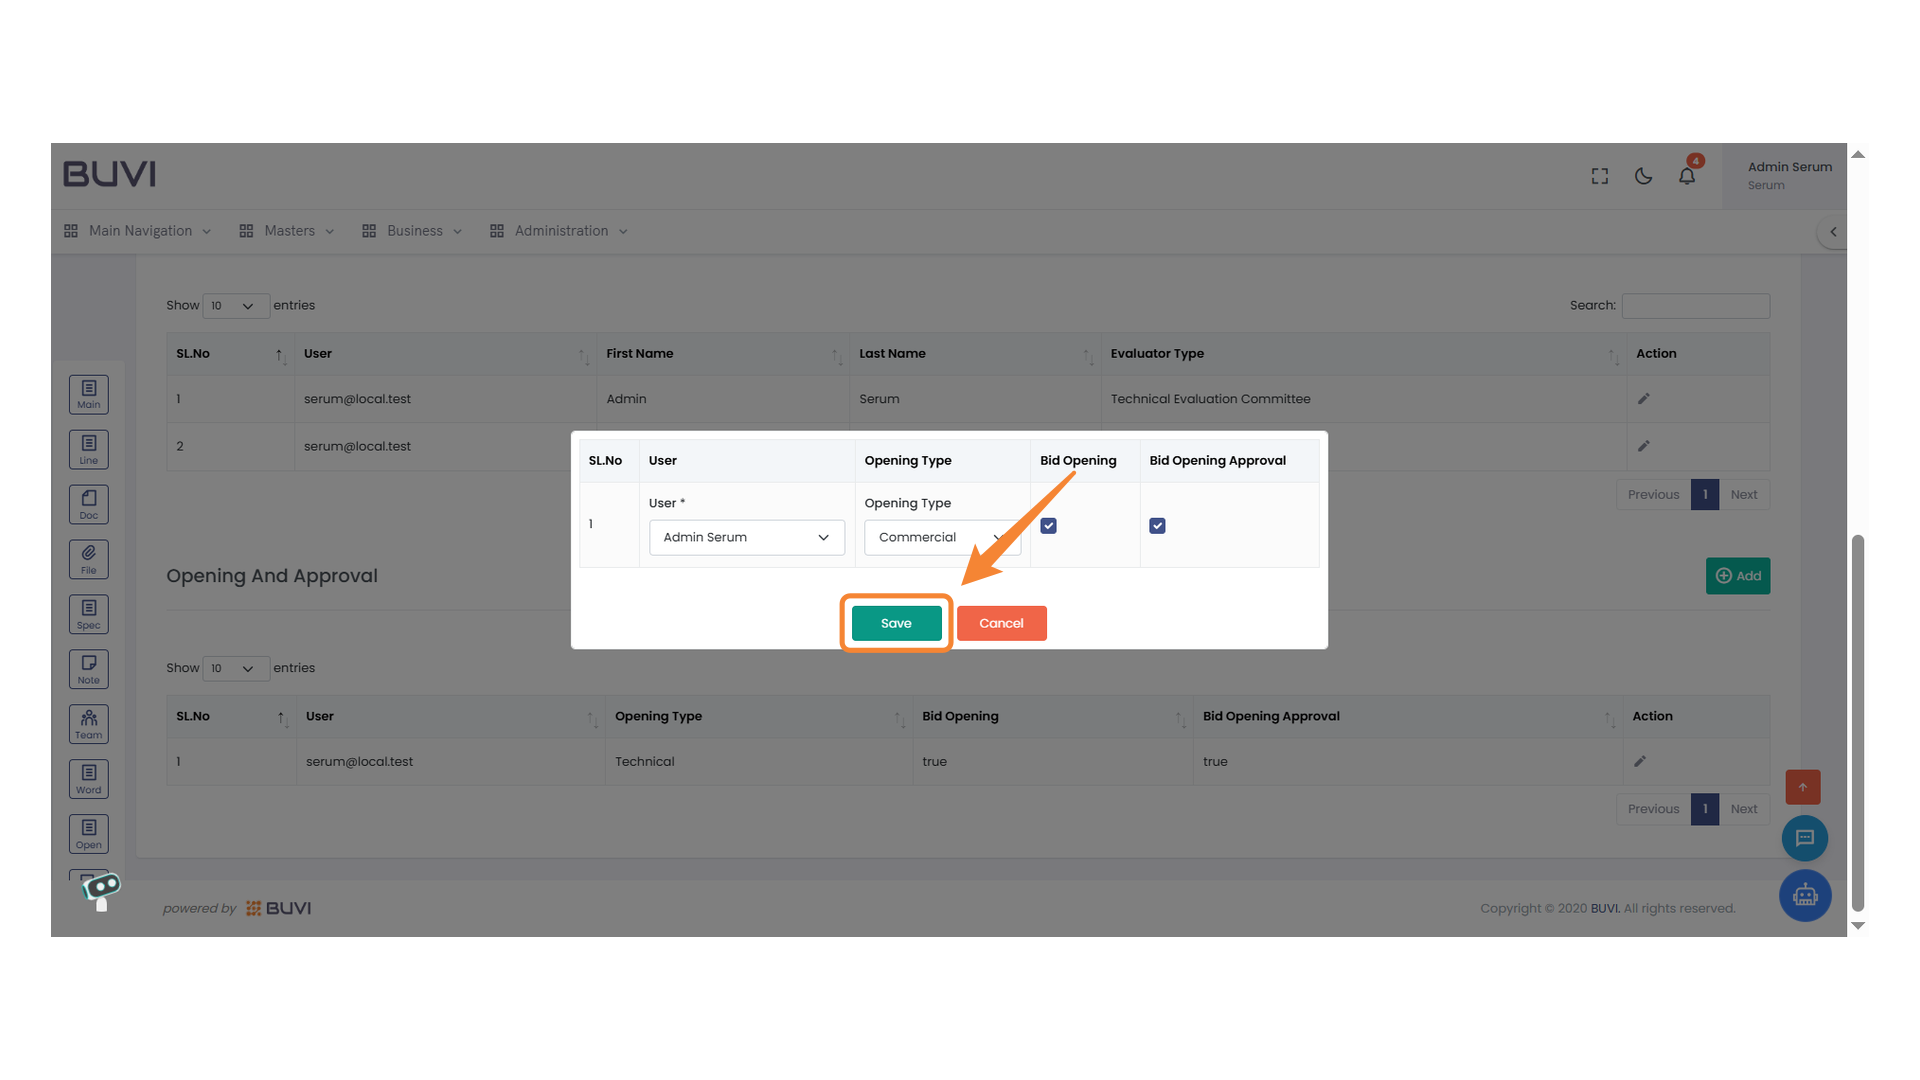
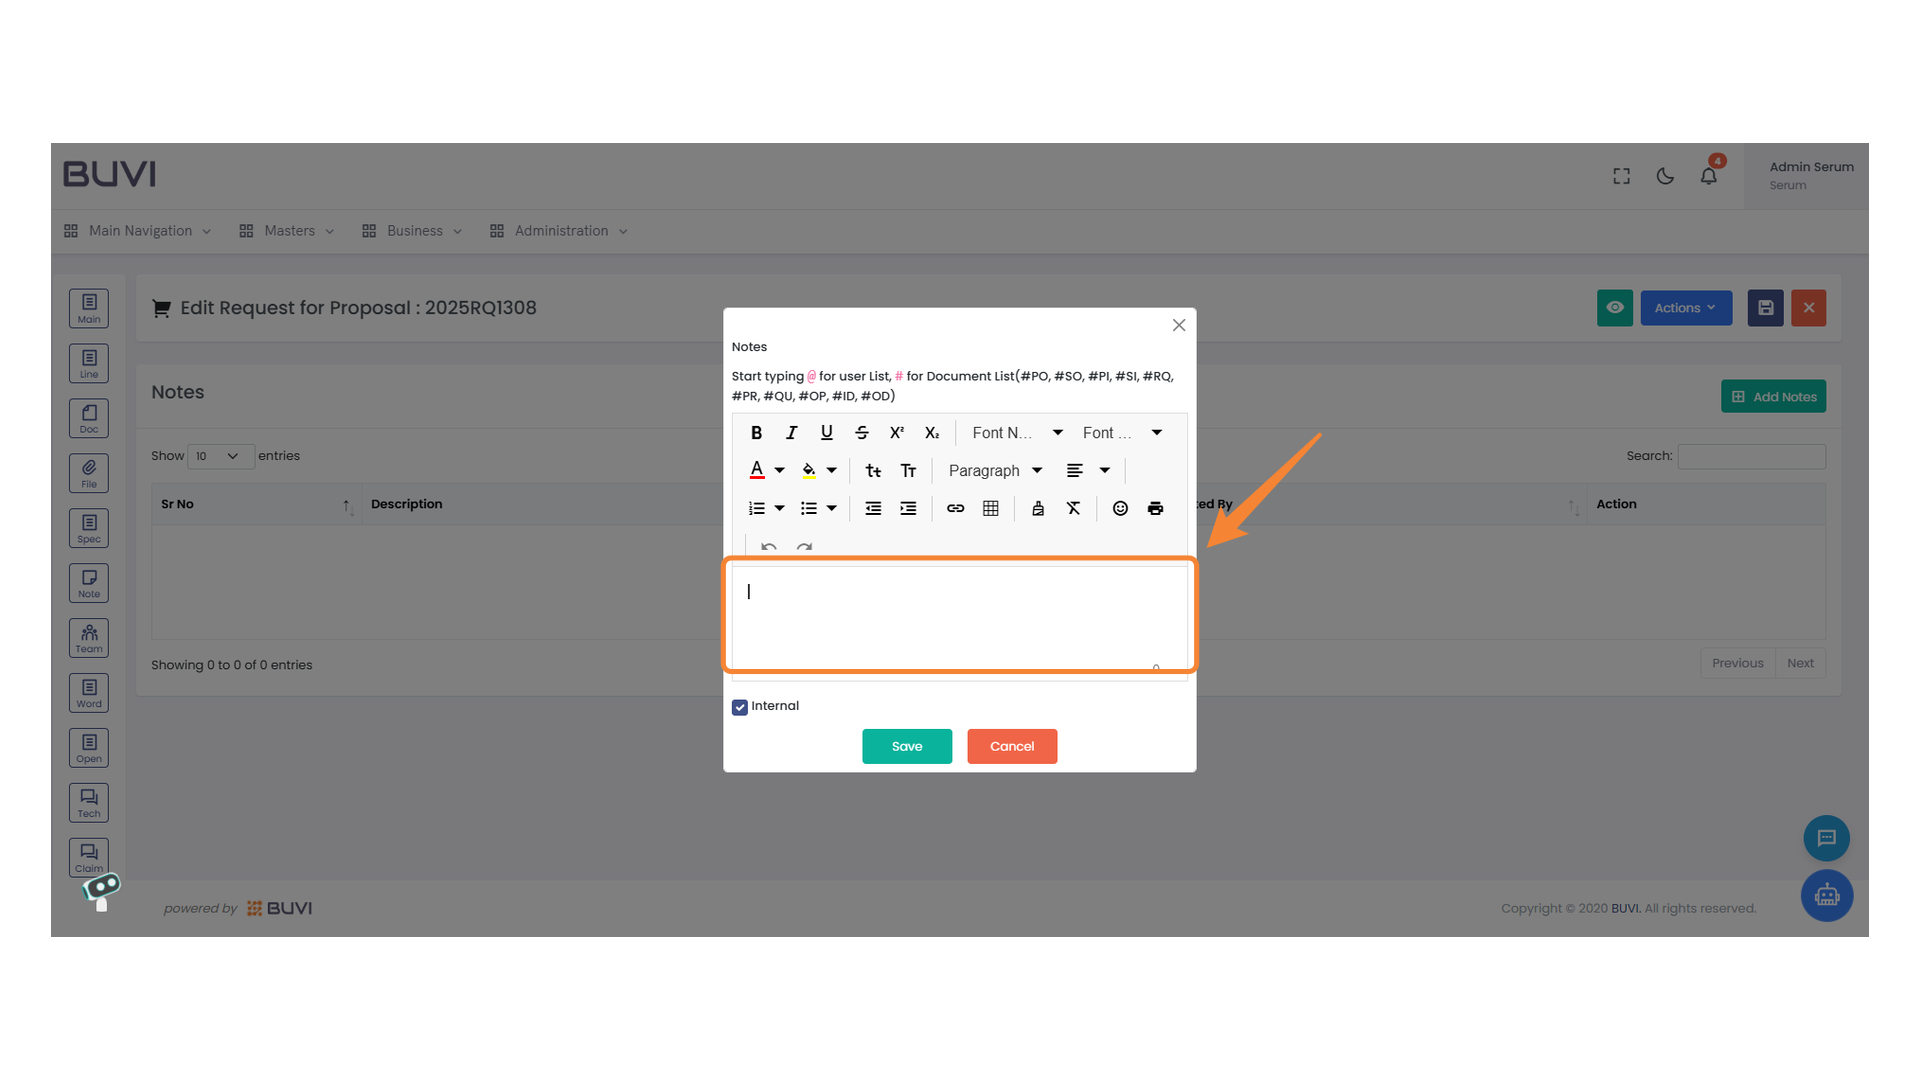
40. Bid Opening Approval Checkbox
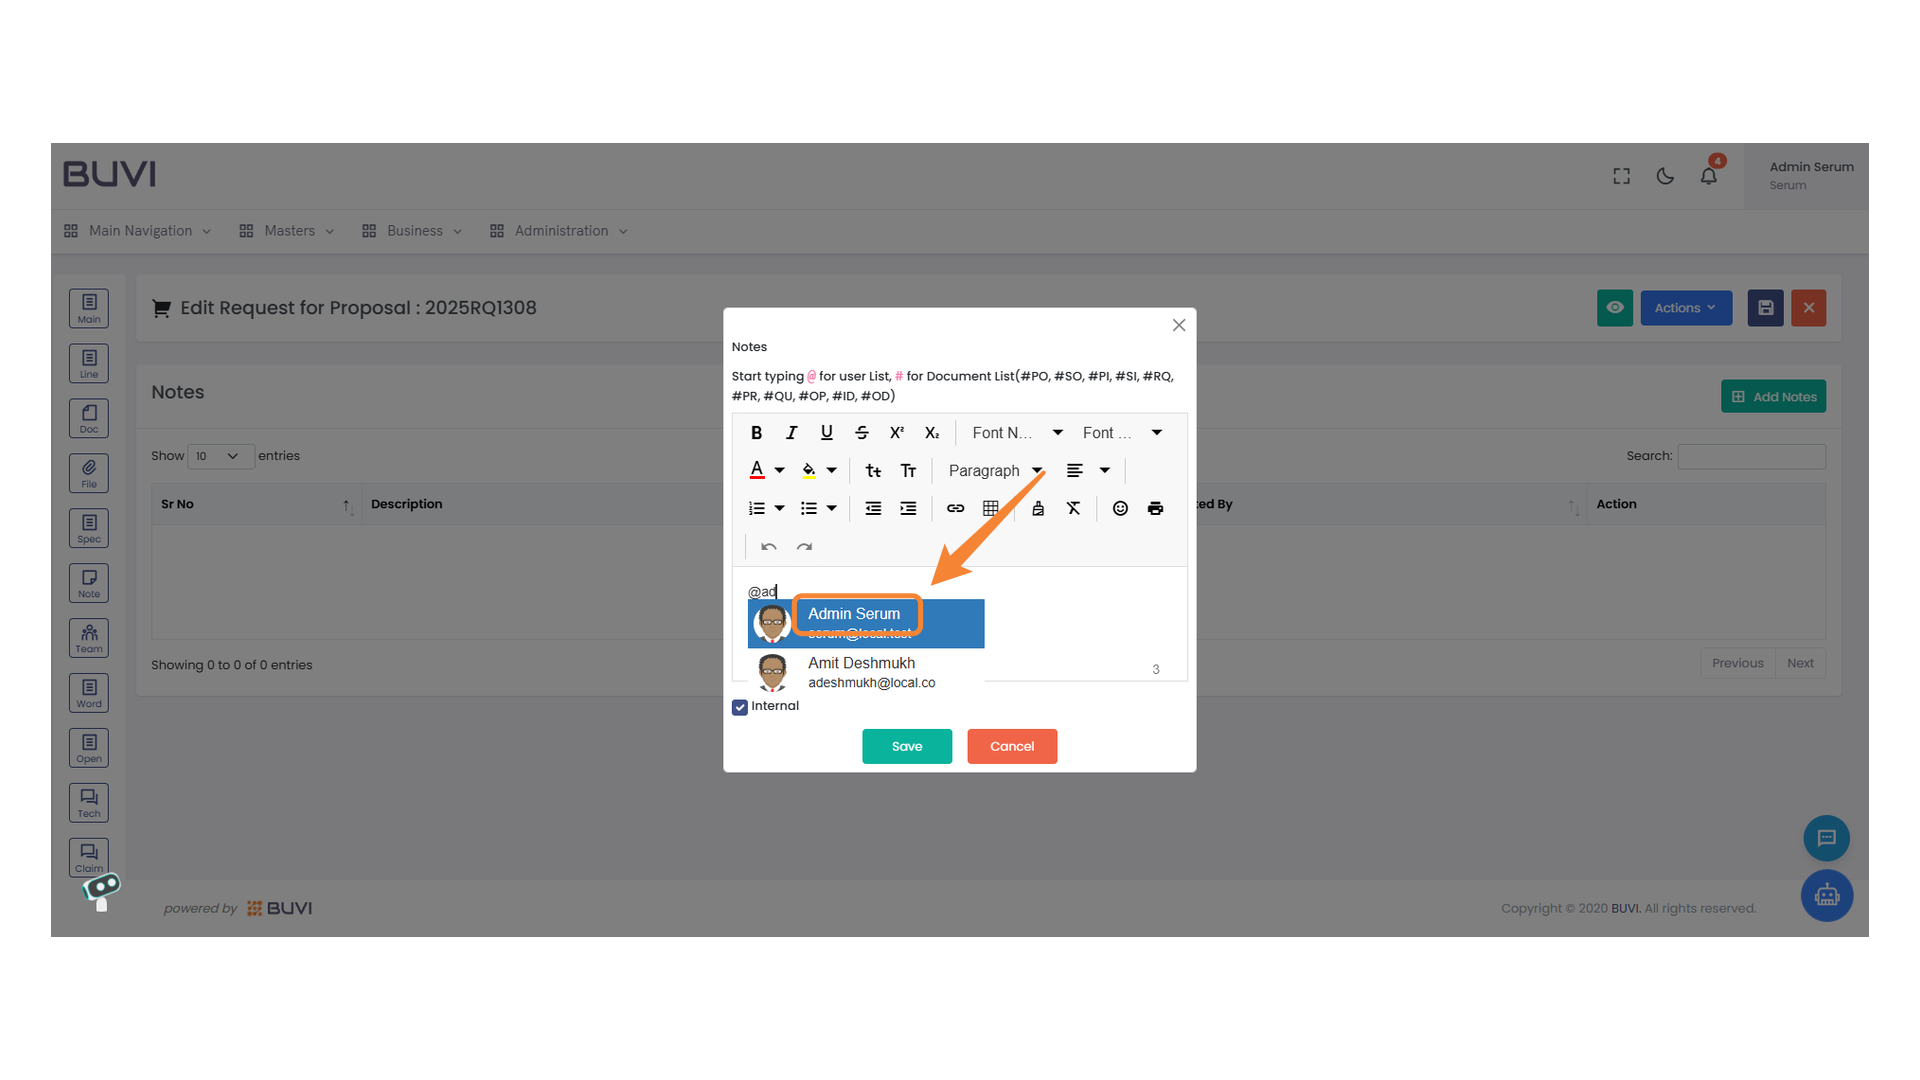
Select the checkbox to approve the bid opening process.
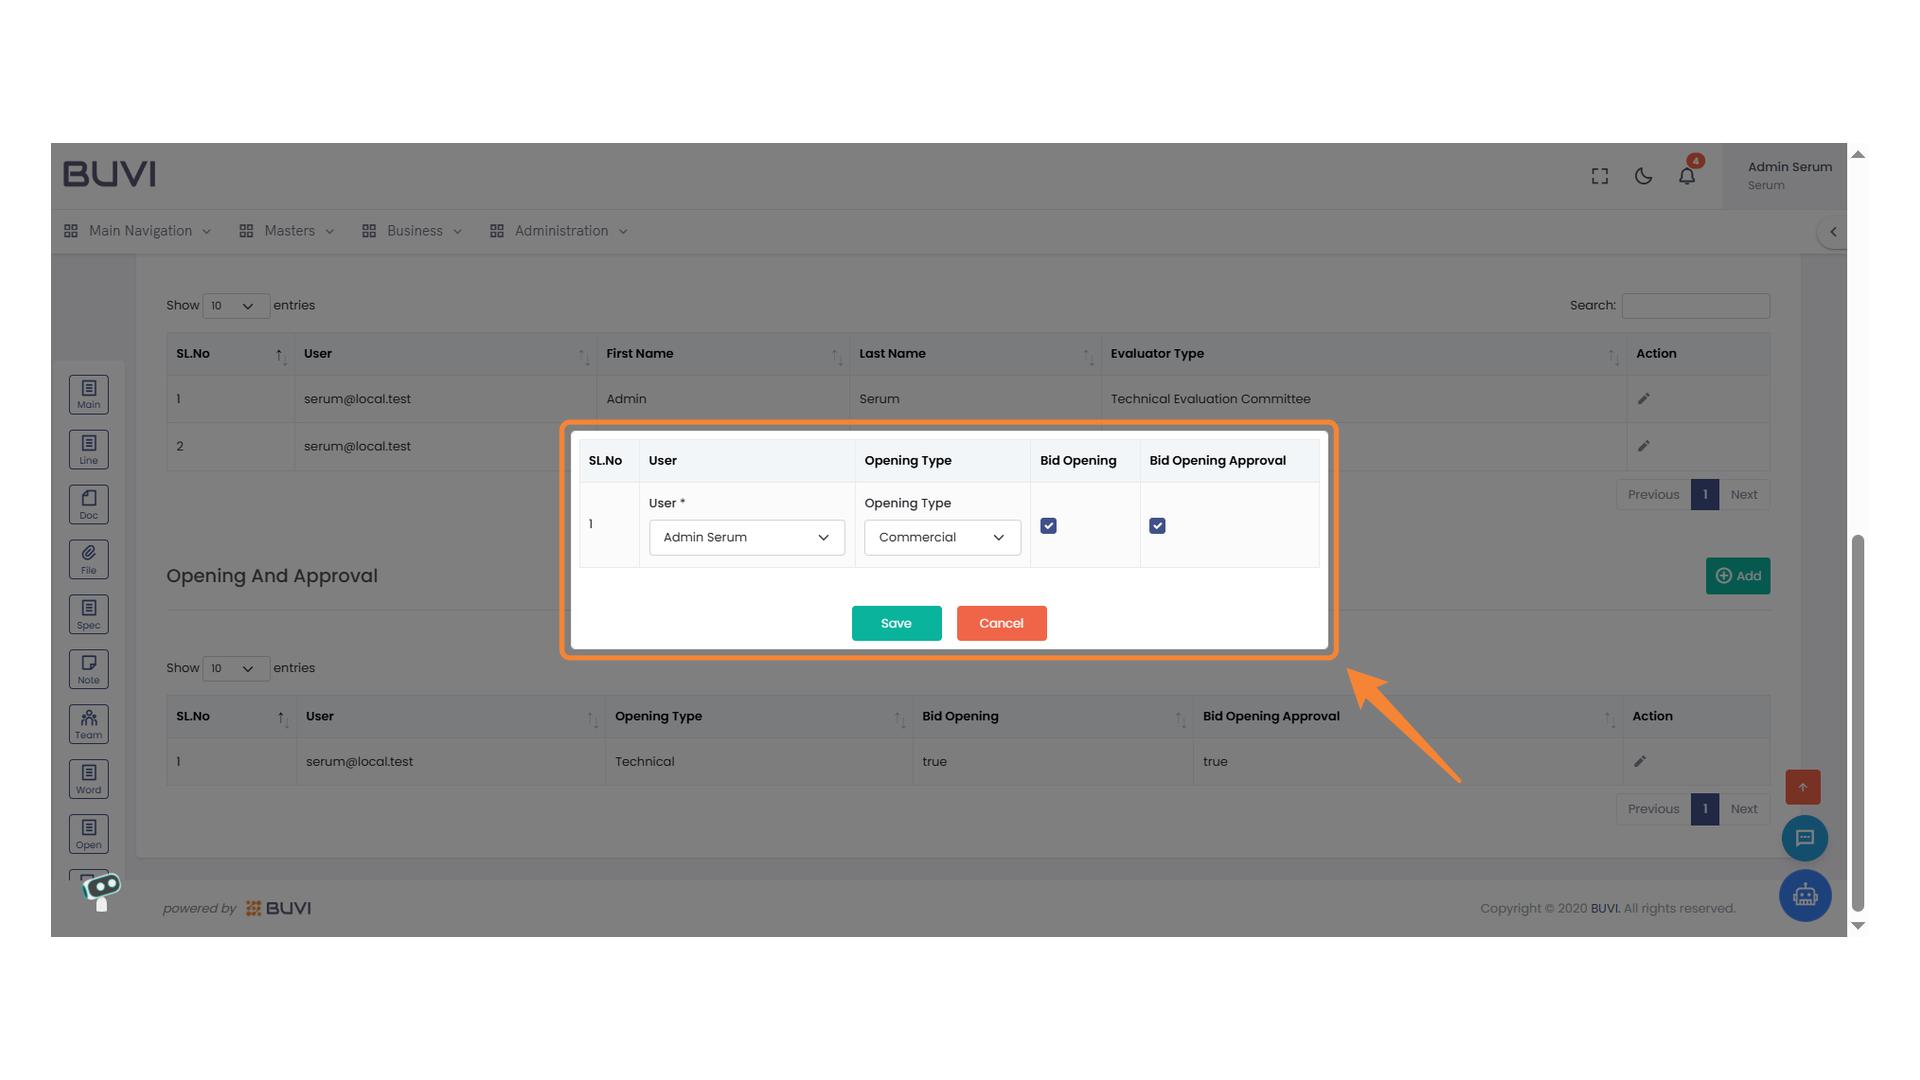
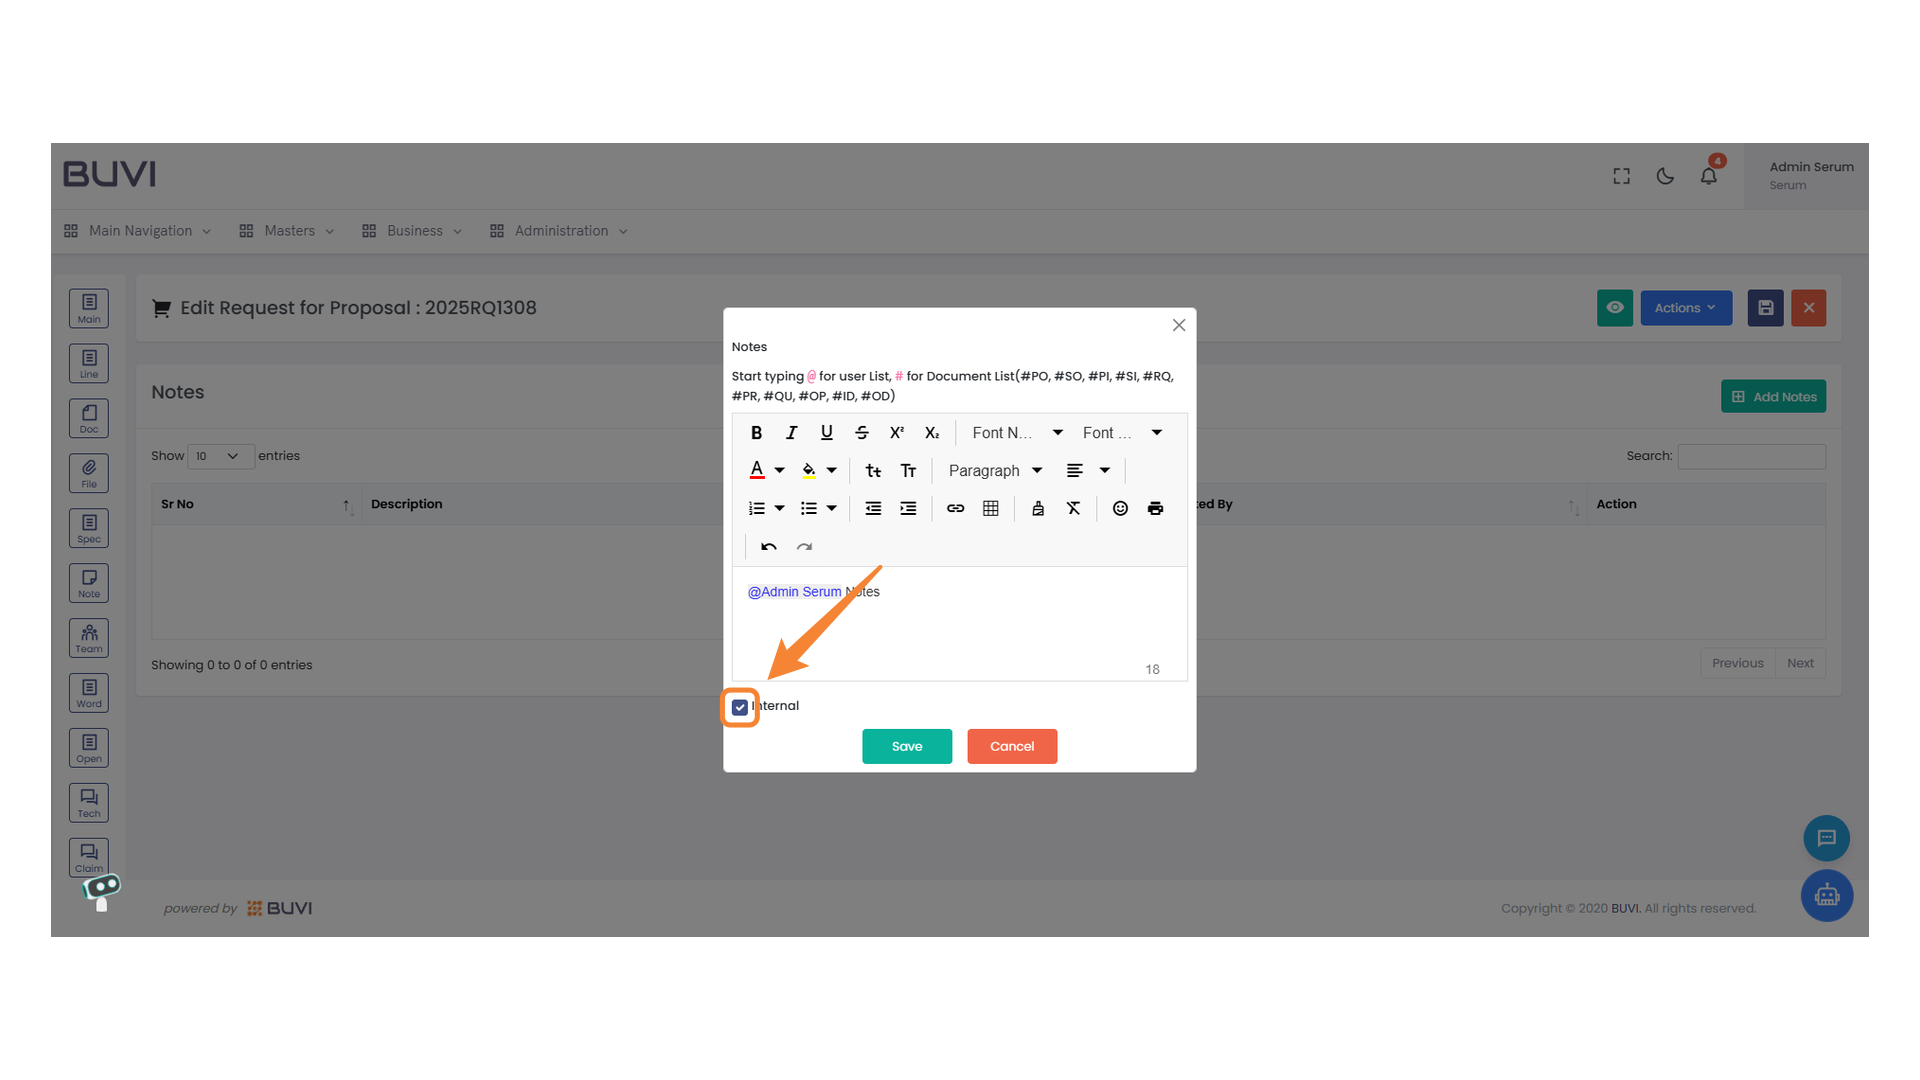
41. Save Button
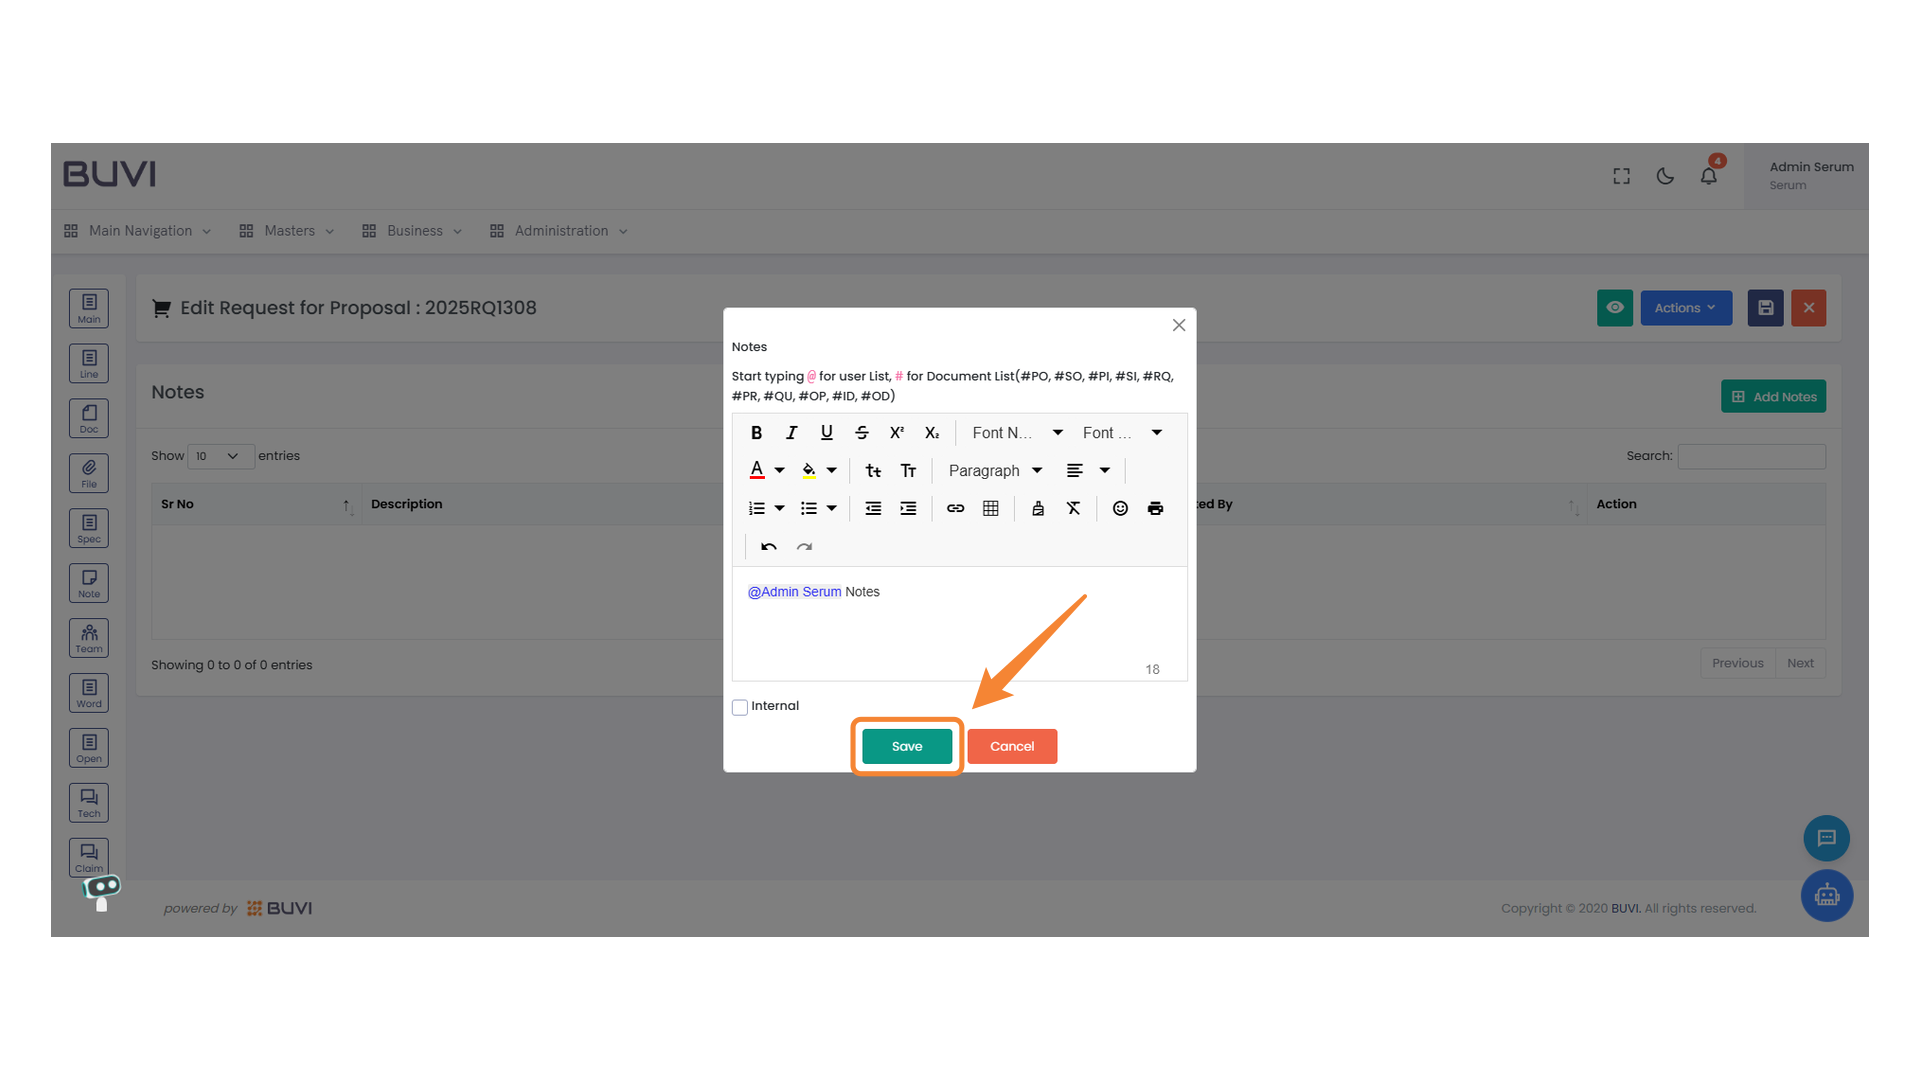
Click to save the current settings or changes made in the form.
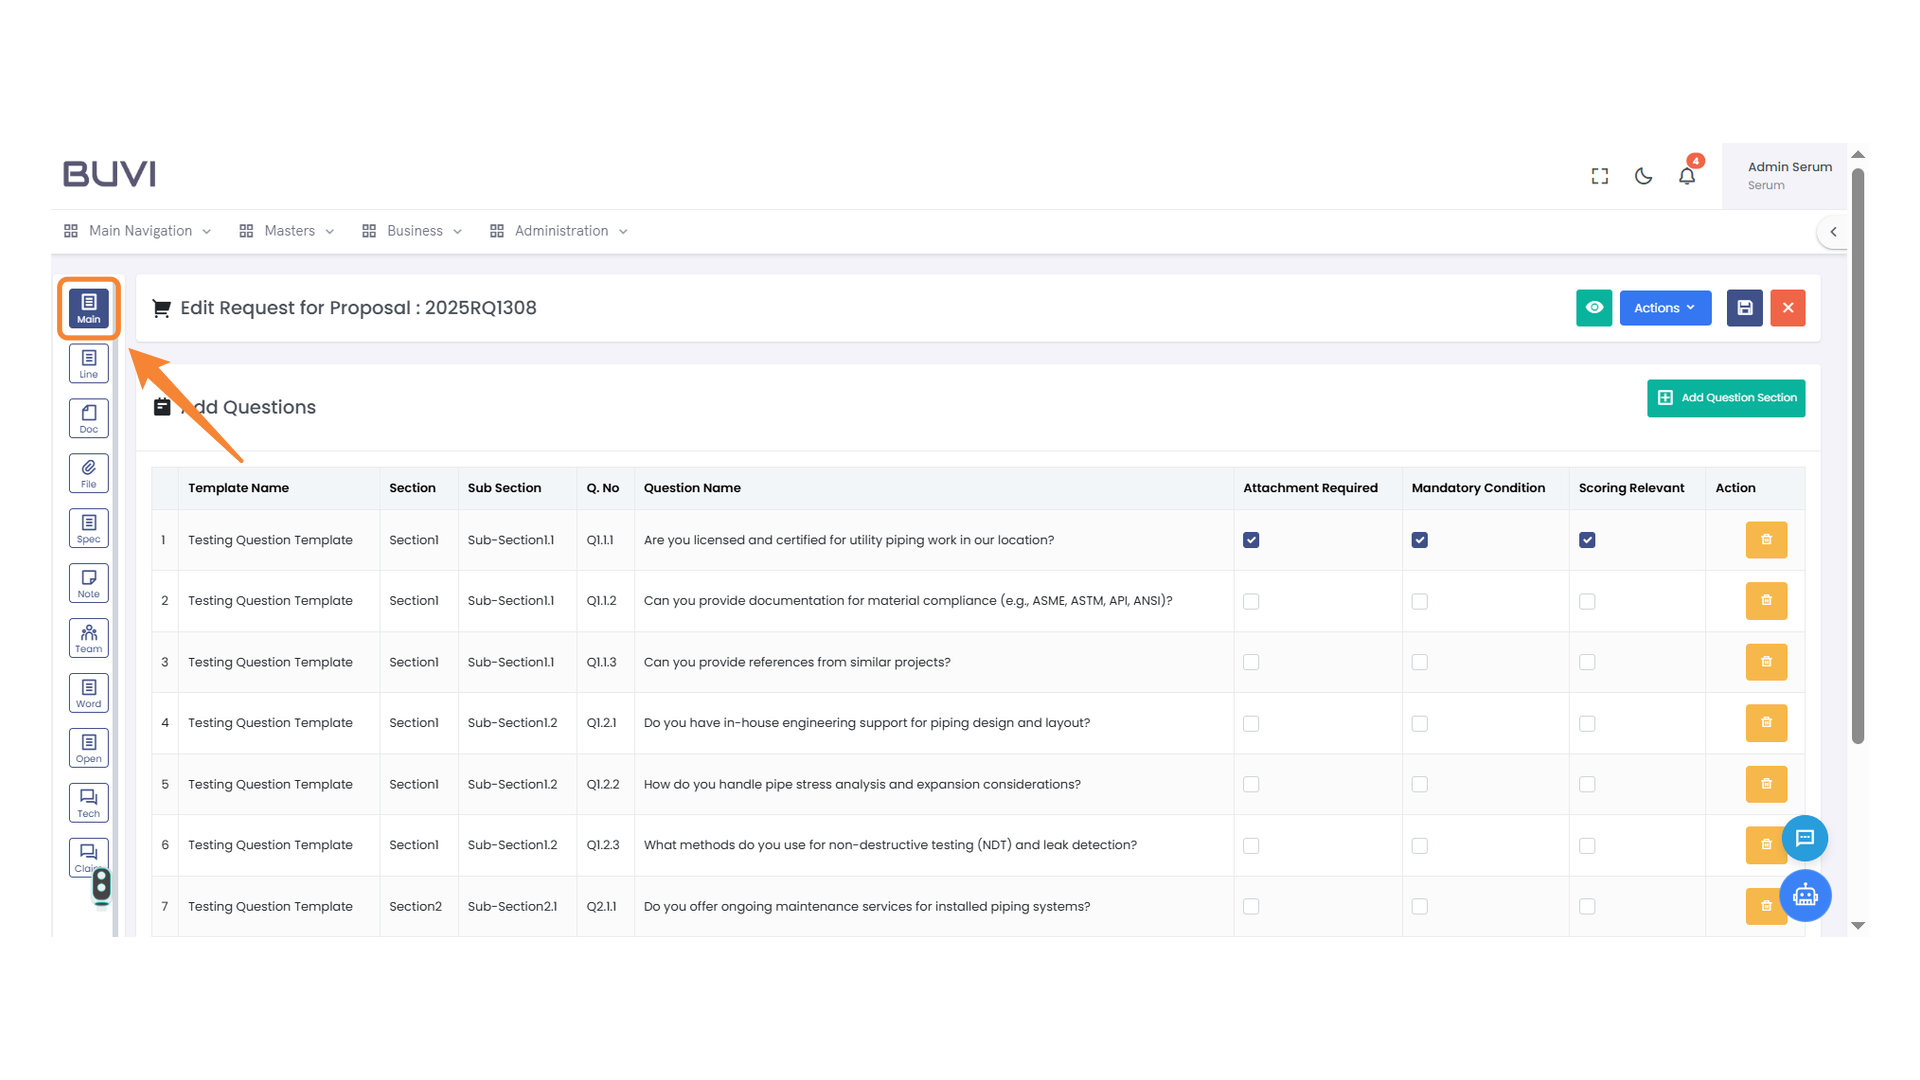
42. Set Action Button
Click to initiate the set action for the selected item.
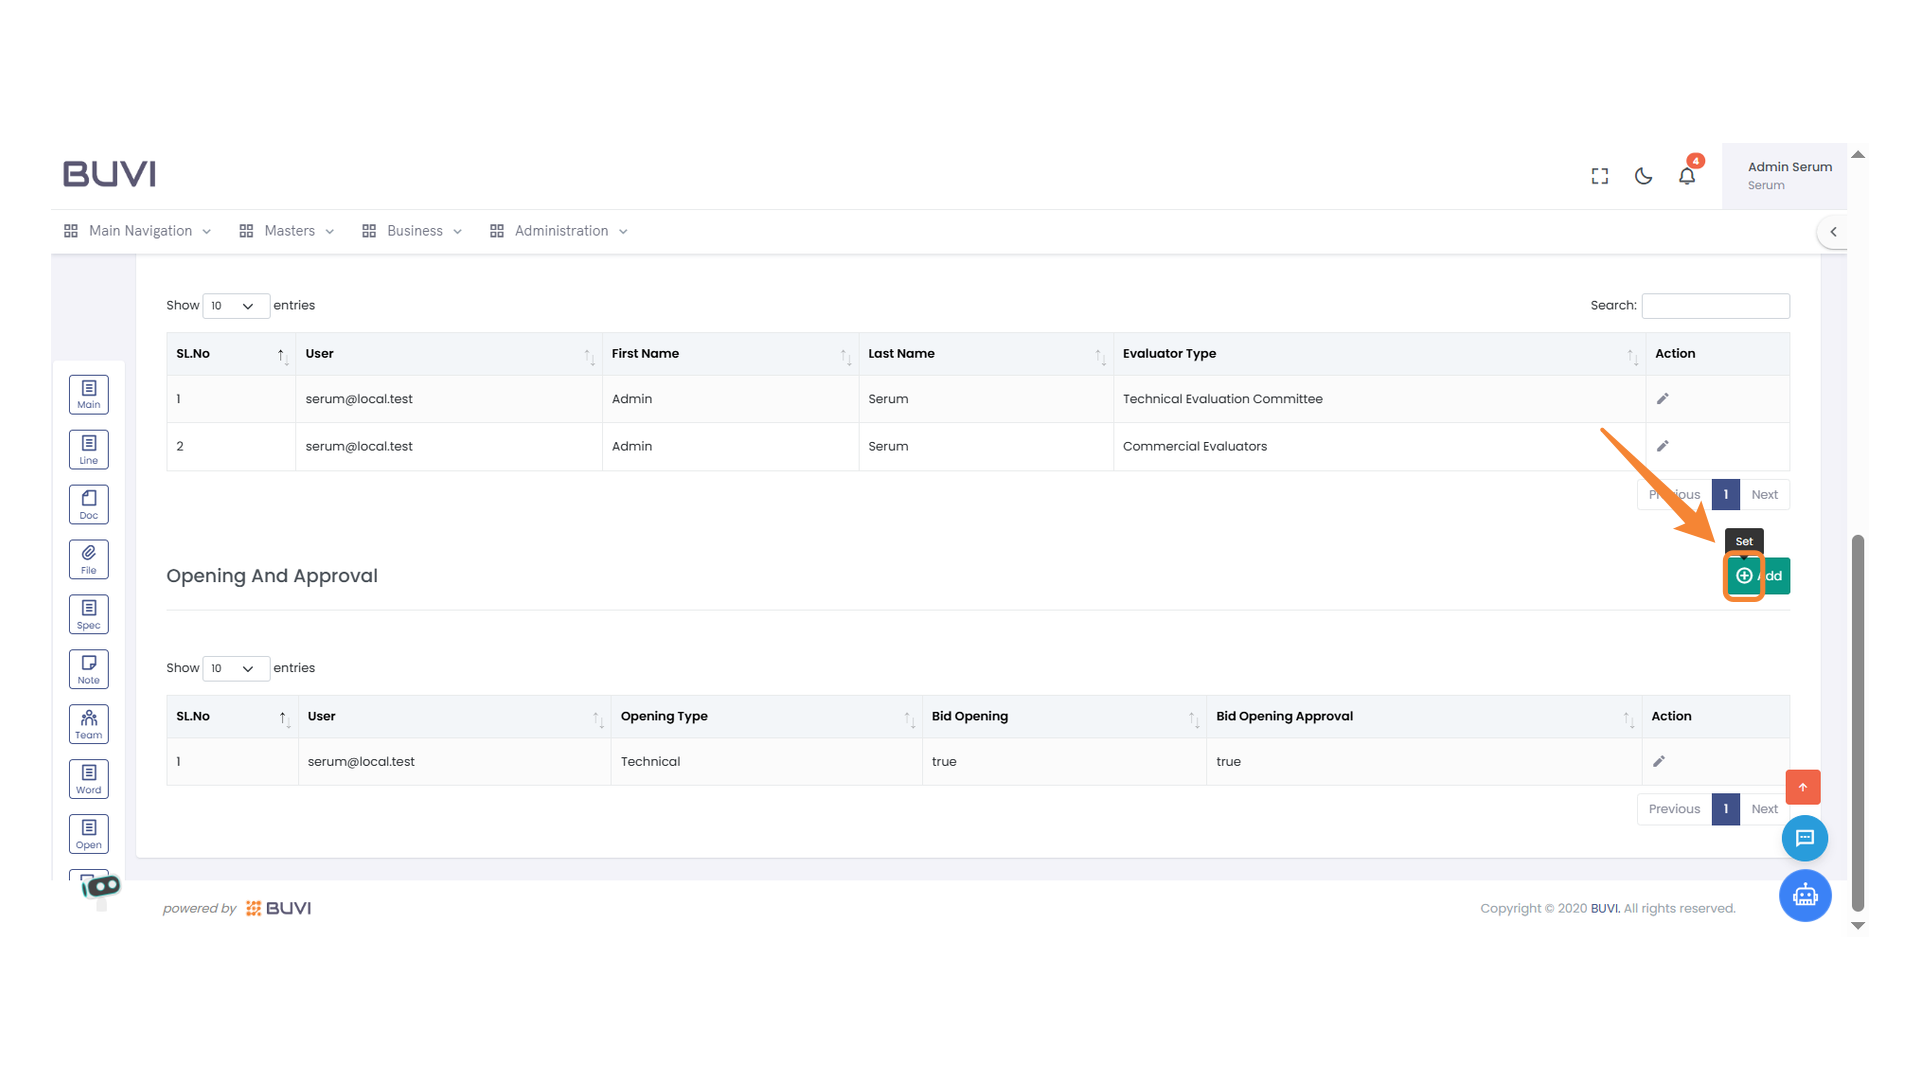
43. User Selection Dropdown
Choose a user from the dropdown menu to proceed with the action.
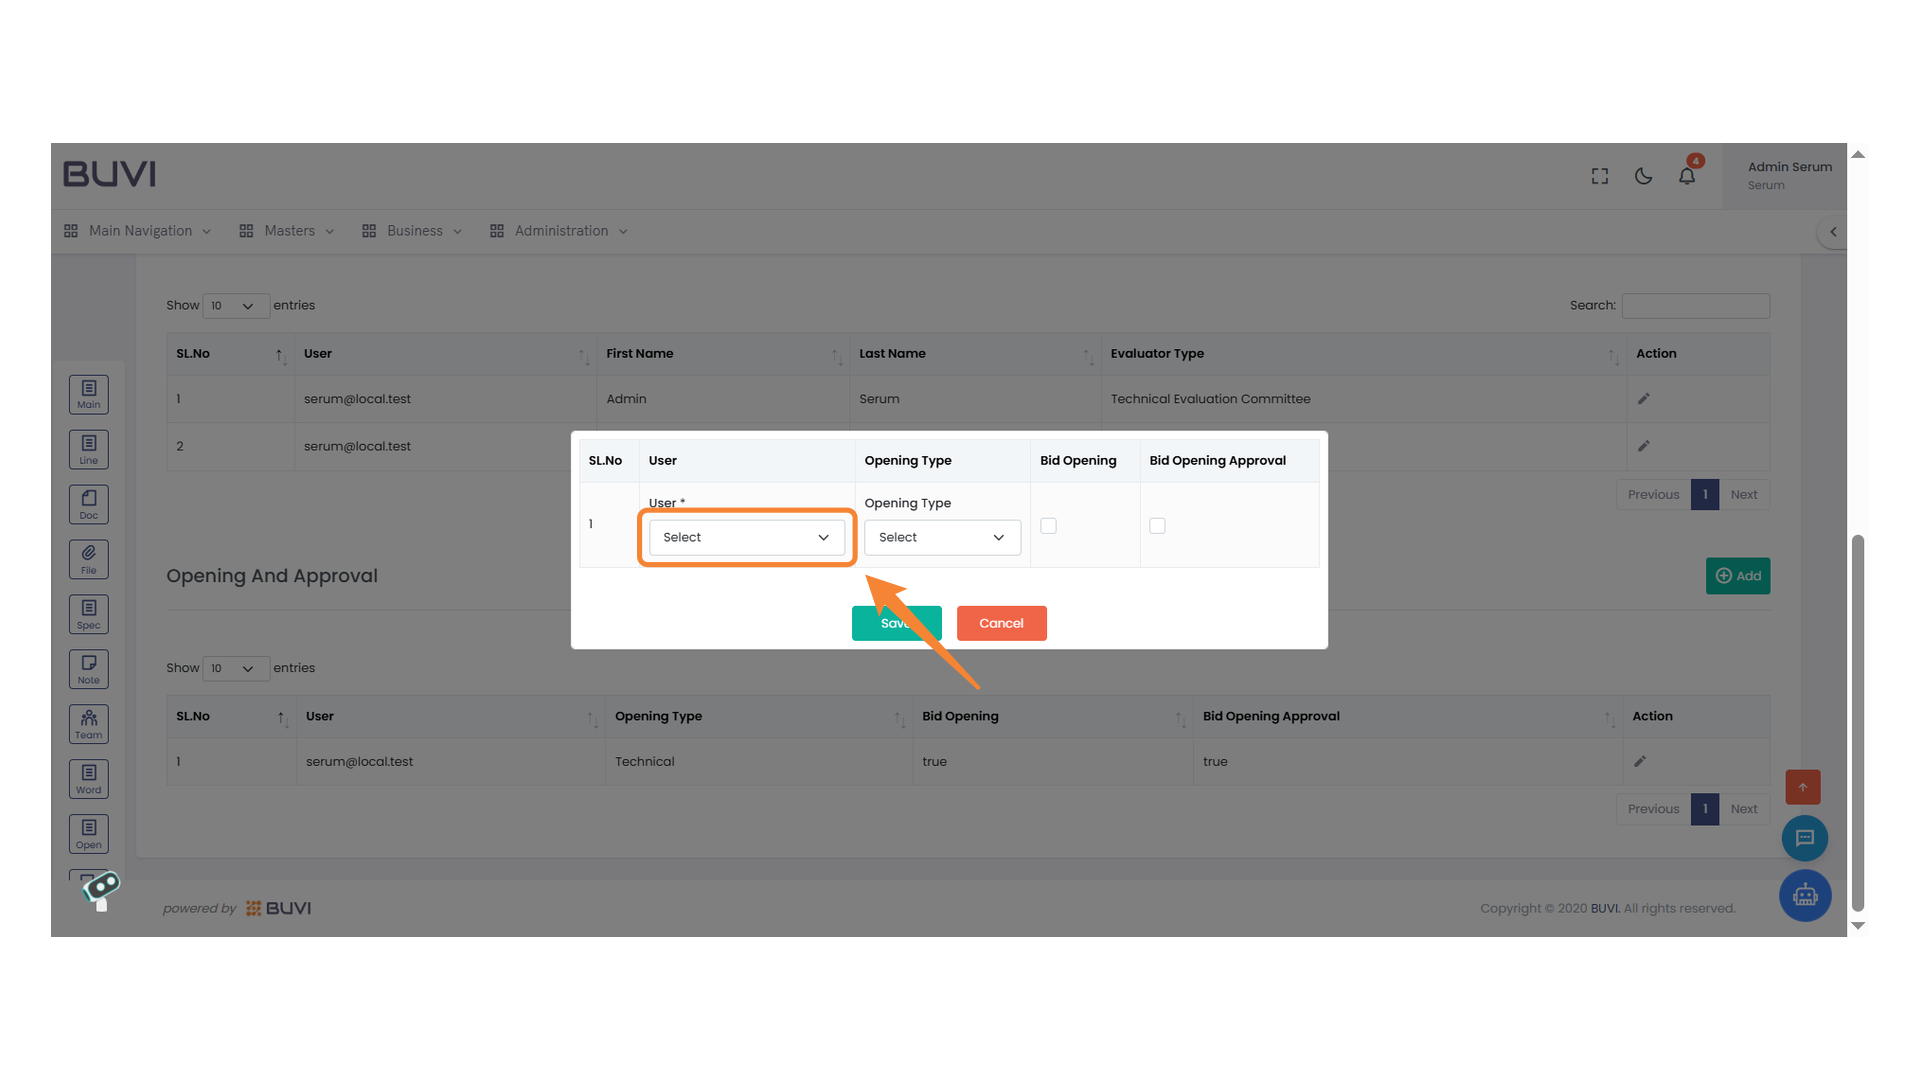
44. Opening Type Selection
Choose the desired opening type from the dropdown menu.
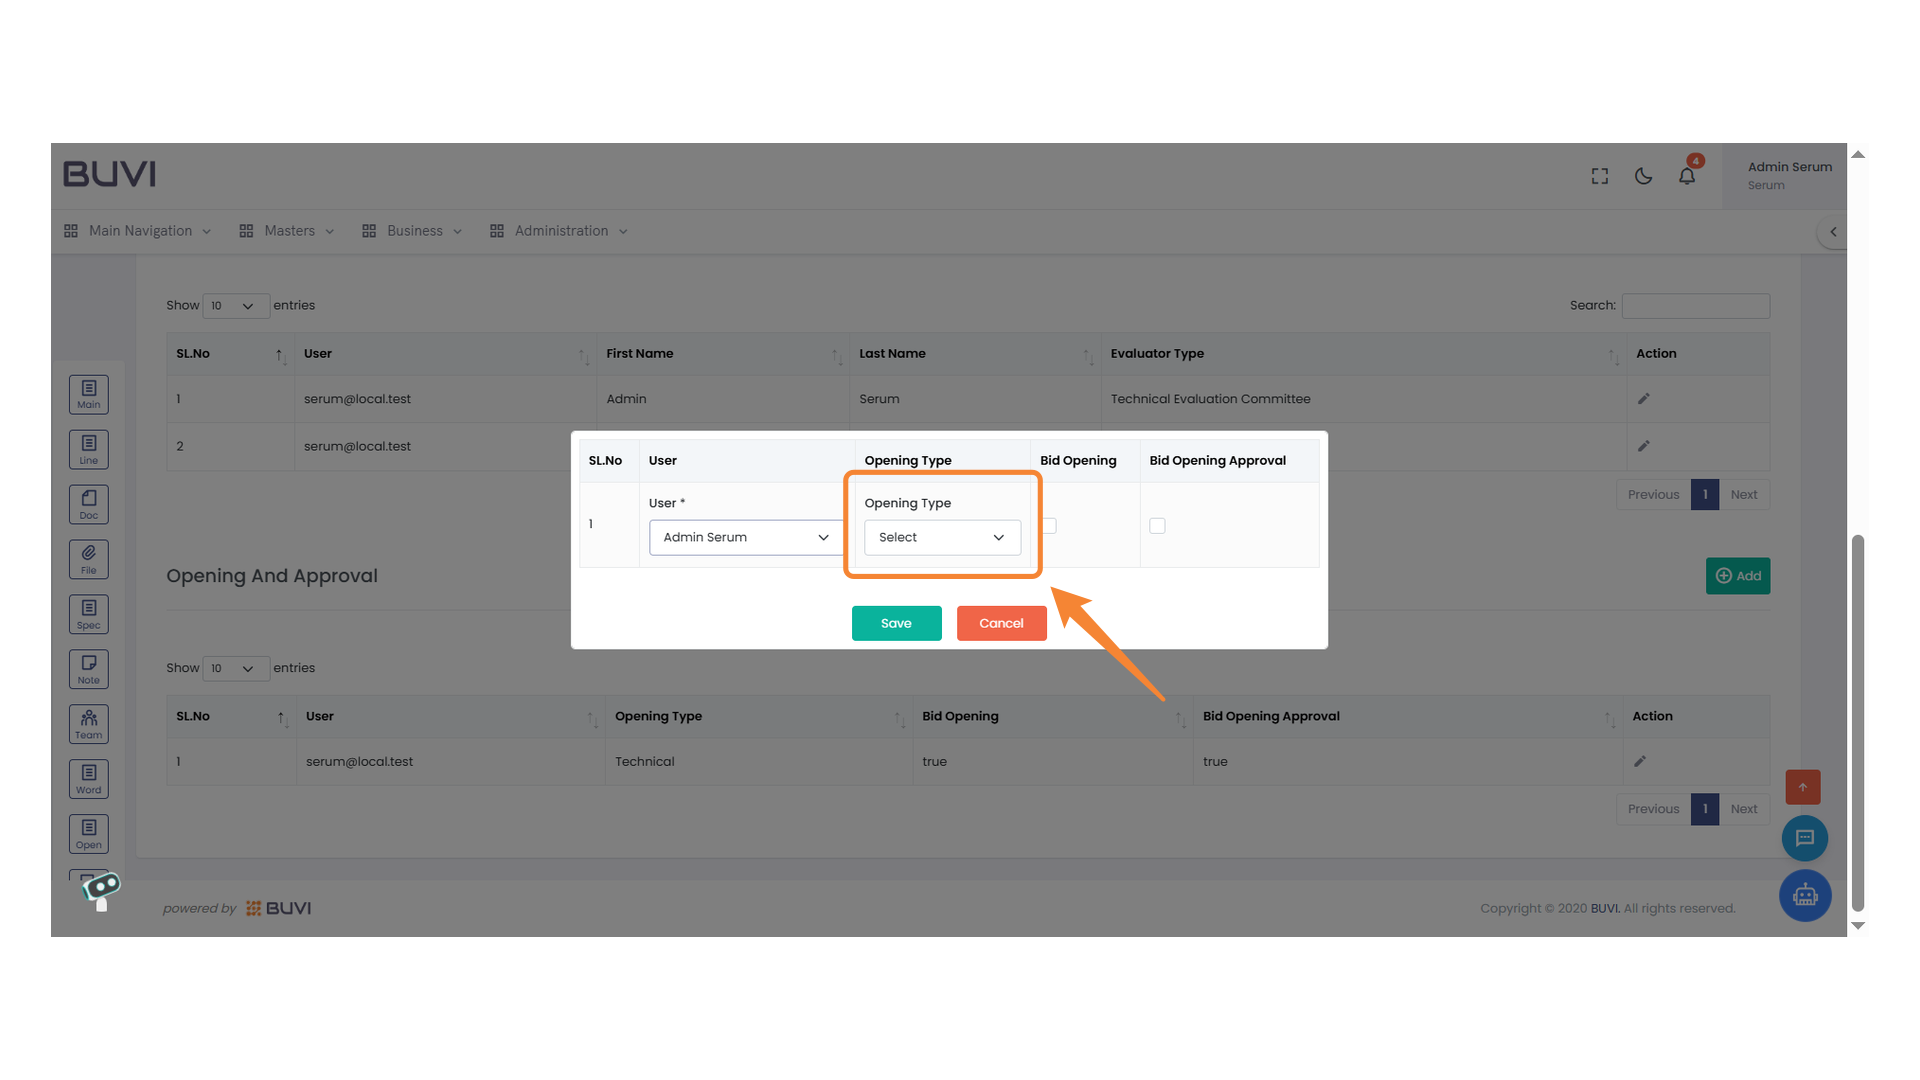
45. Opening Type Selection
Choose an opening type from the dropdown menu.
46. Bid Opening Checkbox
Select the checkbox to indicate a bid opening.
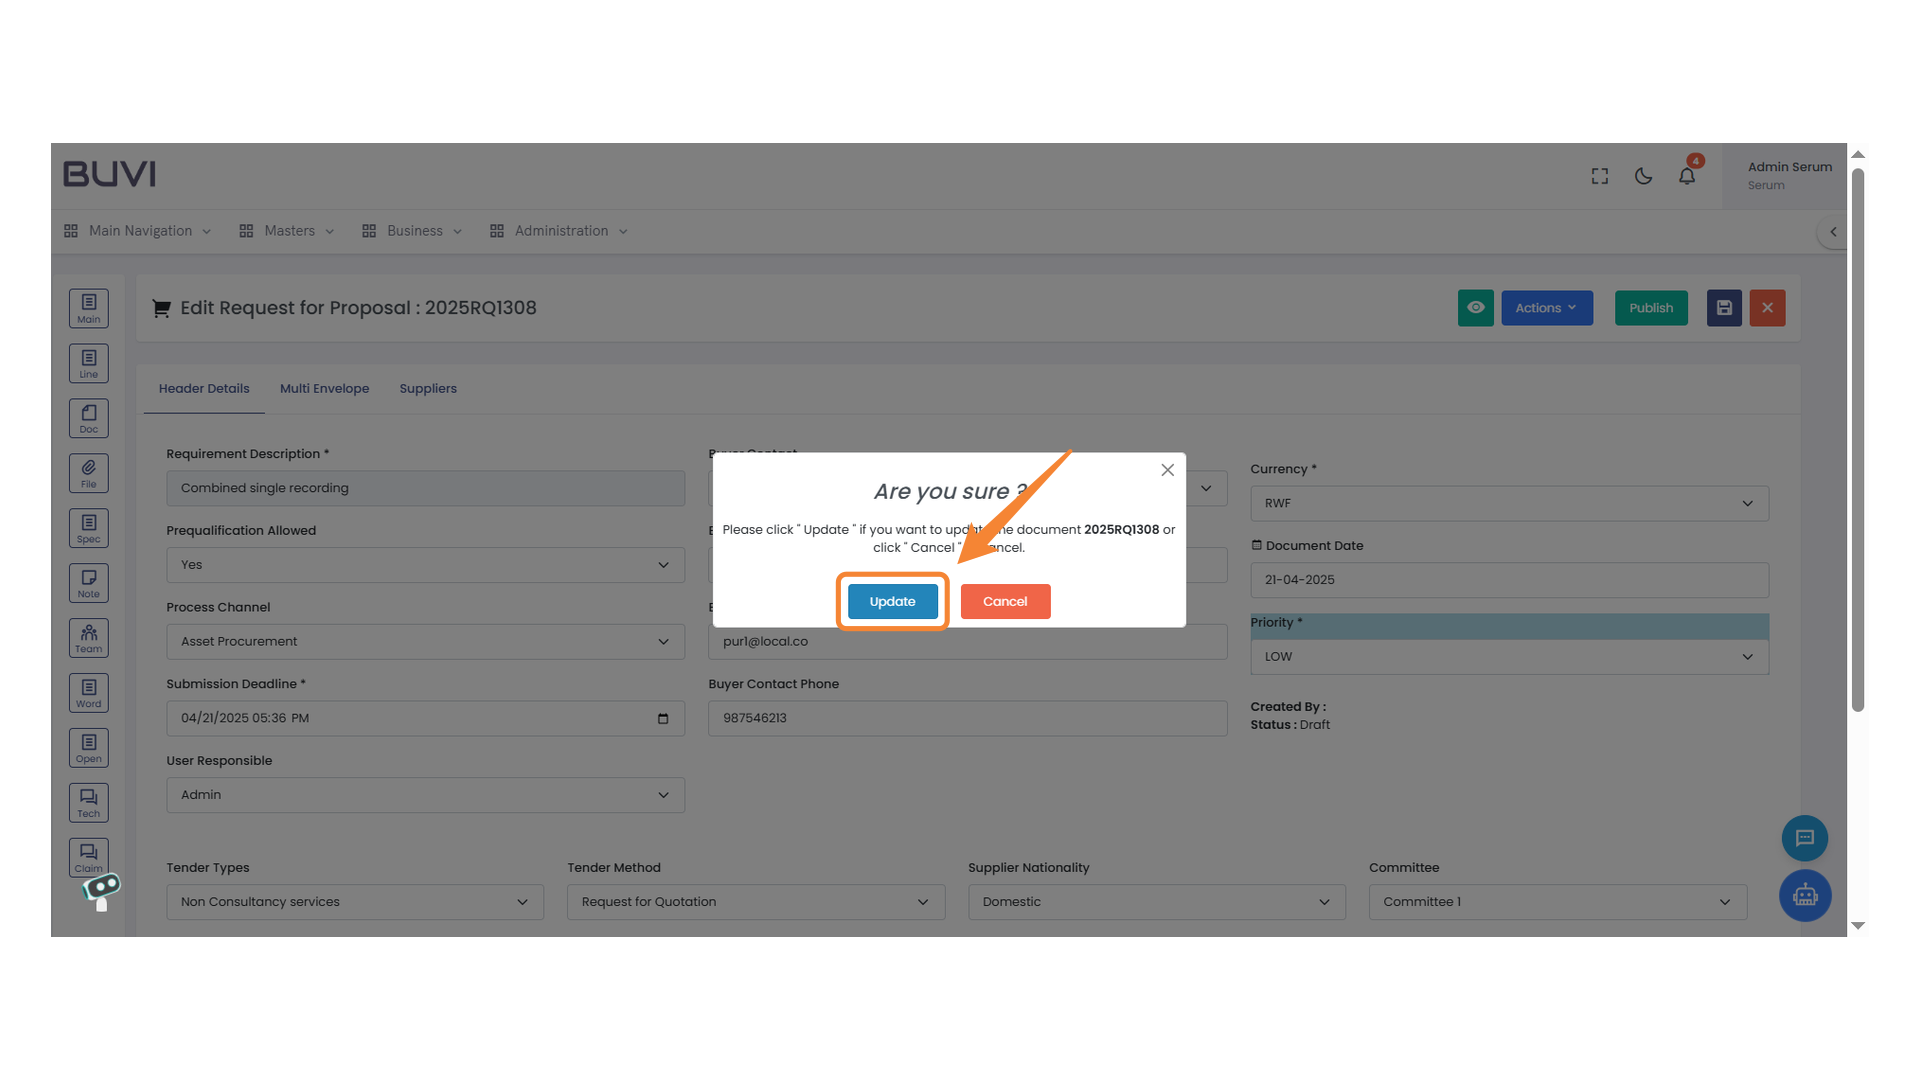
47. Bid Opening Approval Checkbox
Select the checkbox to approve the bid opening process.
48. Bid Opening Selection Interface
Select a user and specify the opening type. Confirm your choices by checking the bid opening and approval boxes. Save or cancel your selection.
49. Save Button
Click to save the current changes.
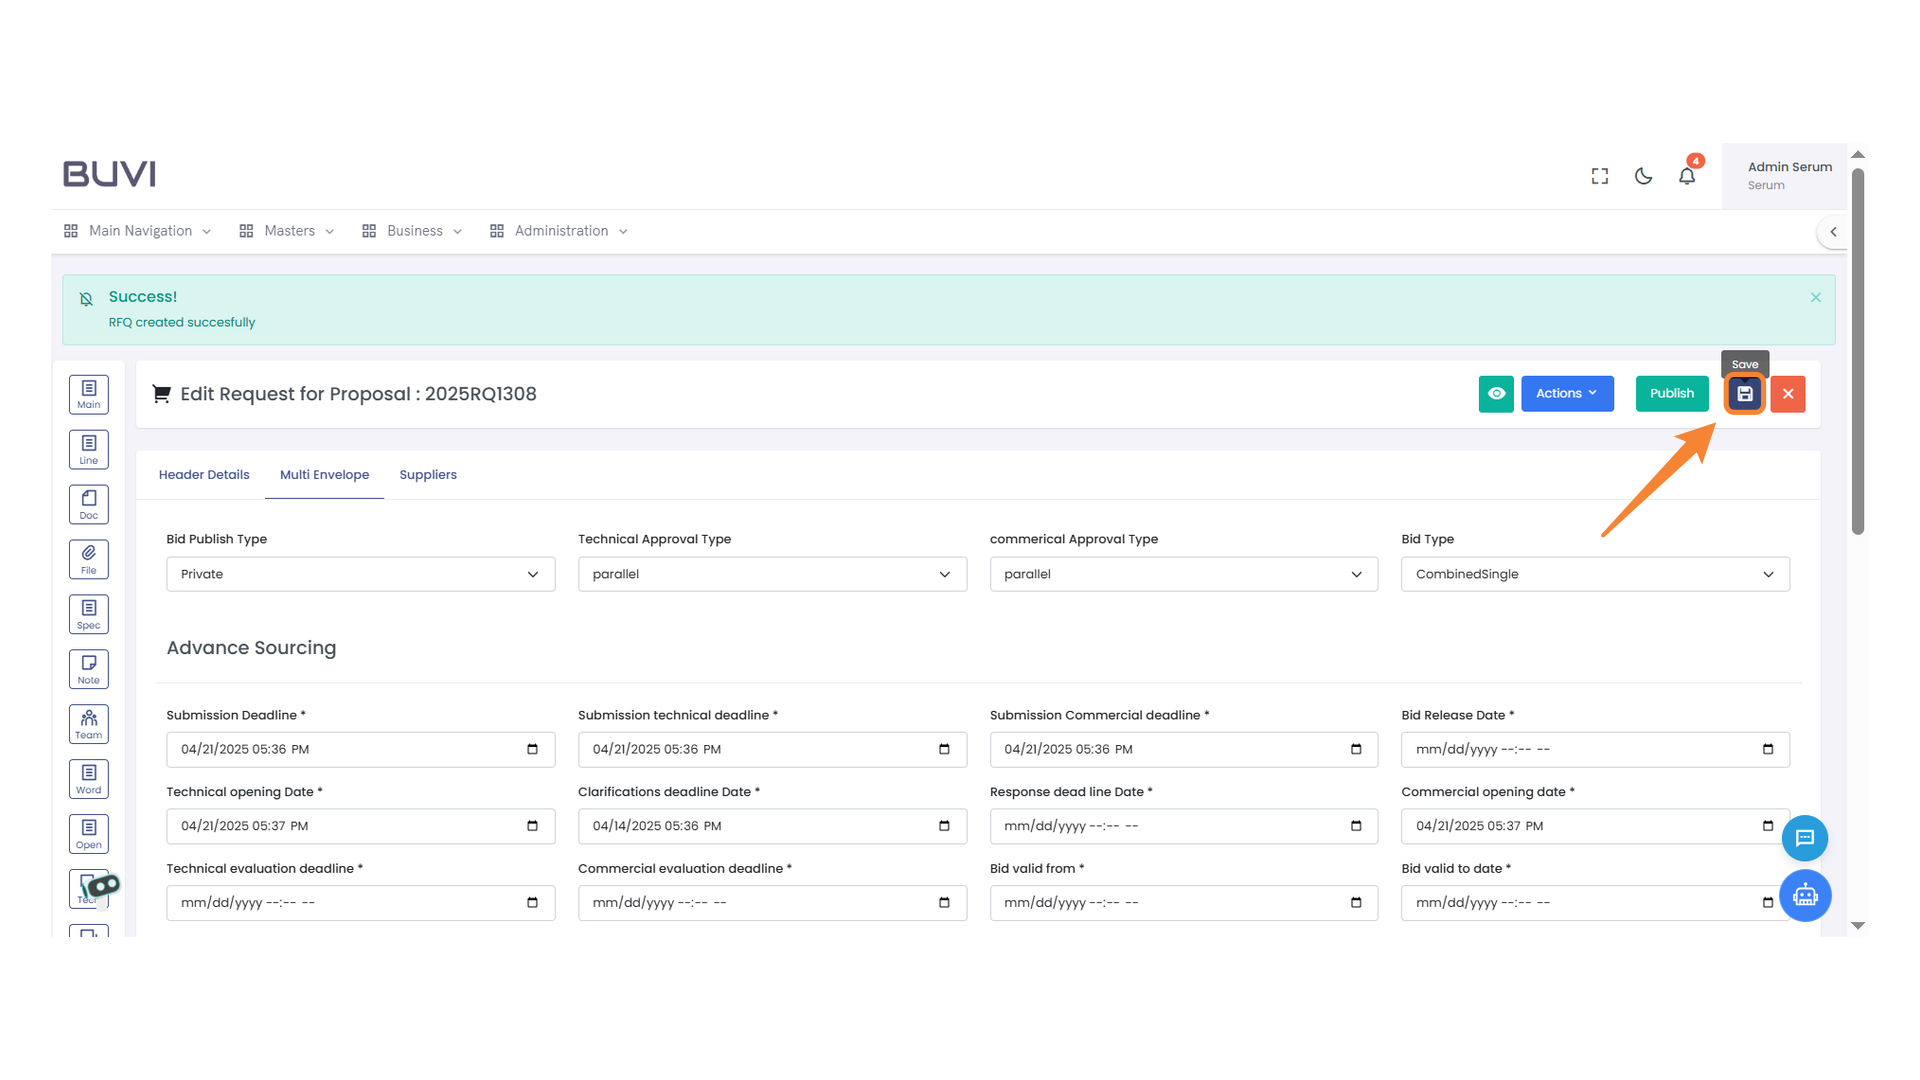
50. Save Button
Click to save your changes to the proposal.
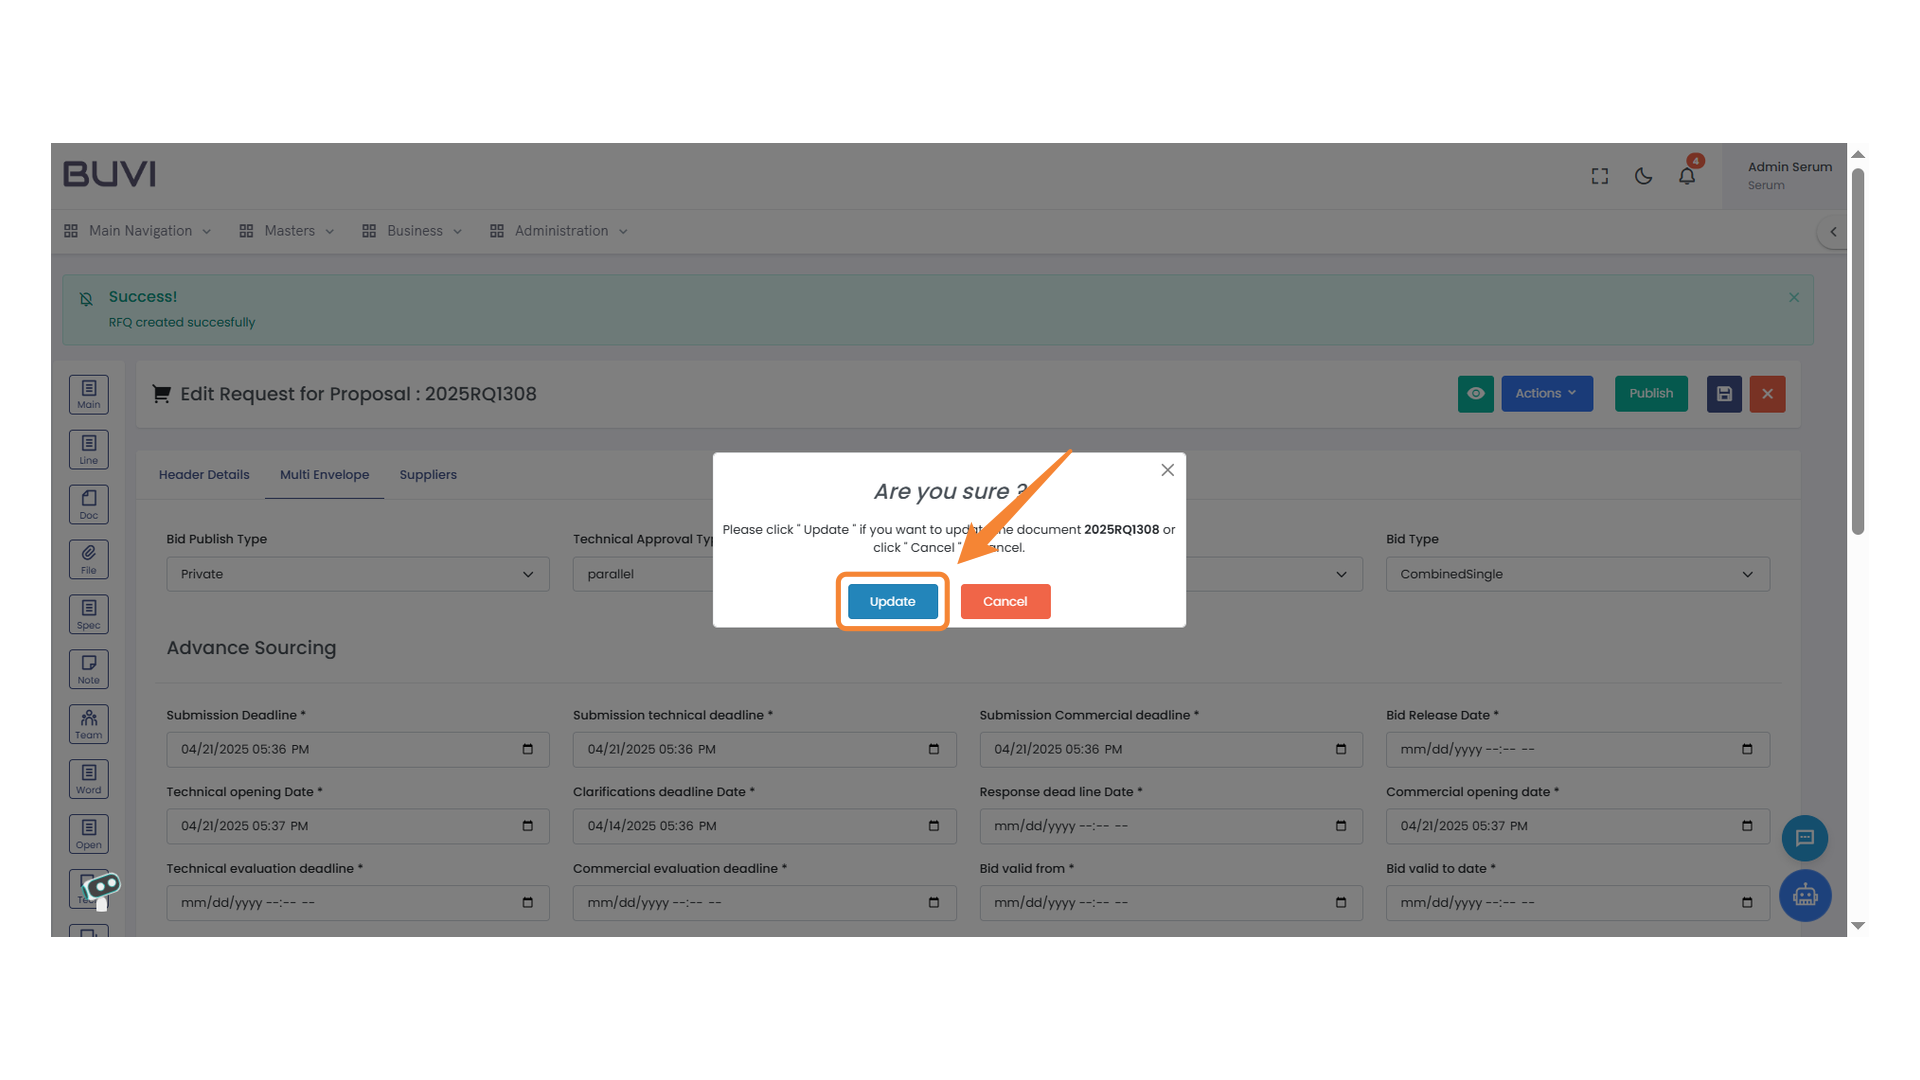
51. Confirmation Prompt
Click the 'Update' button to proceed with saving your changes.
52. Line Menu Icon
Select this icon to access line-specific features.
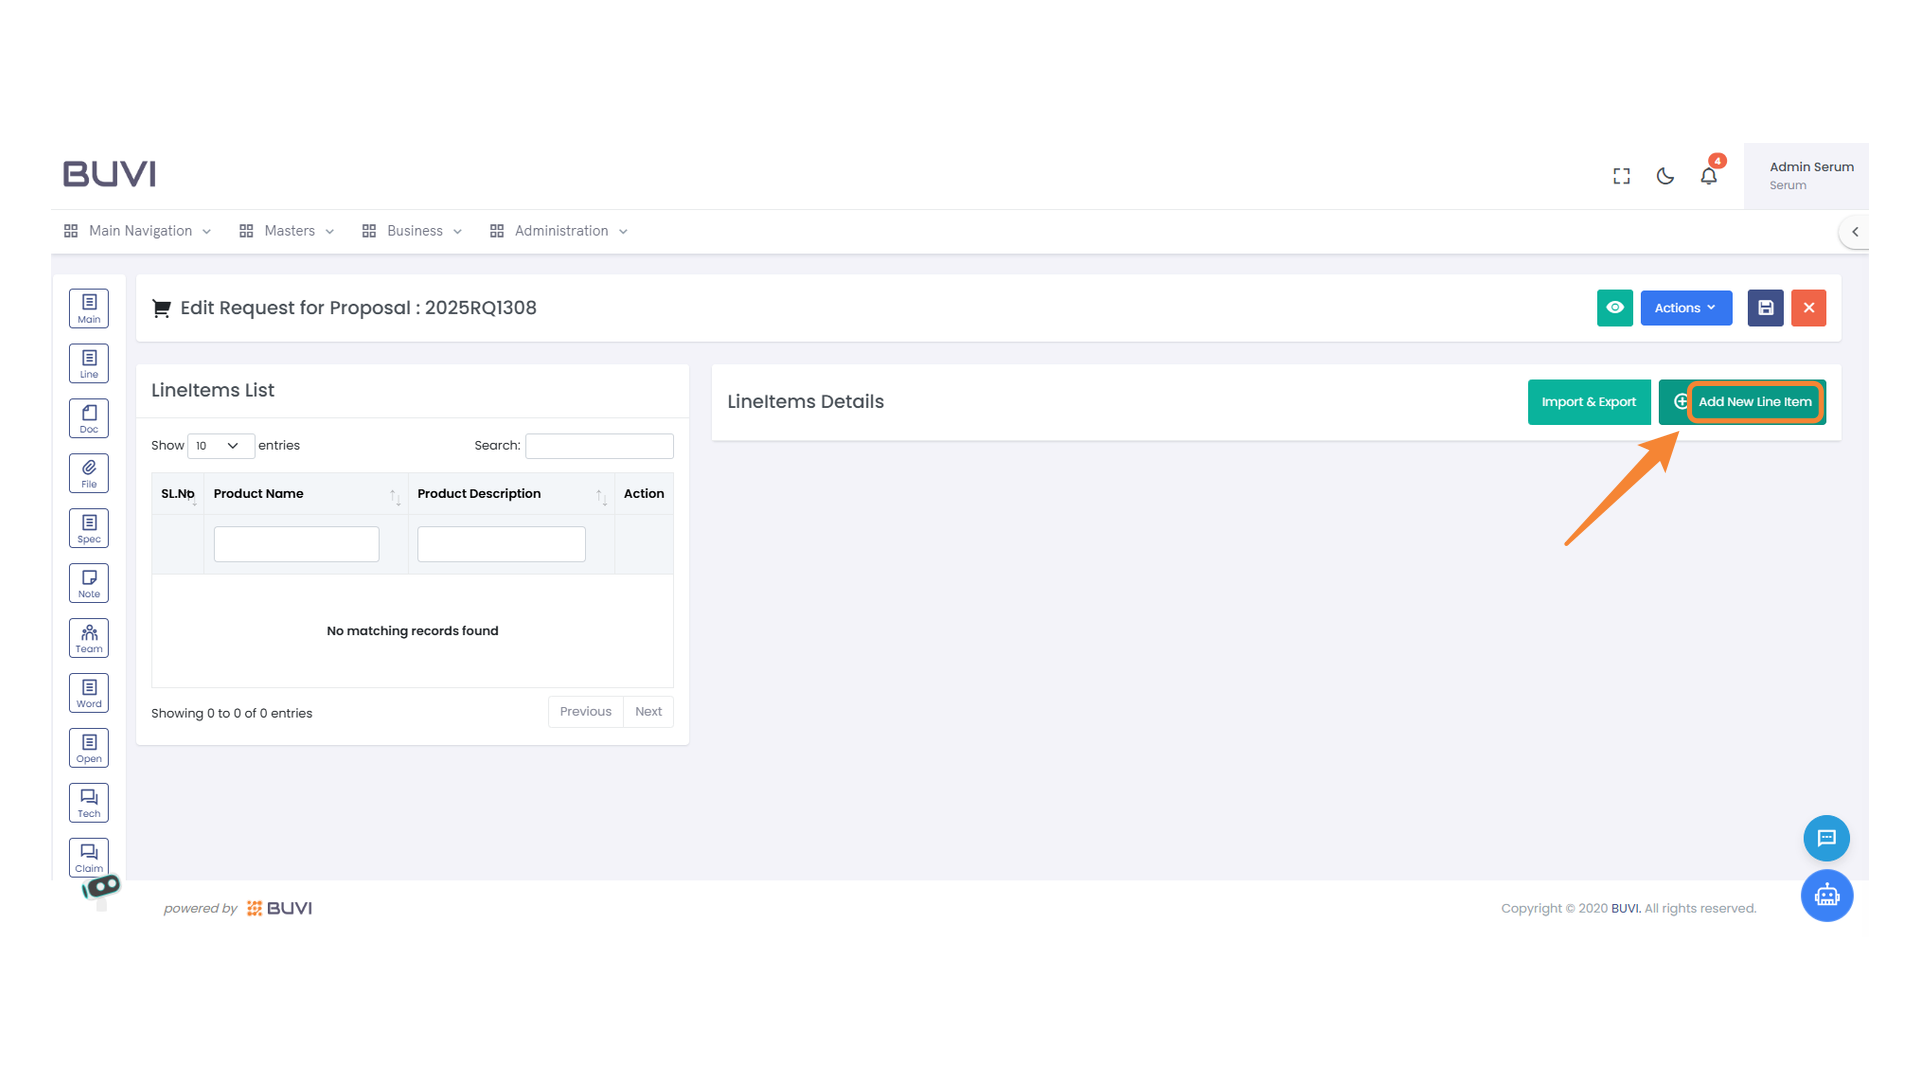
53. Add New Line Item Button
Click to add a new line item to the list.
54. Name Input Field
Enter the product name in this field.

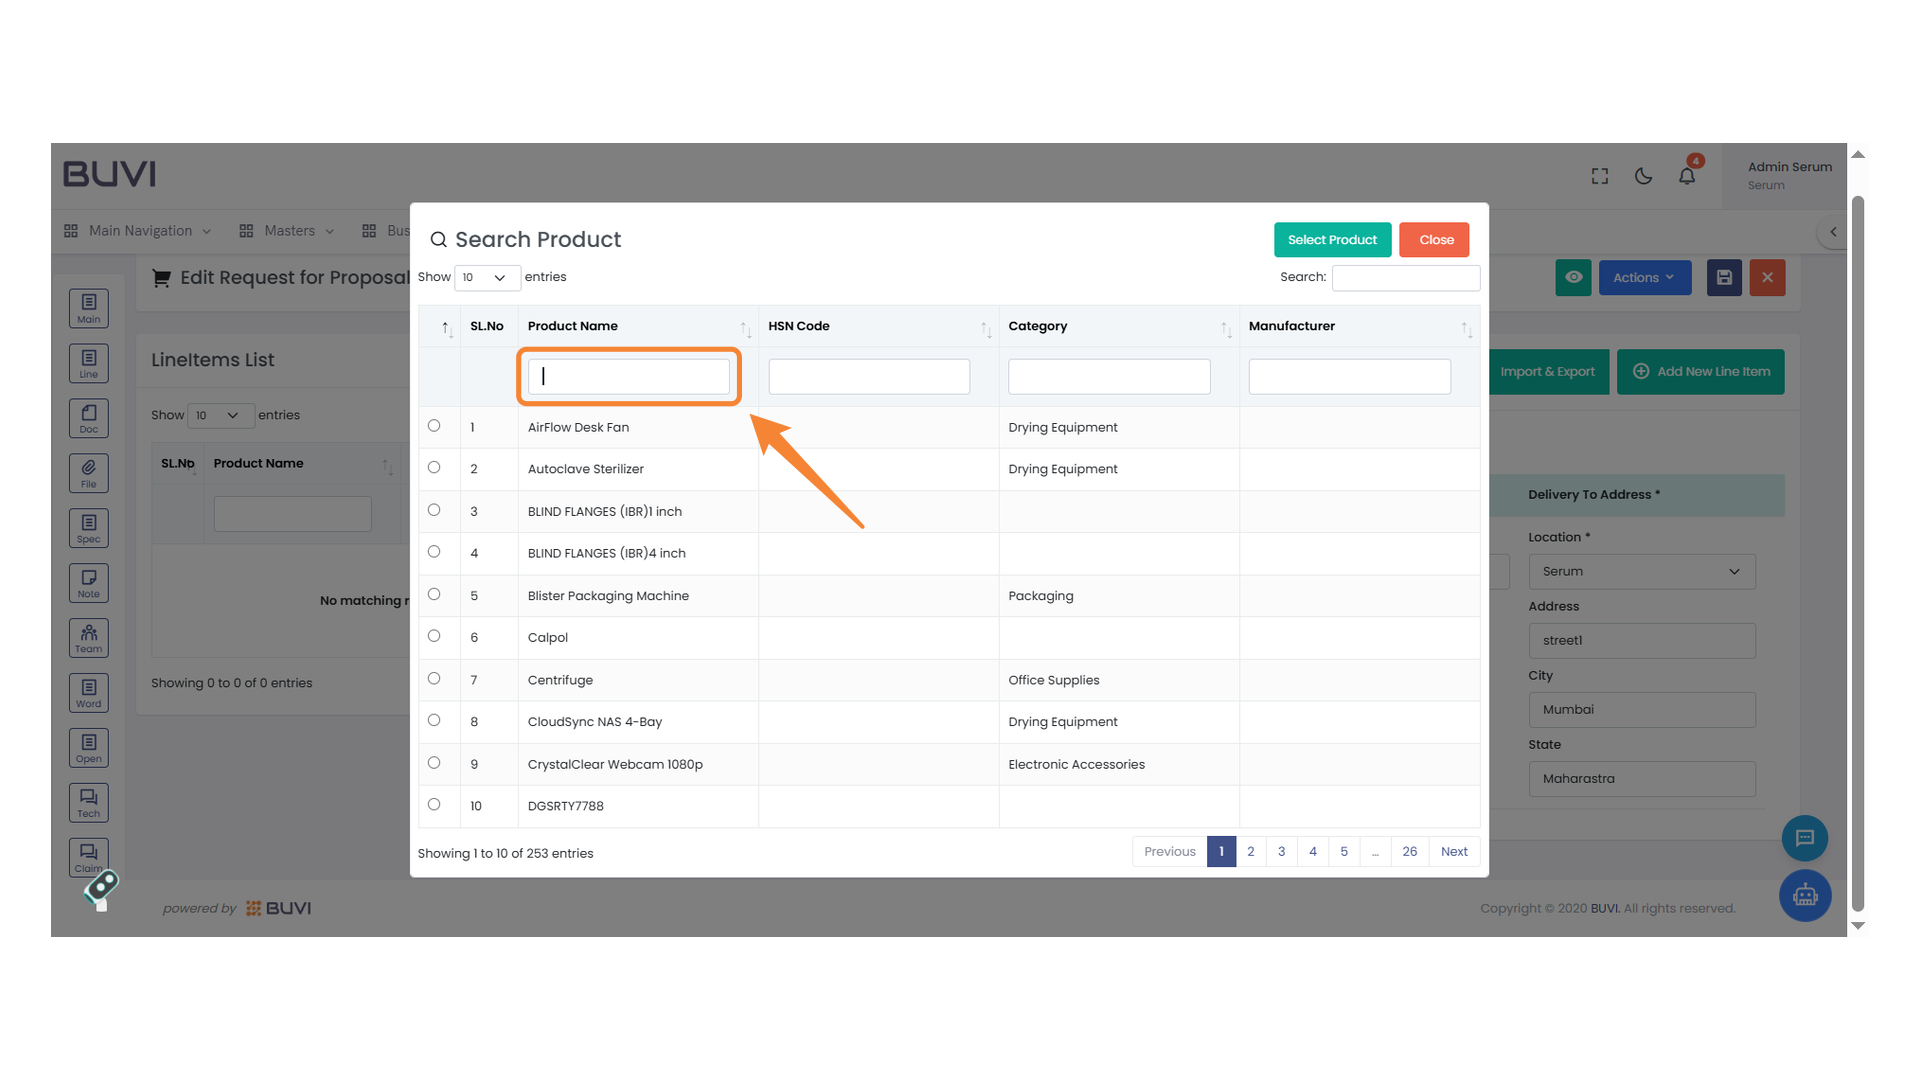
55. Empty Product Name Field
Enter a product name to search for relevant entries.
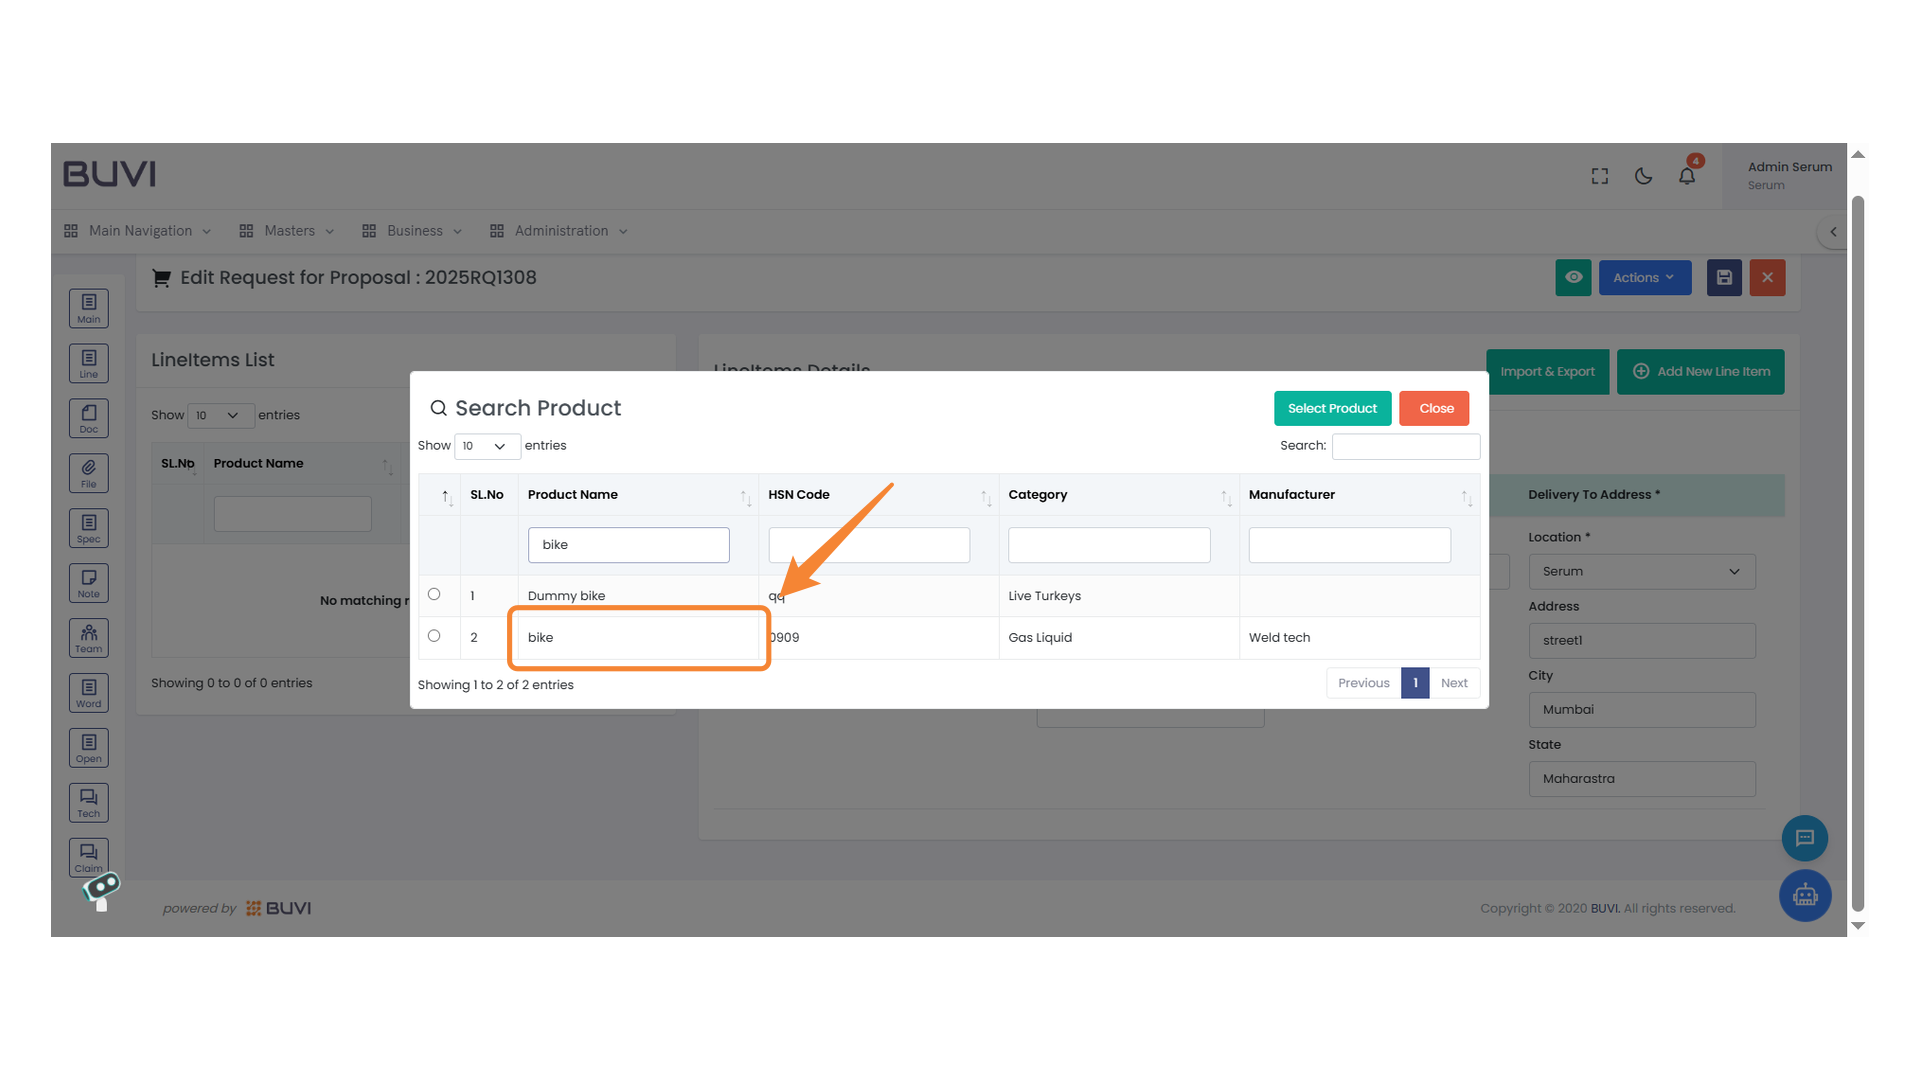
56. Product Selection Highlight
Focus on selecting the desired product option from the list.
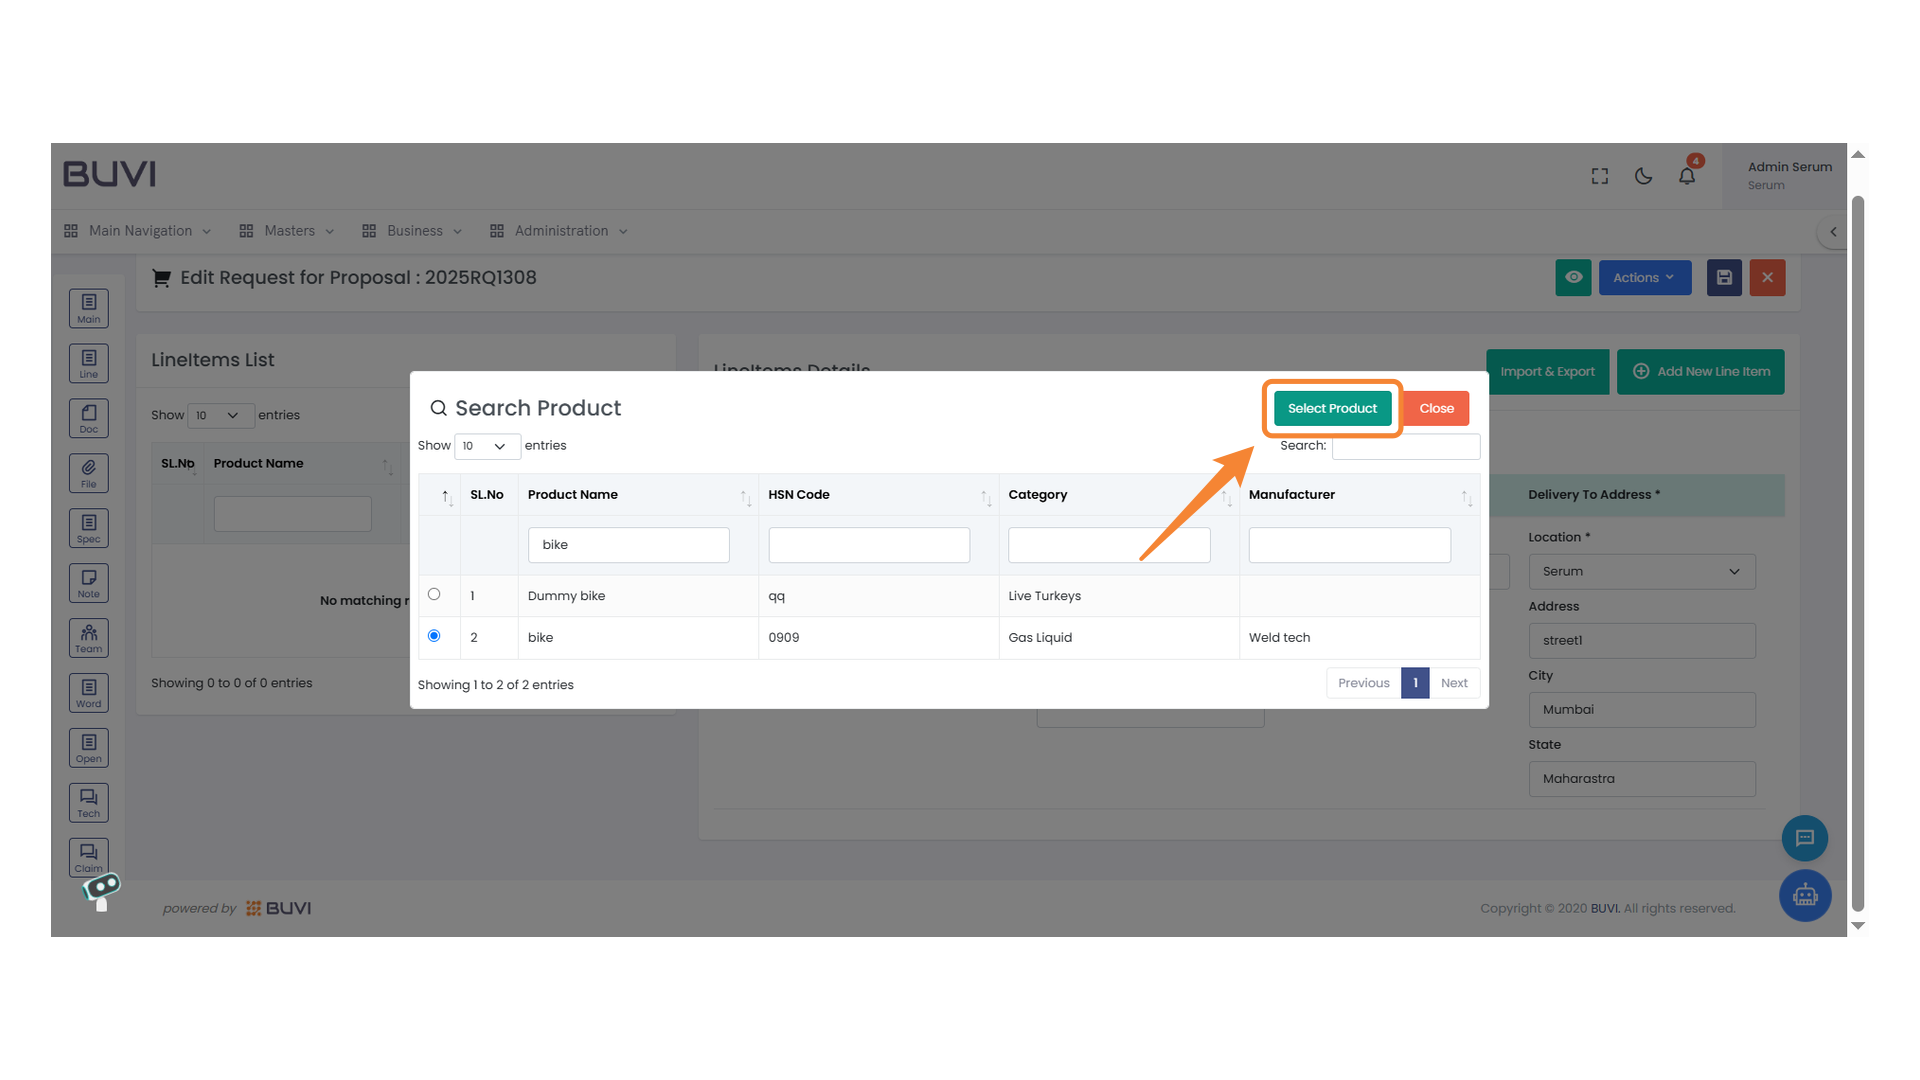
57. Product Selection Button
Click to choose the desired product from the list.
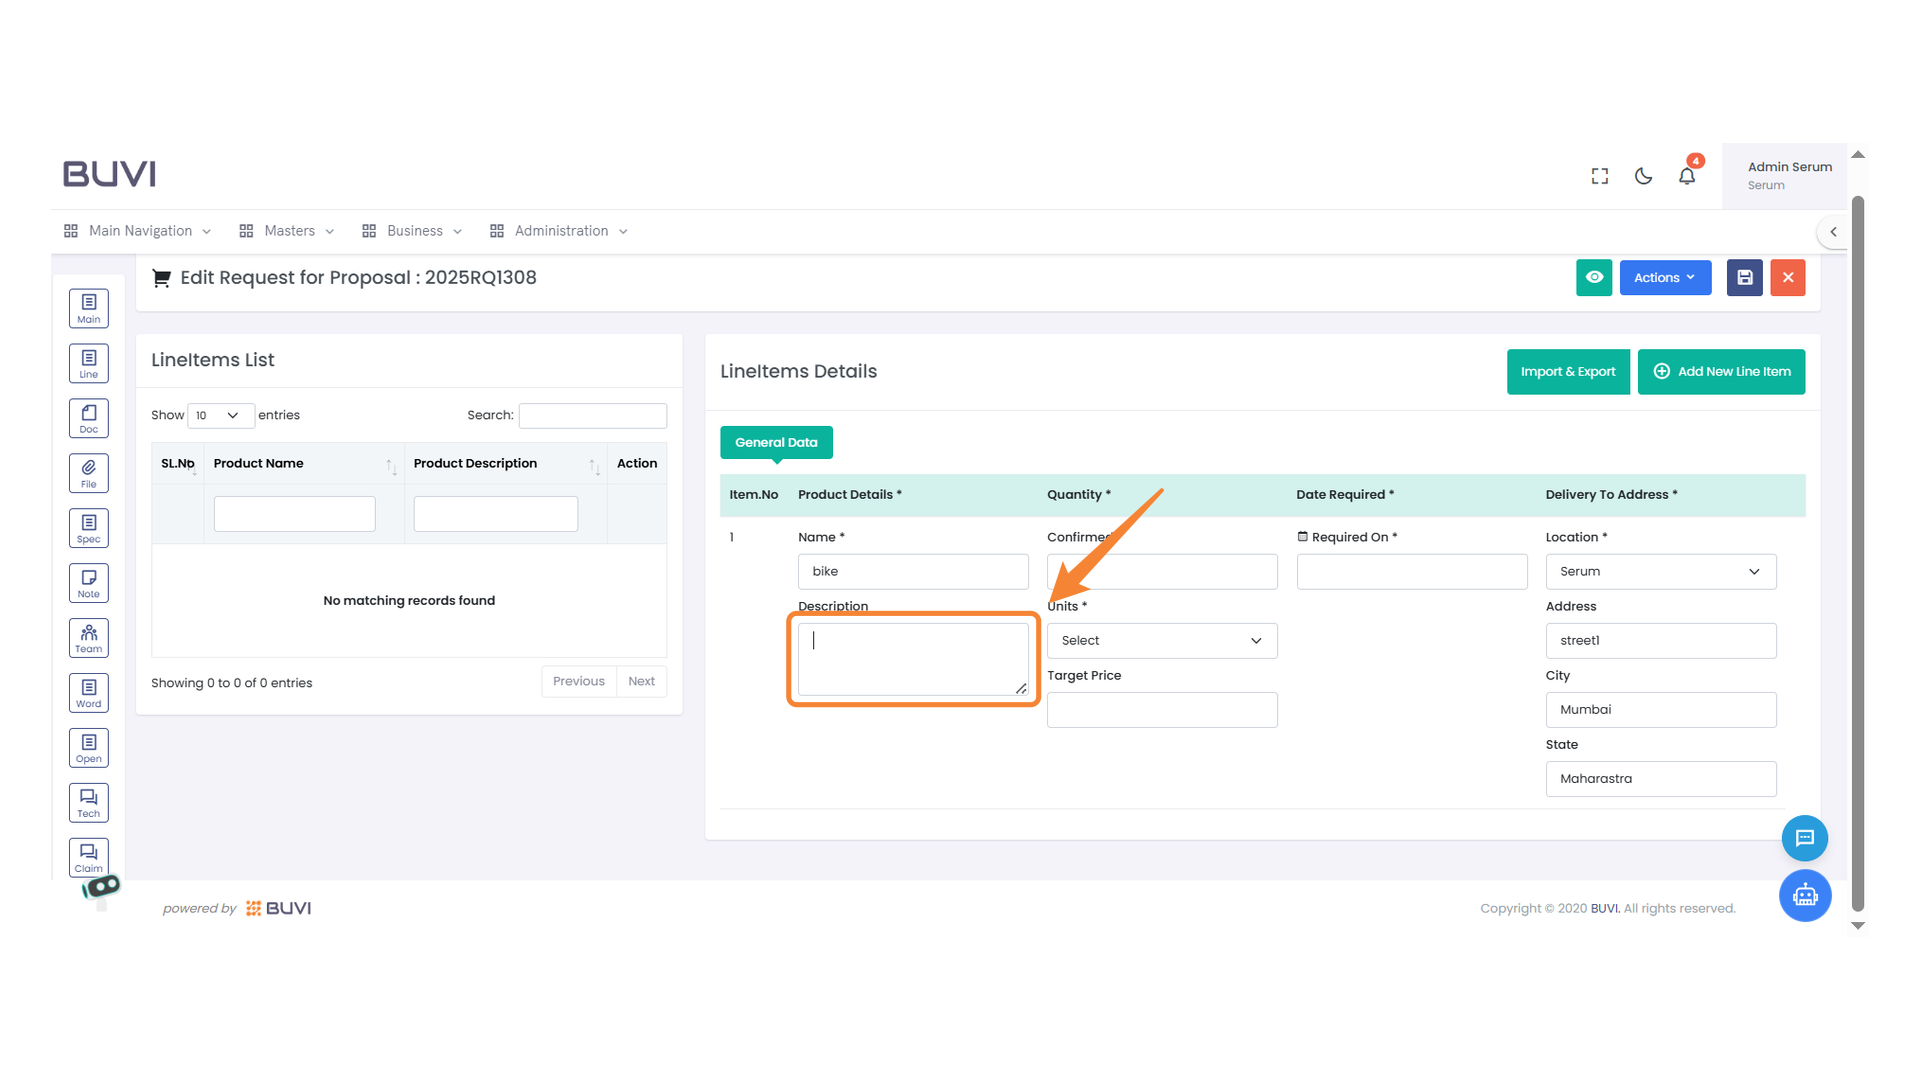
58. Description Input Field
Enter a detailed description for the product here.
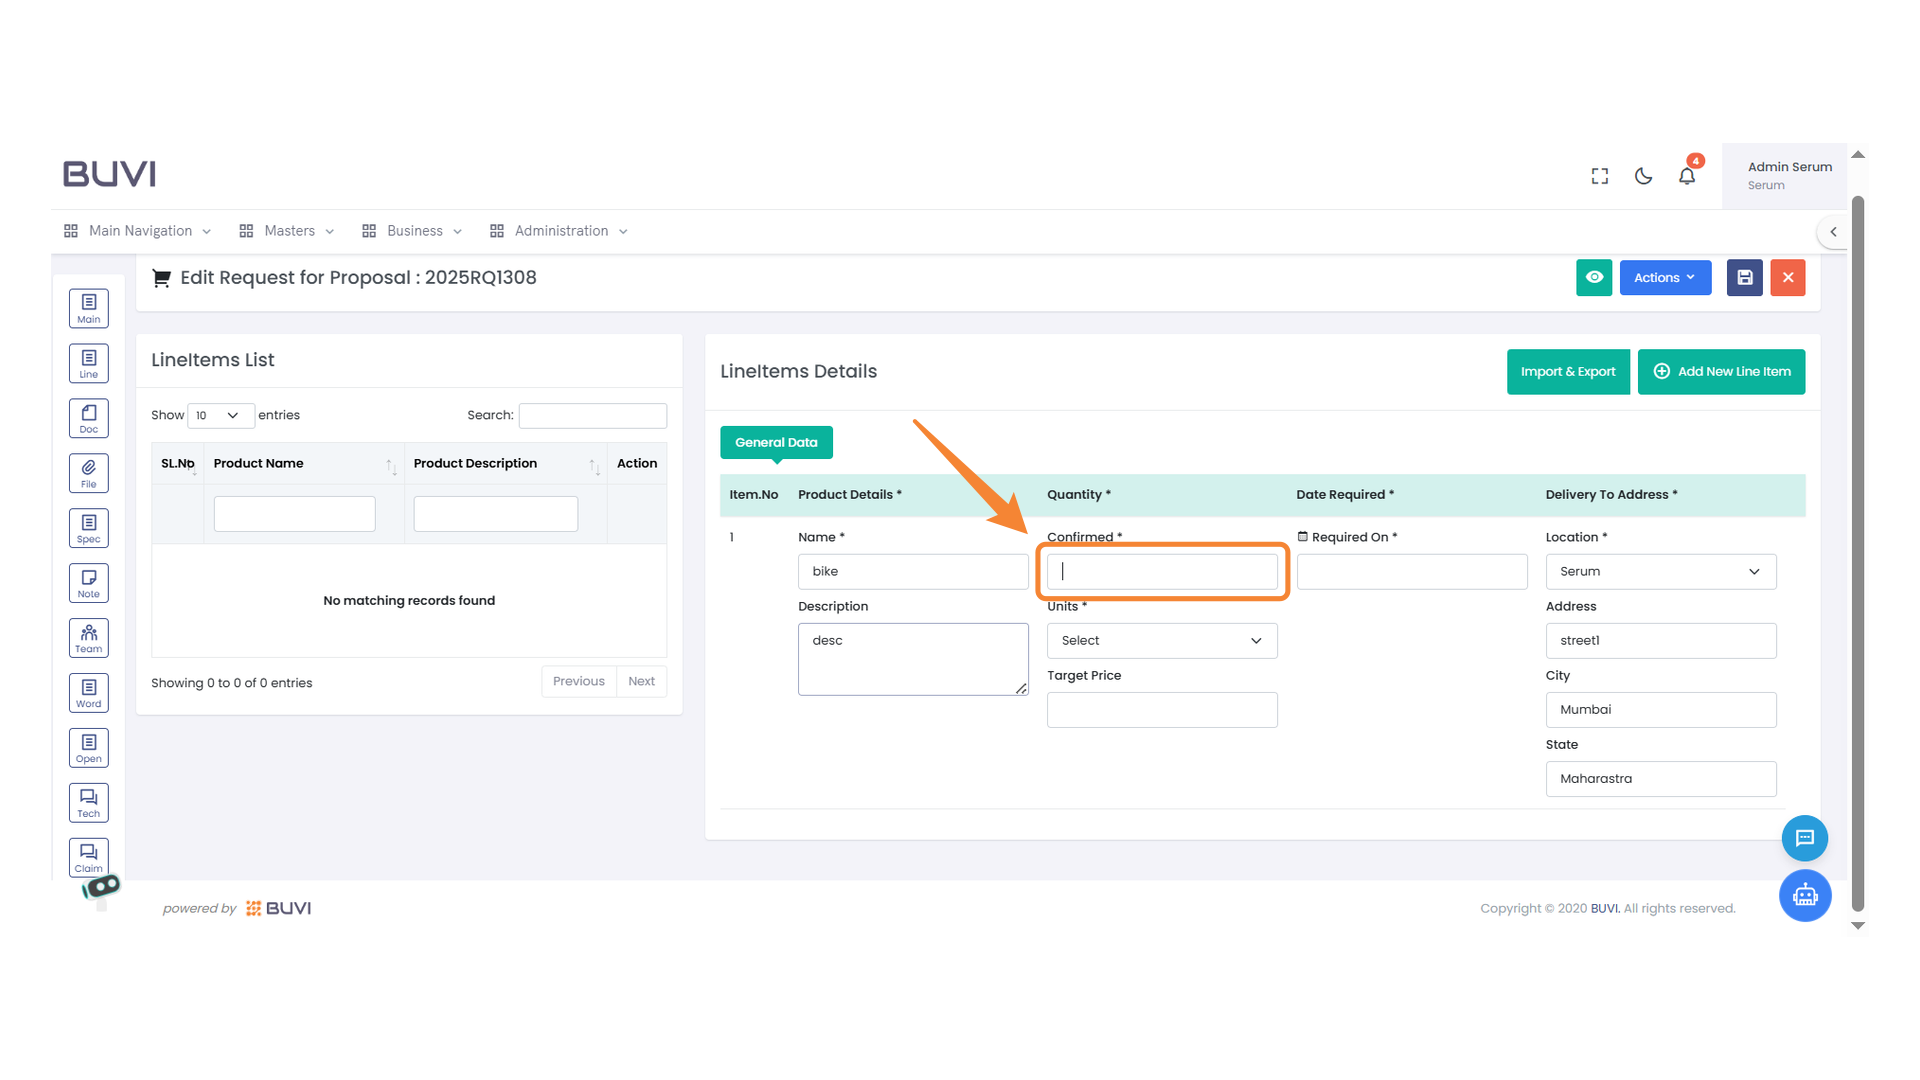
59. Confirmation Field
Enter the confirmation status for the item.
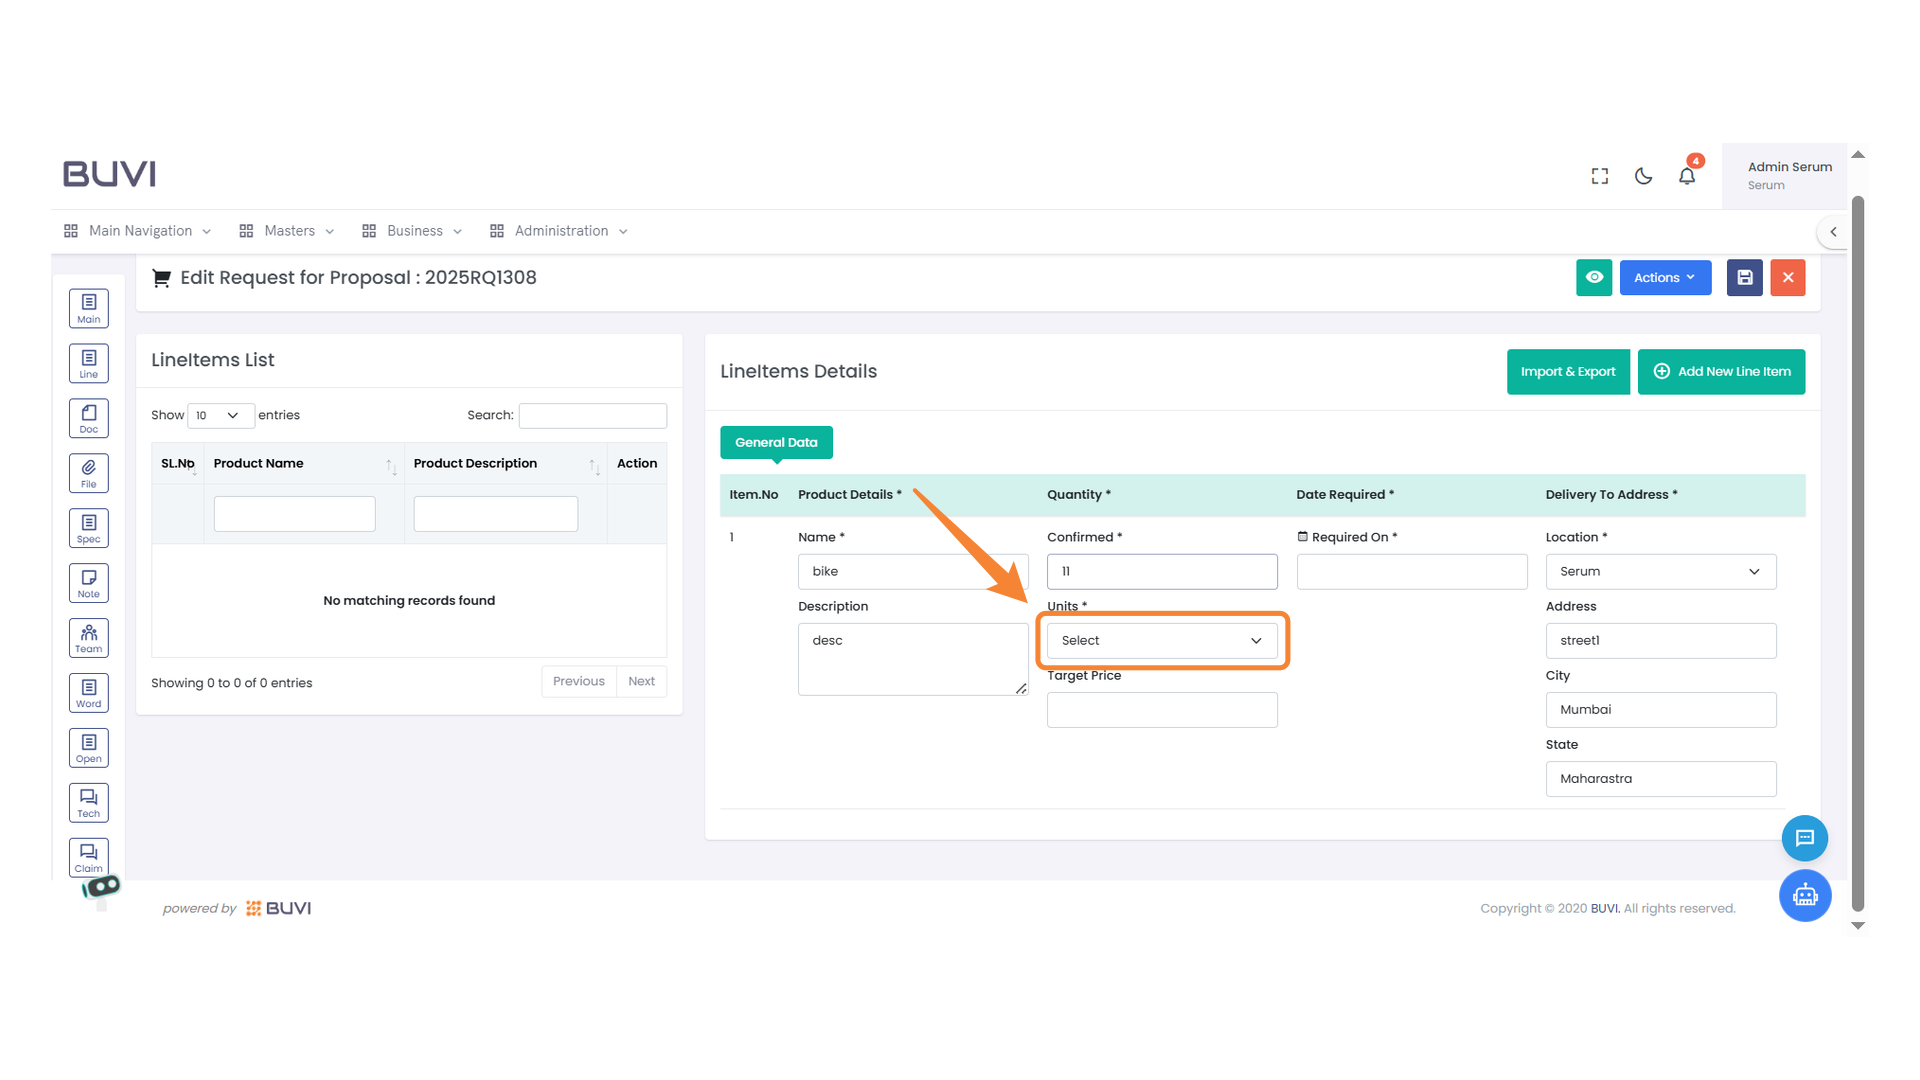
60. Unit Selection Dropdown
Choose the appropriate unit for the item from the dropdown menu.
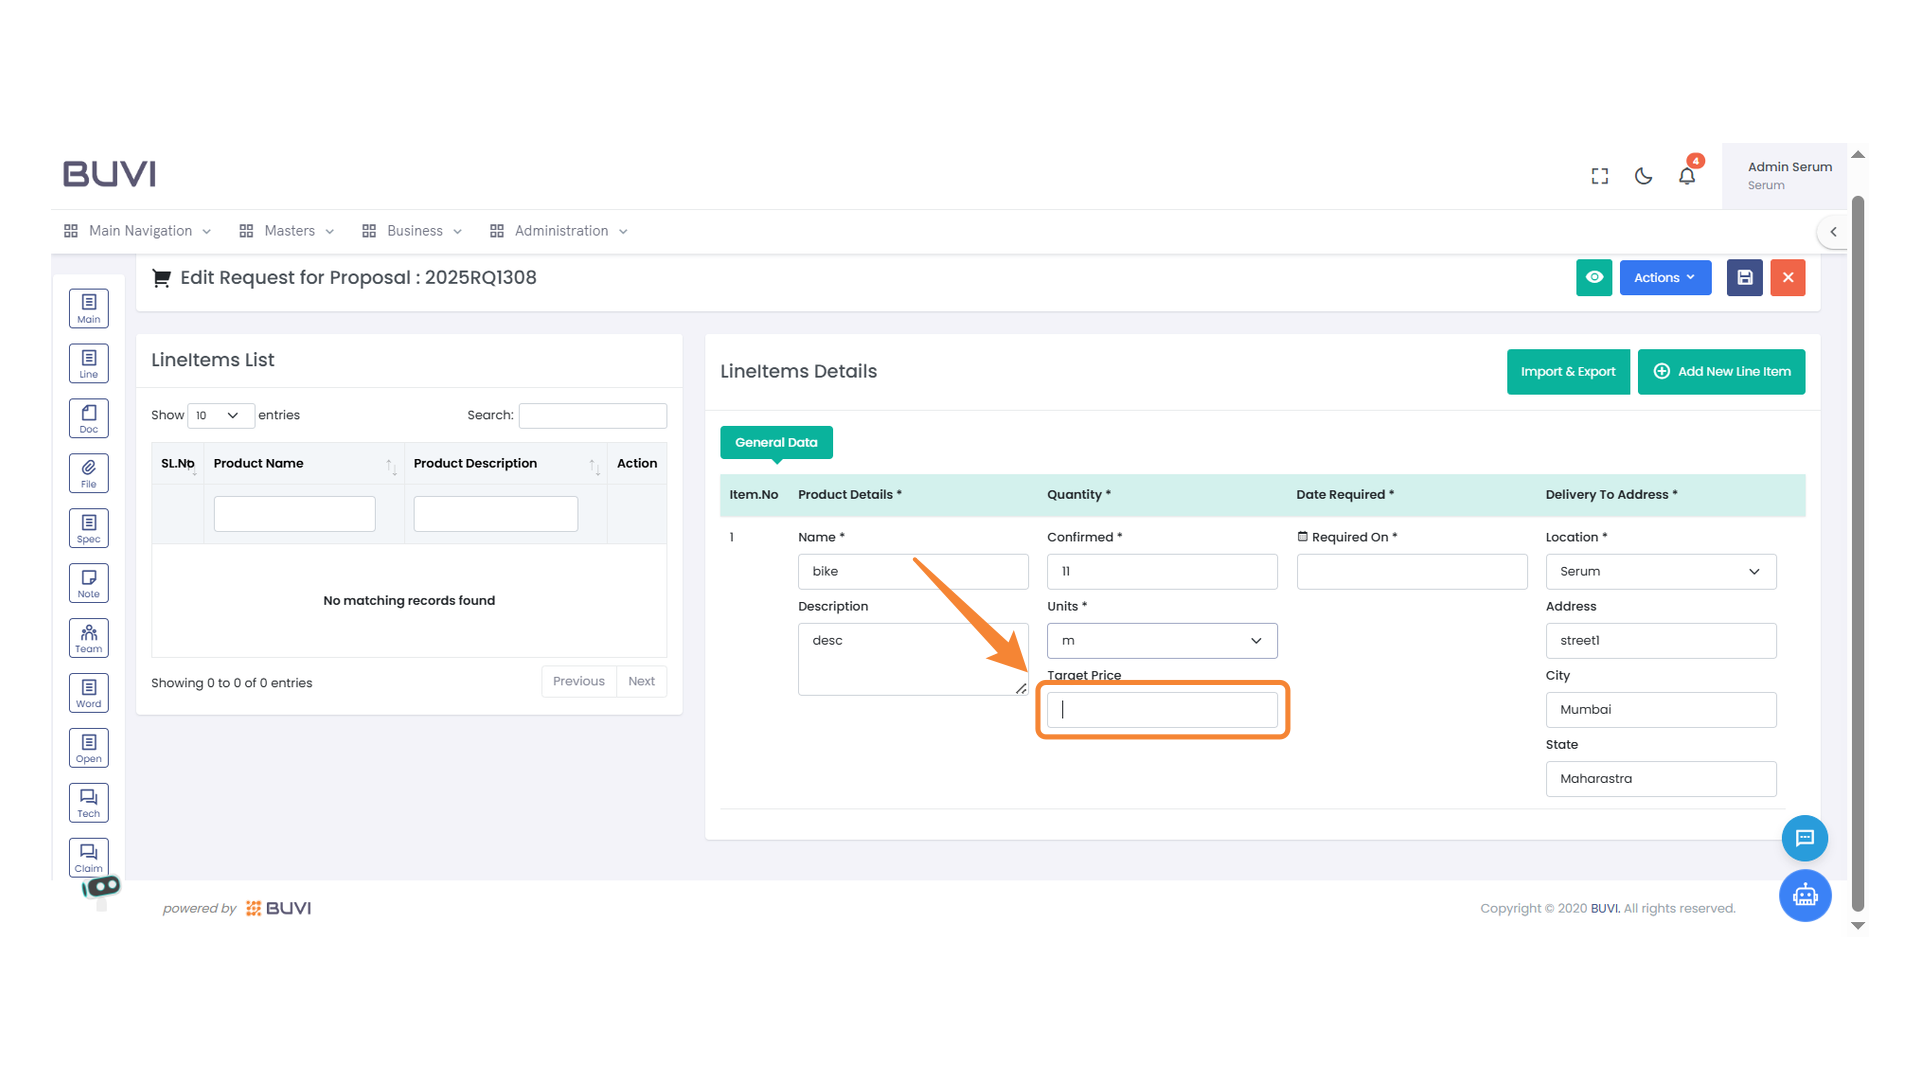
61. Target Price Entry Field
Enter the desired target price for the specified item in this field.
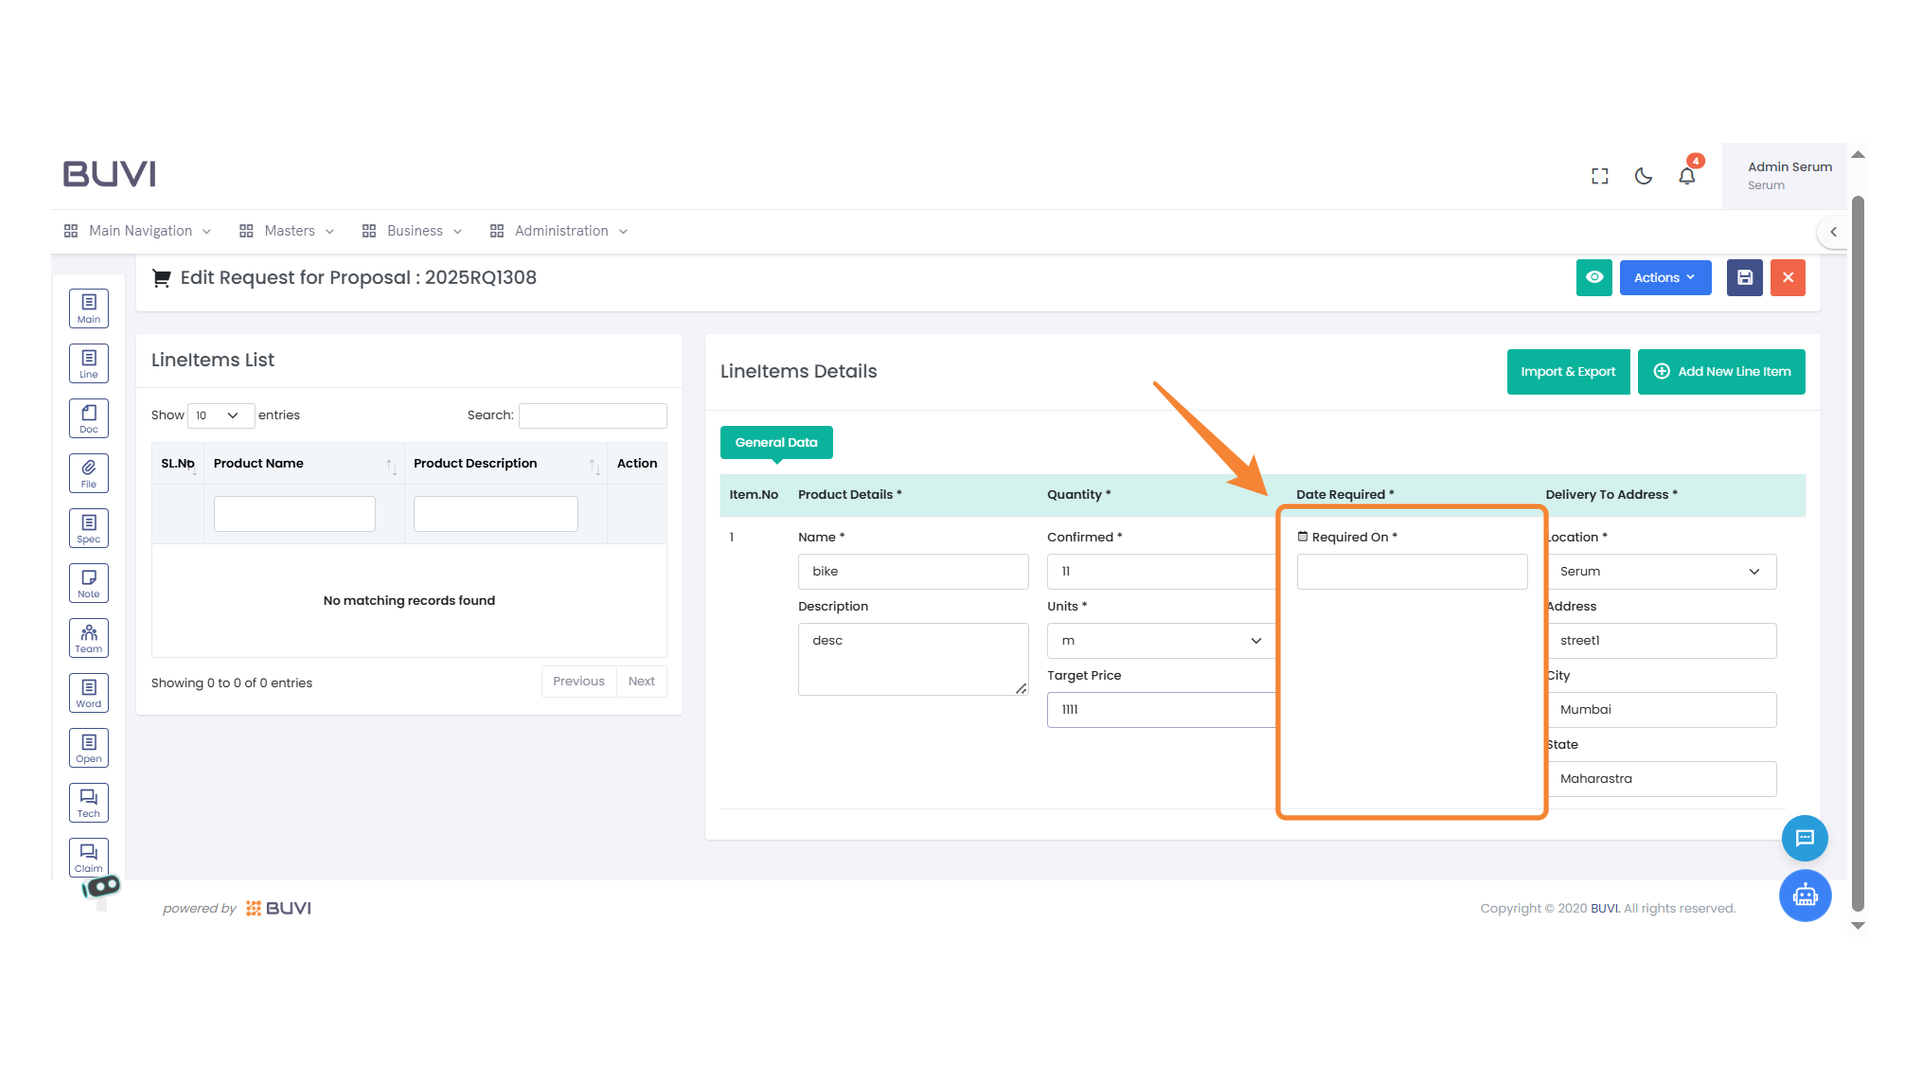
62. Date Required Section
Enter the required date for the item in this field.
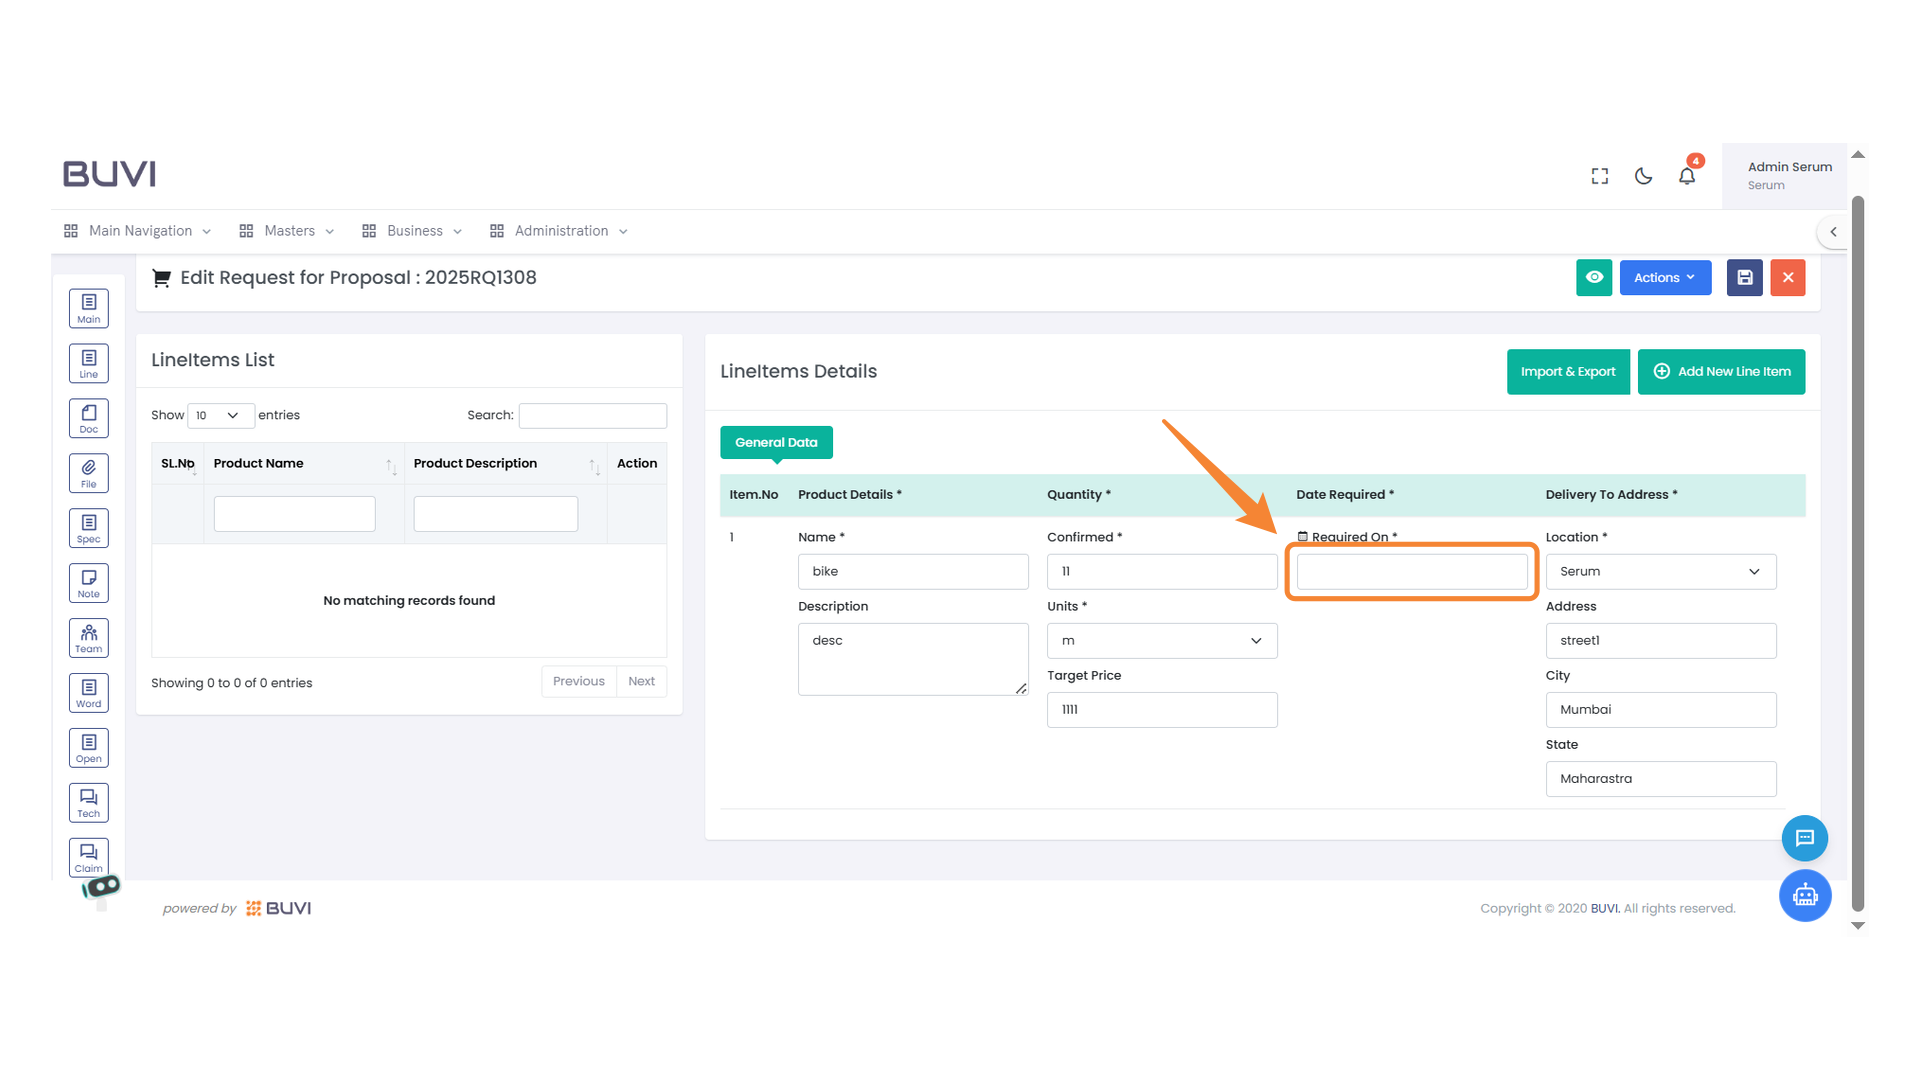
63. Date Required Input Field
Enter the required date for item delivery.
64. Date Selection
Choose the 21st of April 2025 from the calendar.

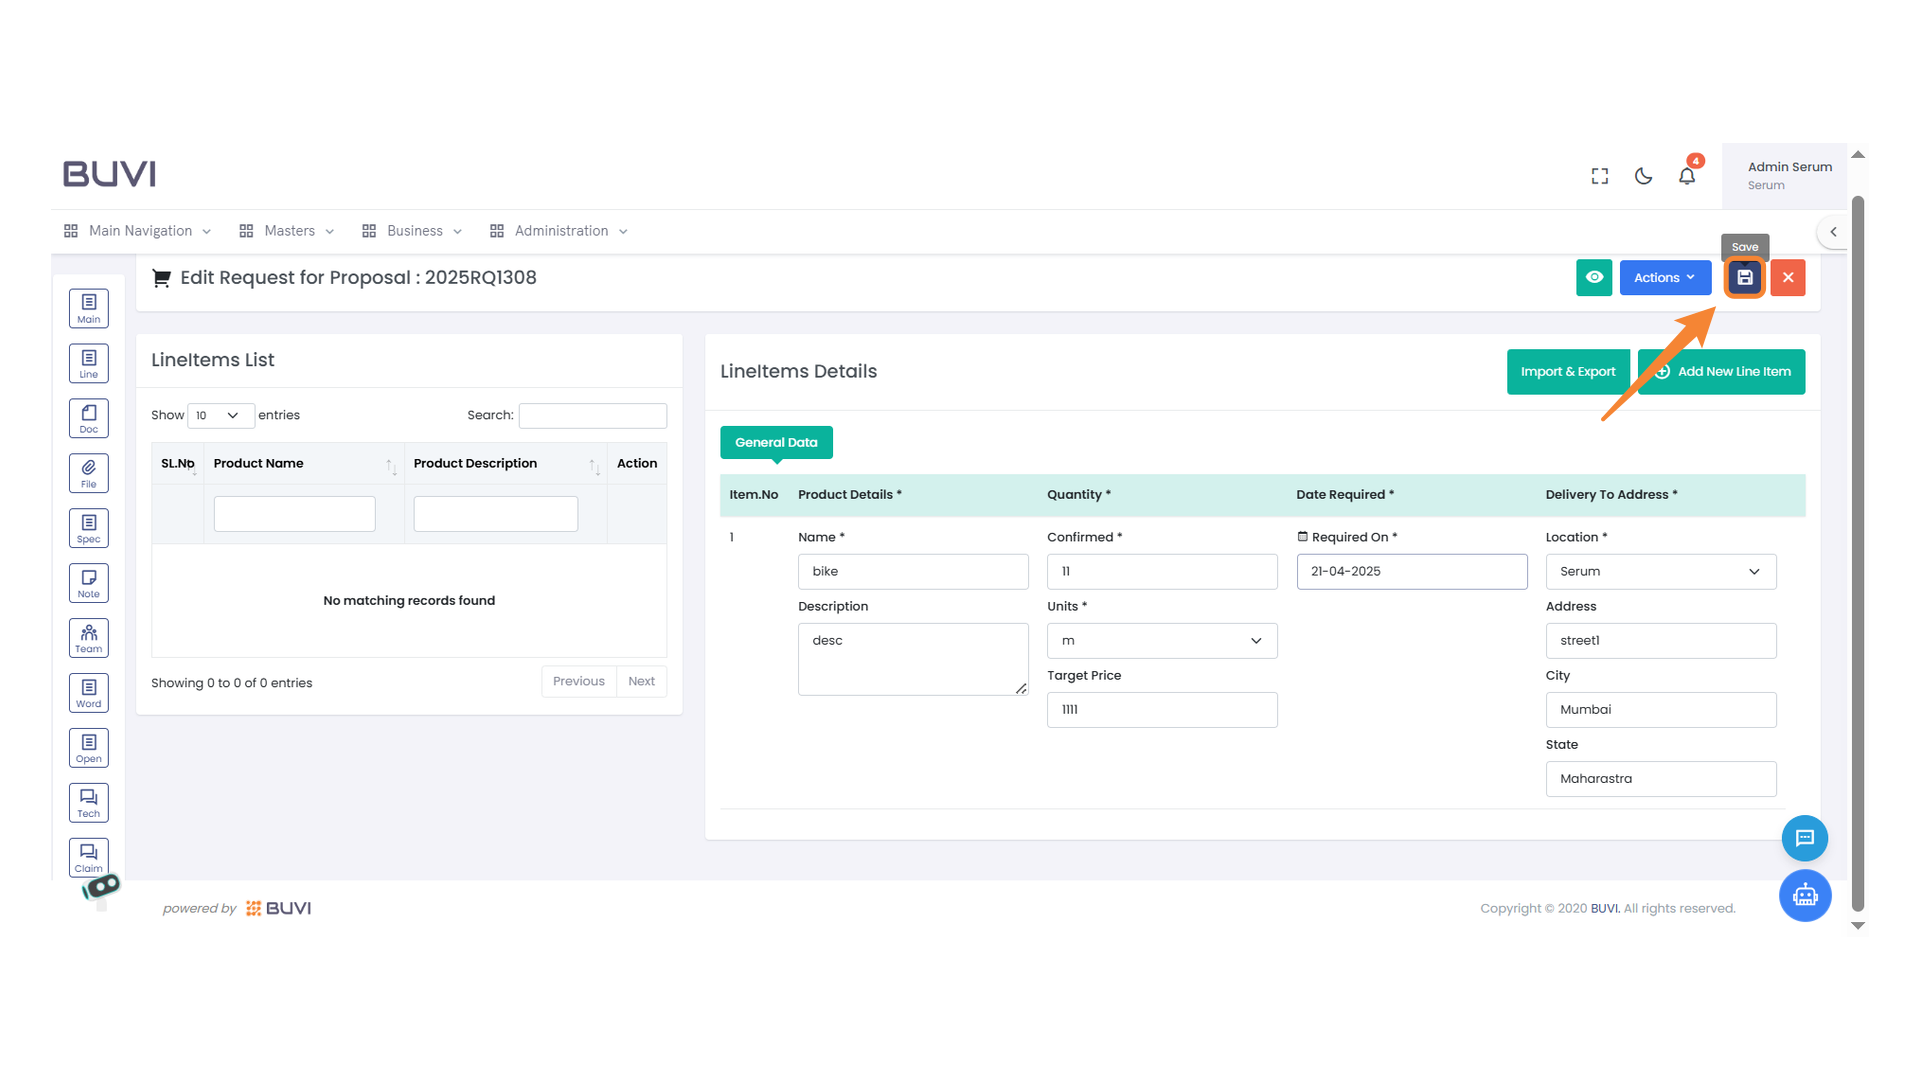
65. Save Button
Click to save changes made to the proposal.
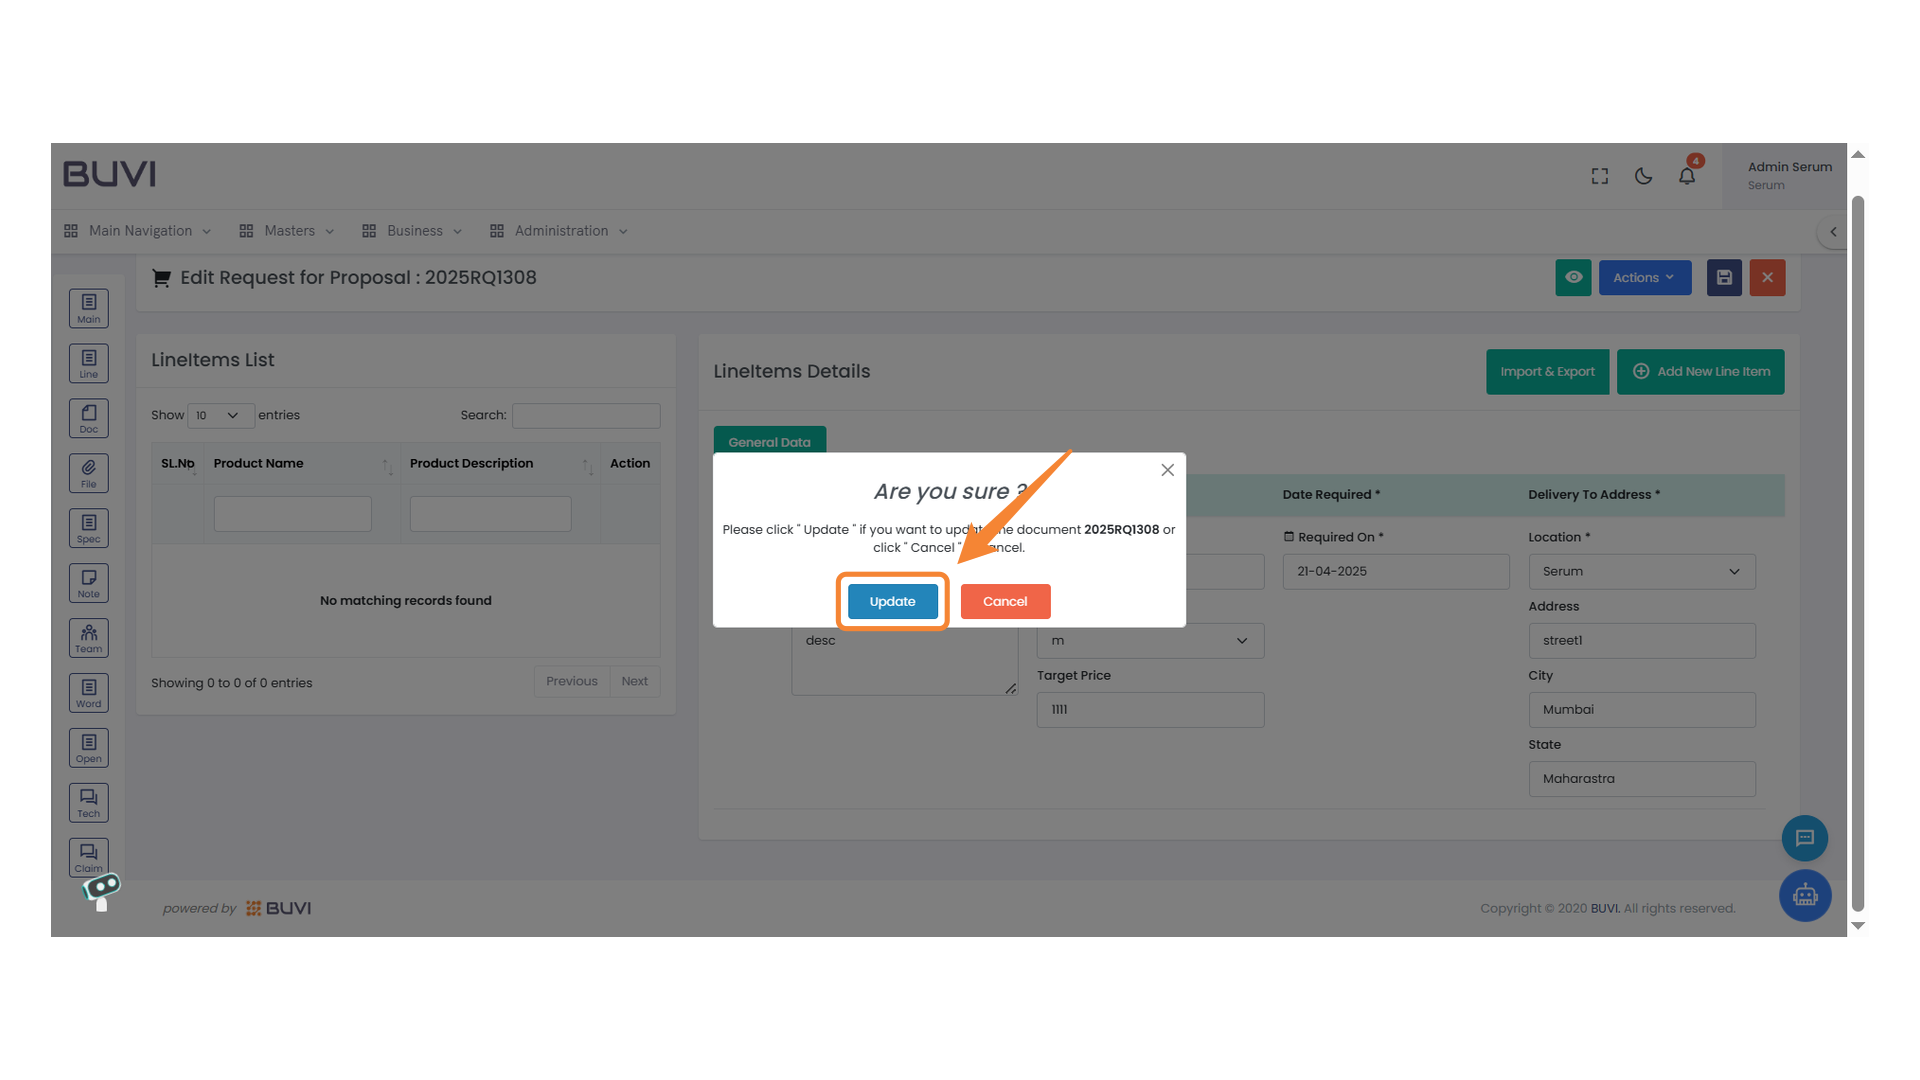
66. Confirmation Update Prompt
Click 'Update' to confirm changes to the document.
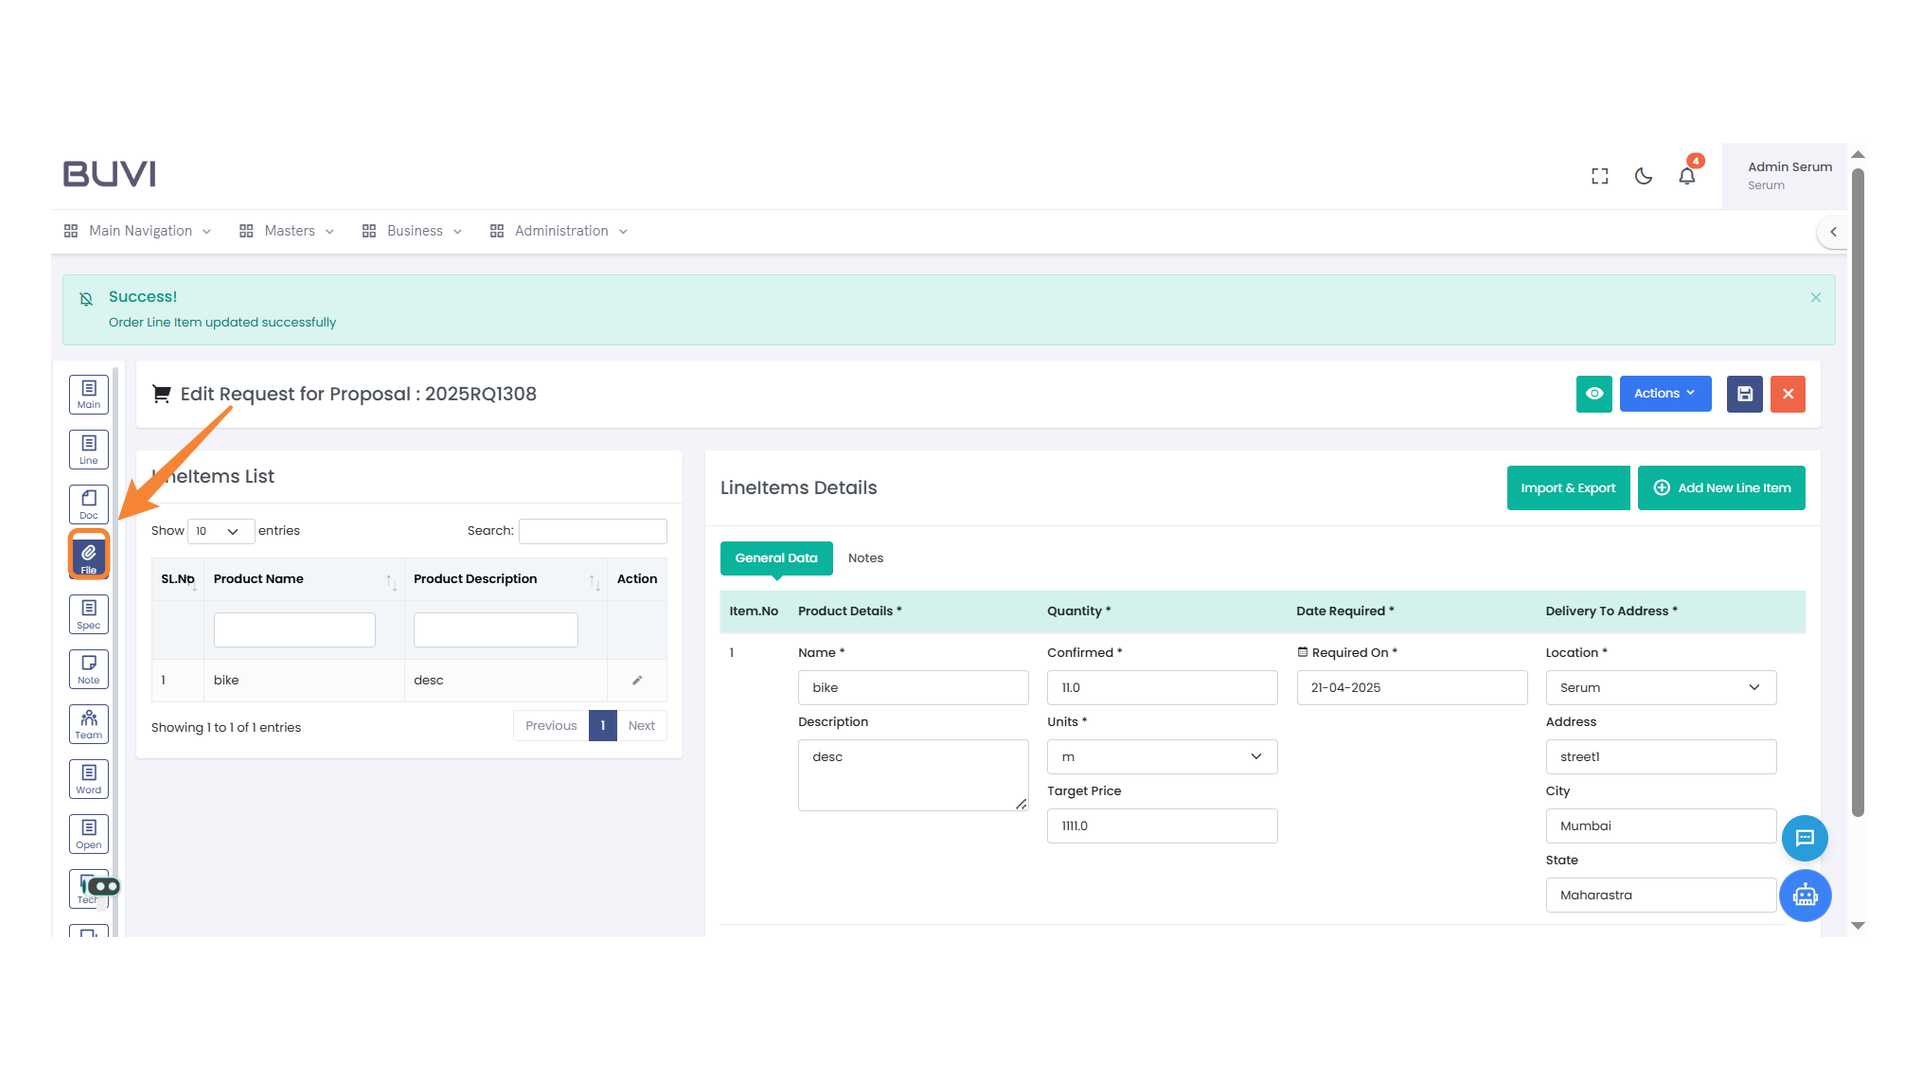
67. File Management Icon
Access file management options by clicking this icon.
68. Add Attachment Button
Click to upload a new attachment to the proposal.

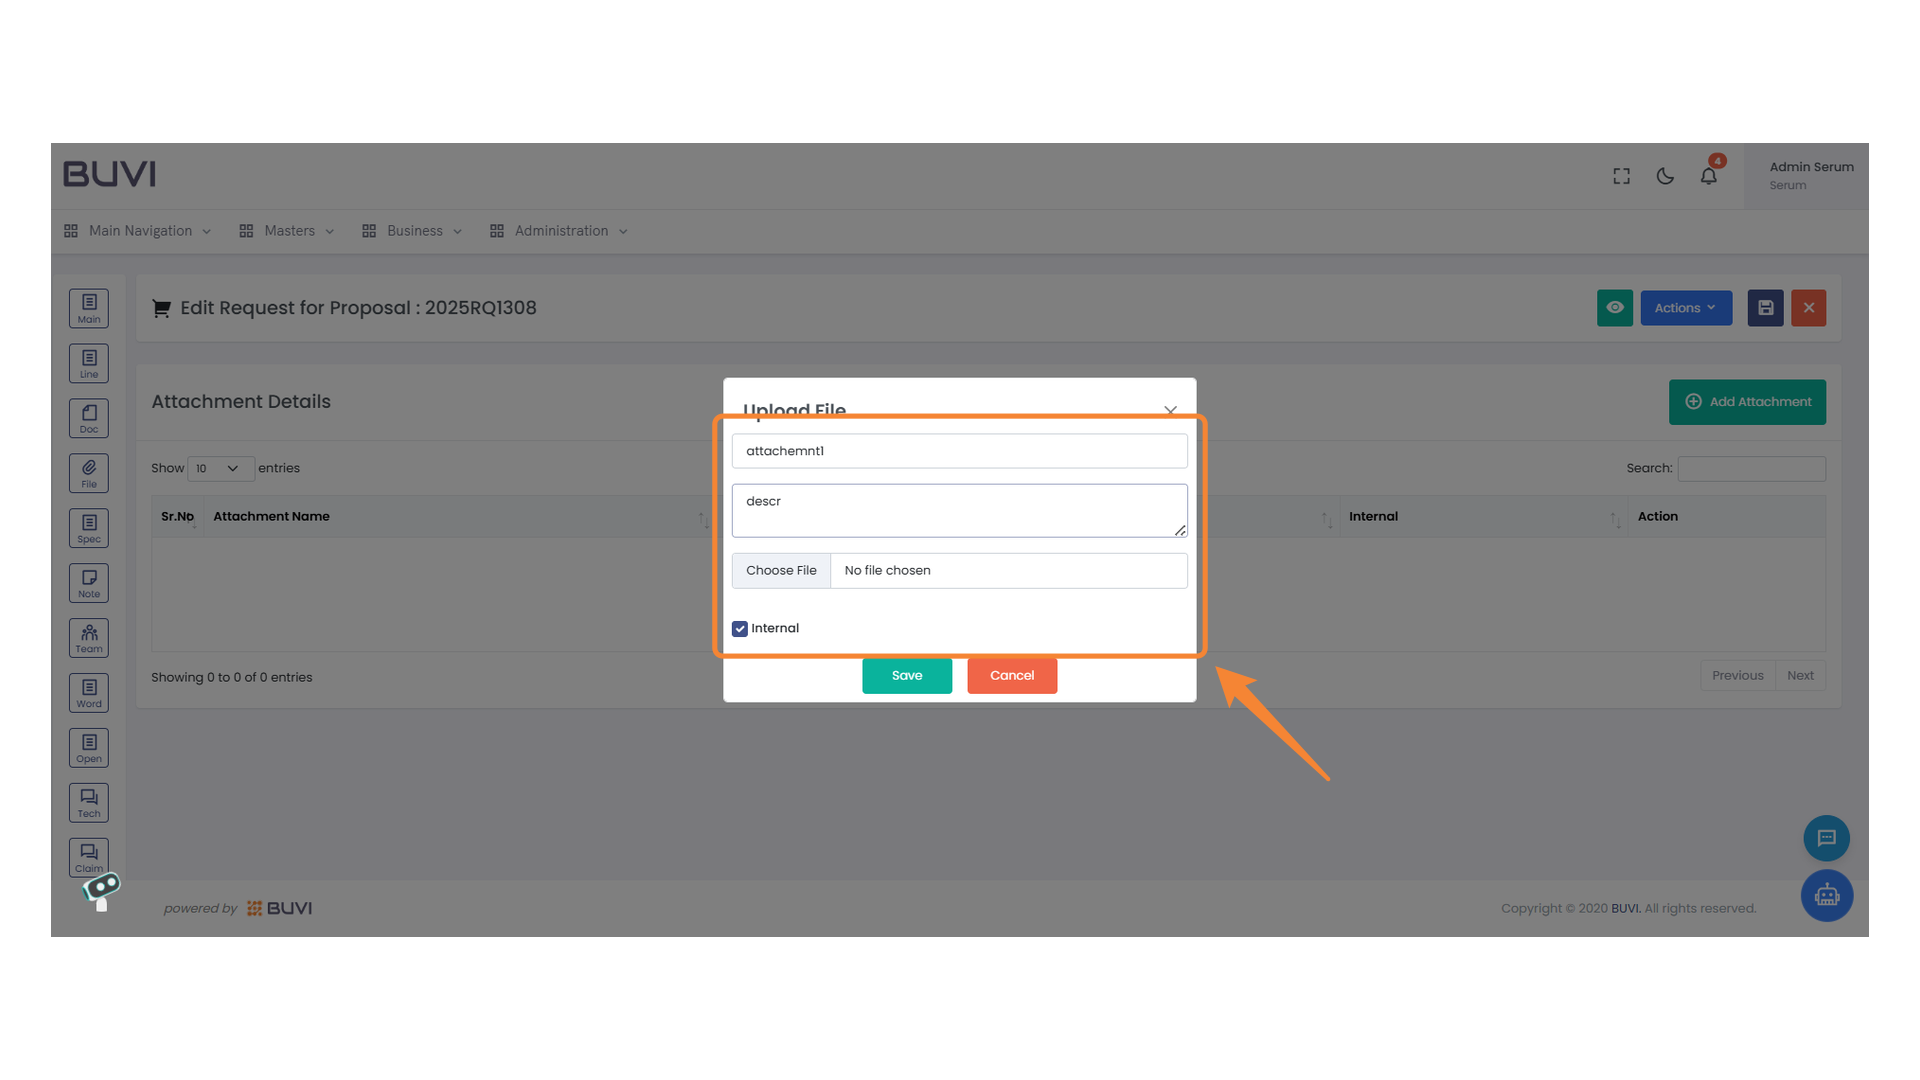
69. File Upload Interface
Enter the attachment name and description, then choose a file to upload.
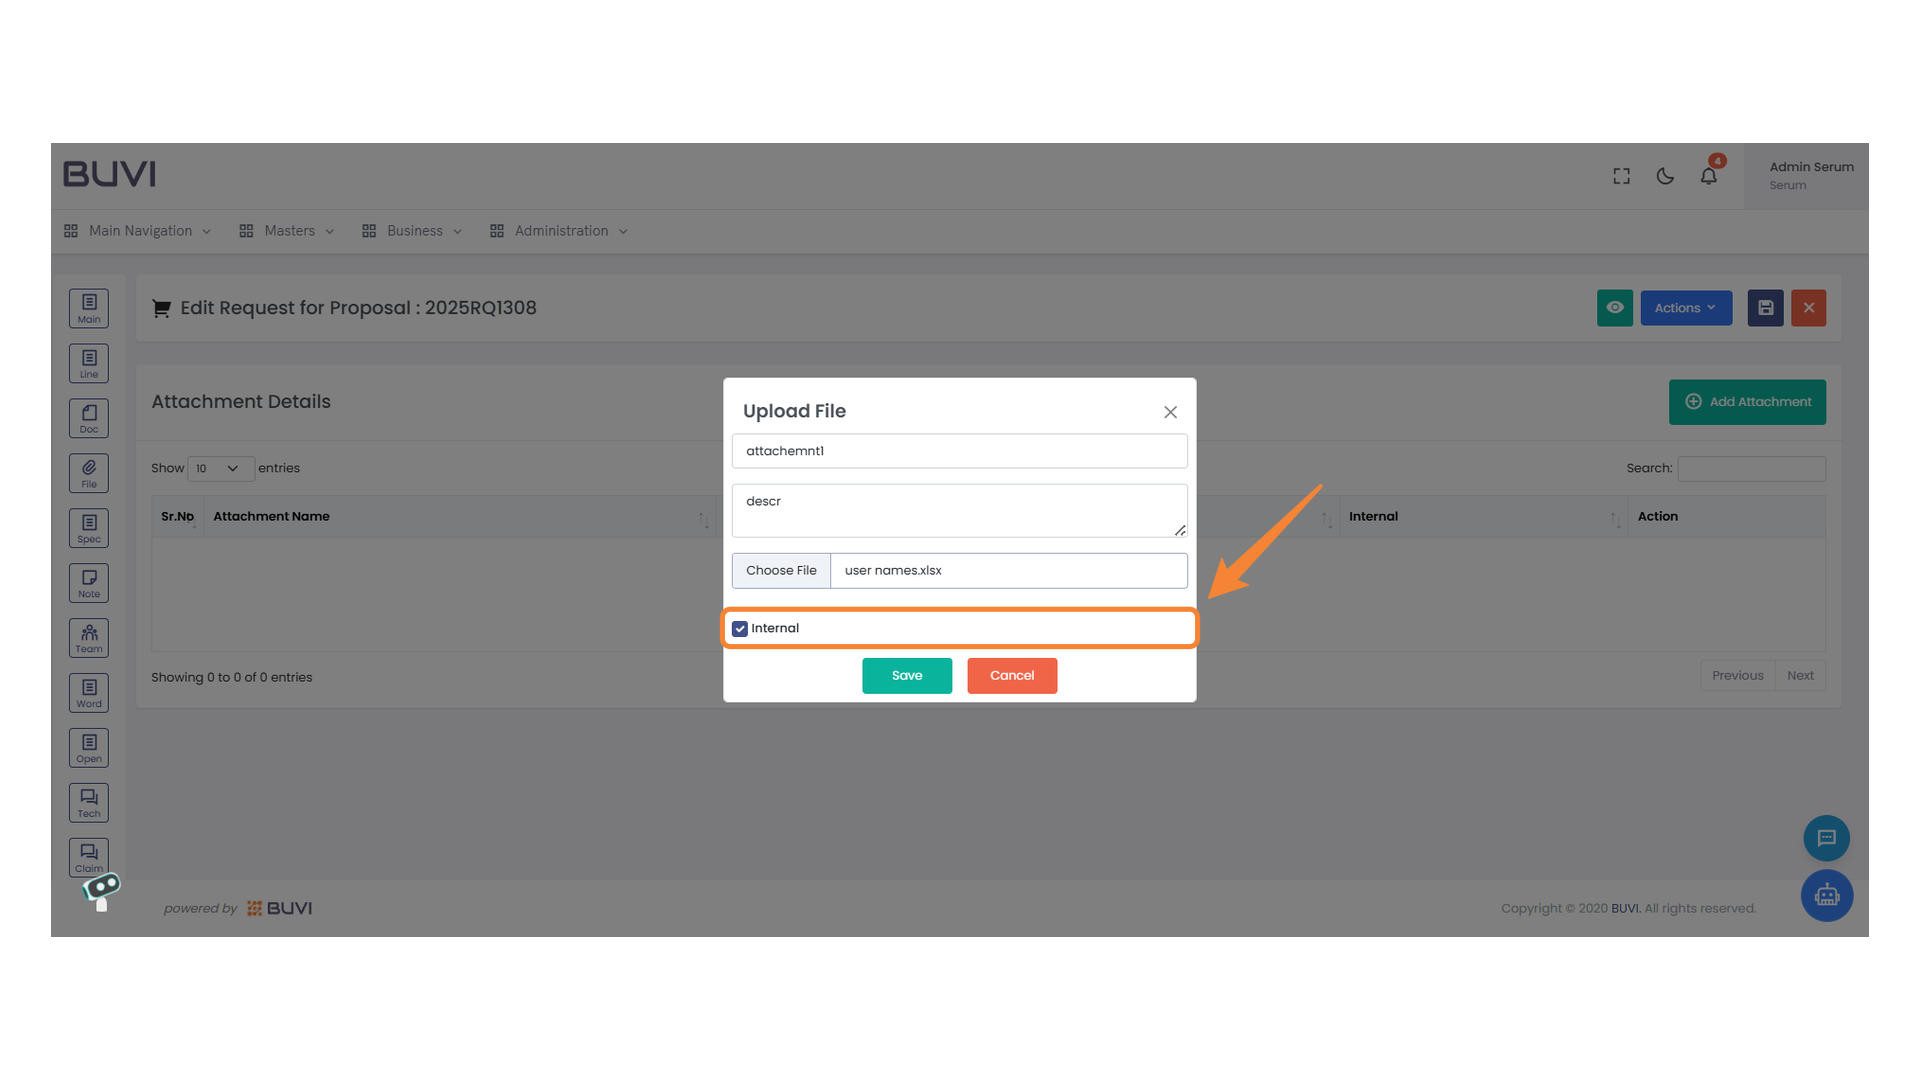
70. Internal Checkbox
Select the checkbox to mark the file as internal.
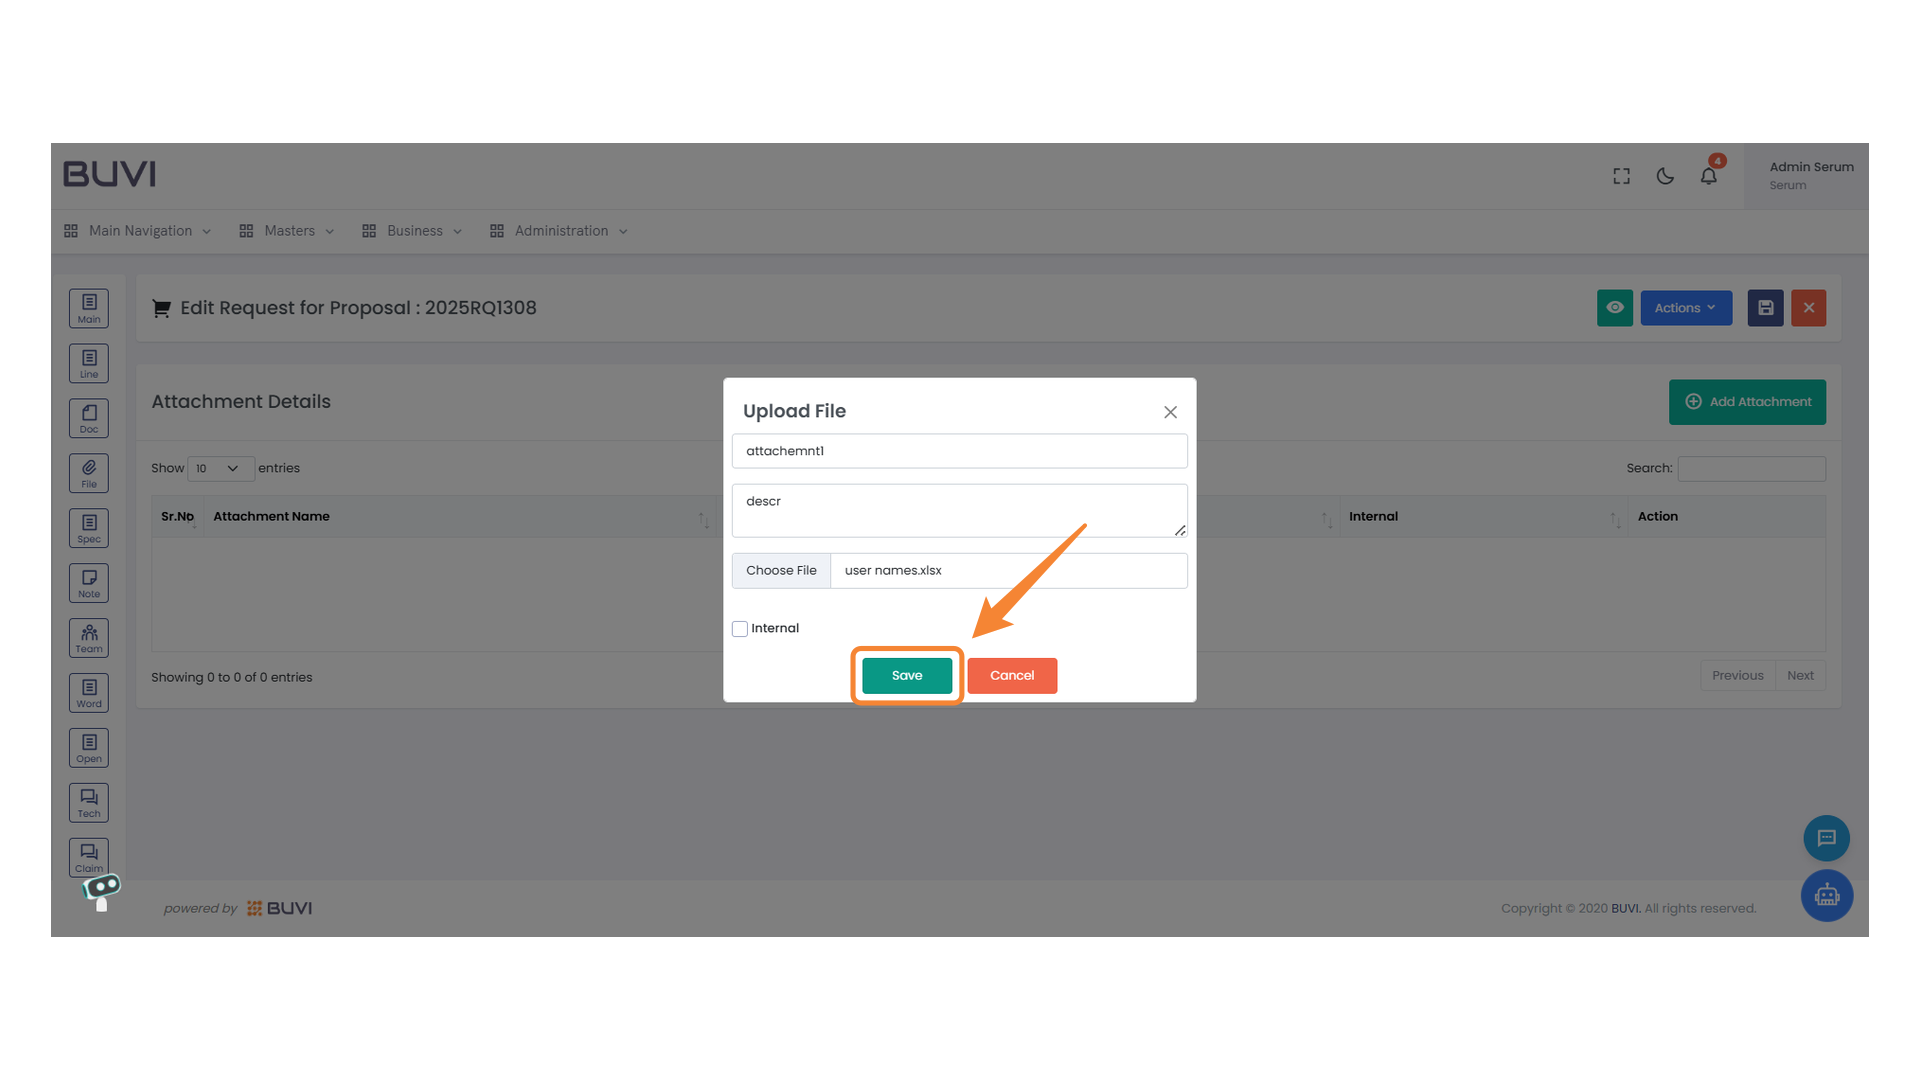
71. Save Button in File Upload Dialog
Click the Save button to confirm the upload of the selected file.
72. Specification Tab Icon
Access the specifications by clicking the 'Spec' tab on the sidebar.

73. Text Editor Interface
Enter the document details and apply formatting using the toolbar.

74. User Selection Menu
Select the desired user from the list by clicking on their name.
75. Selecting Document Specification
Choose the highlighted document specification code from the dropdown list.
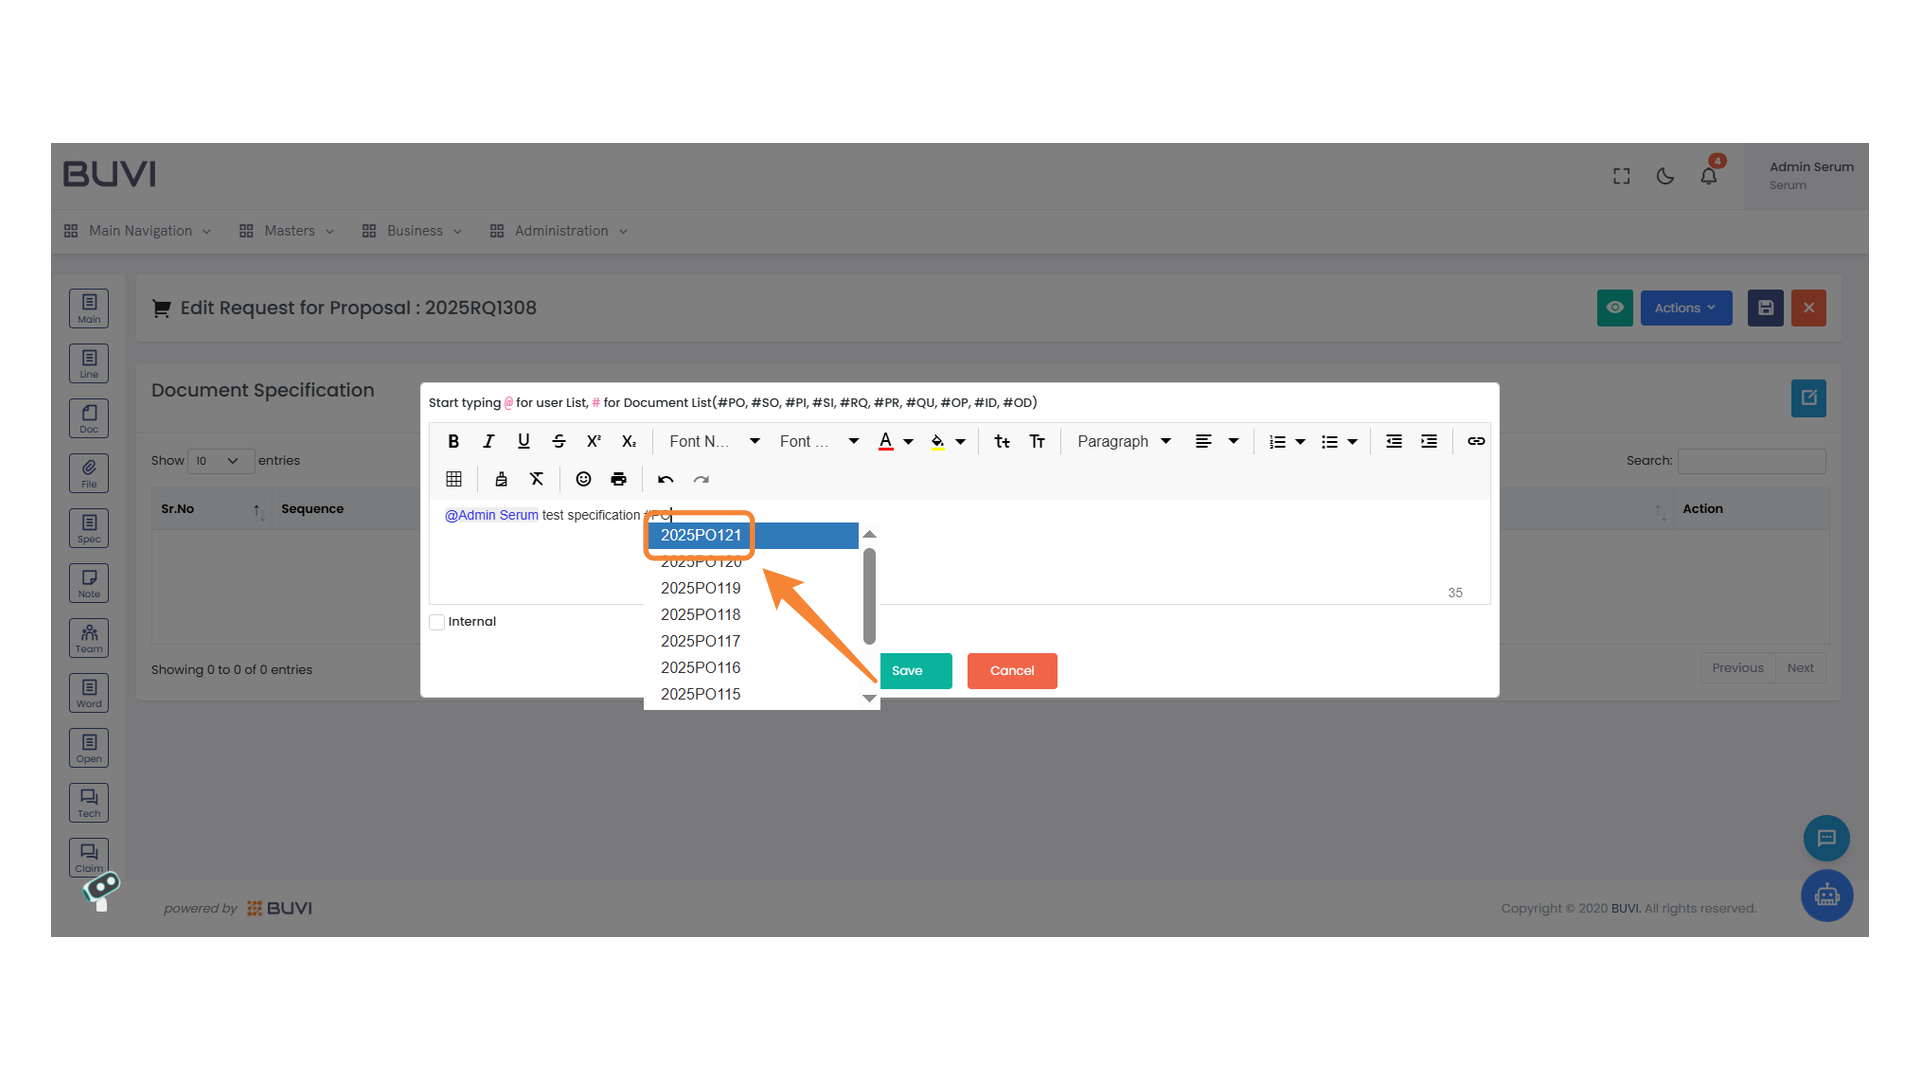
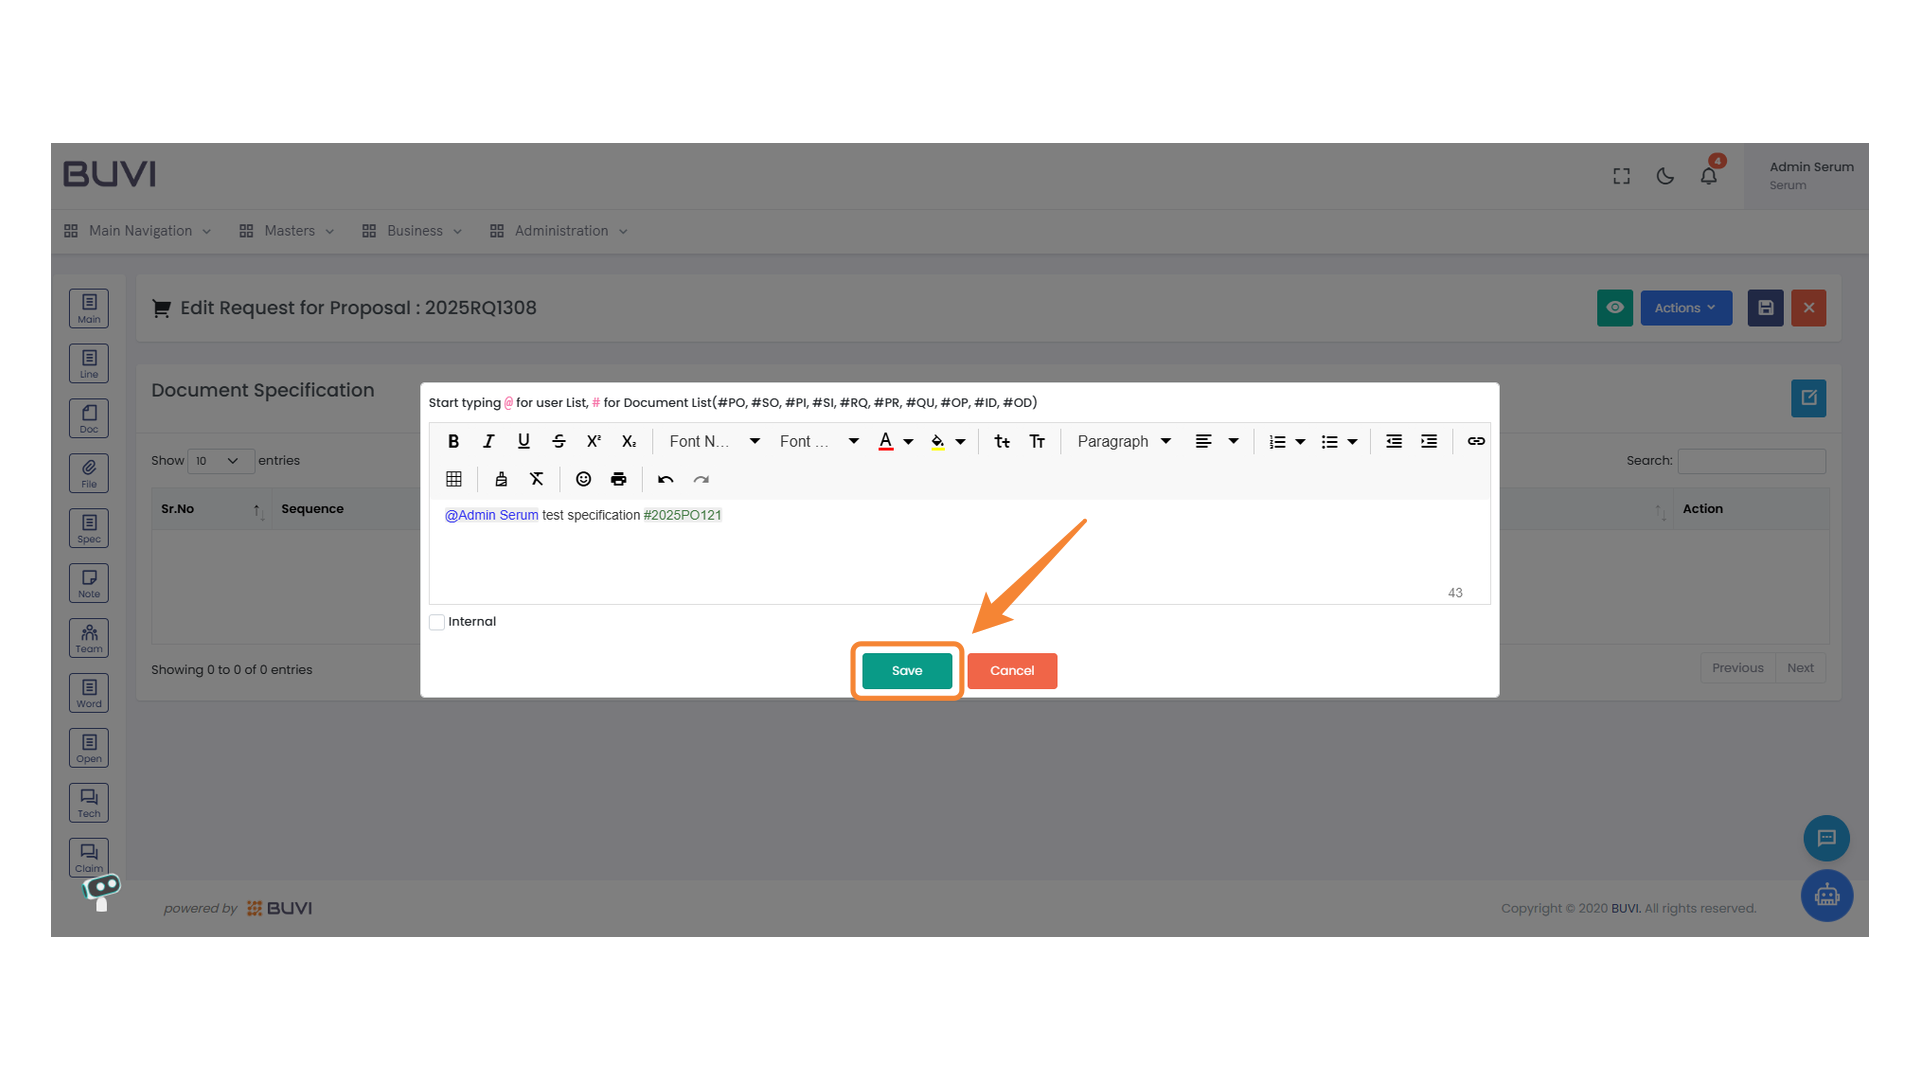
76. Save Button
Click this button to save your changes.
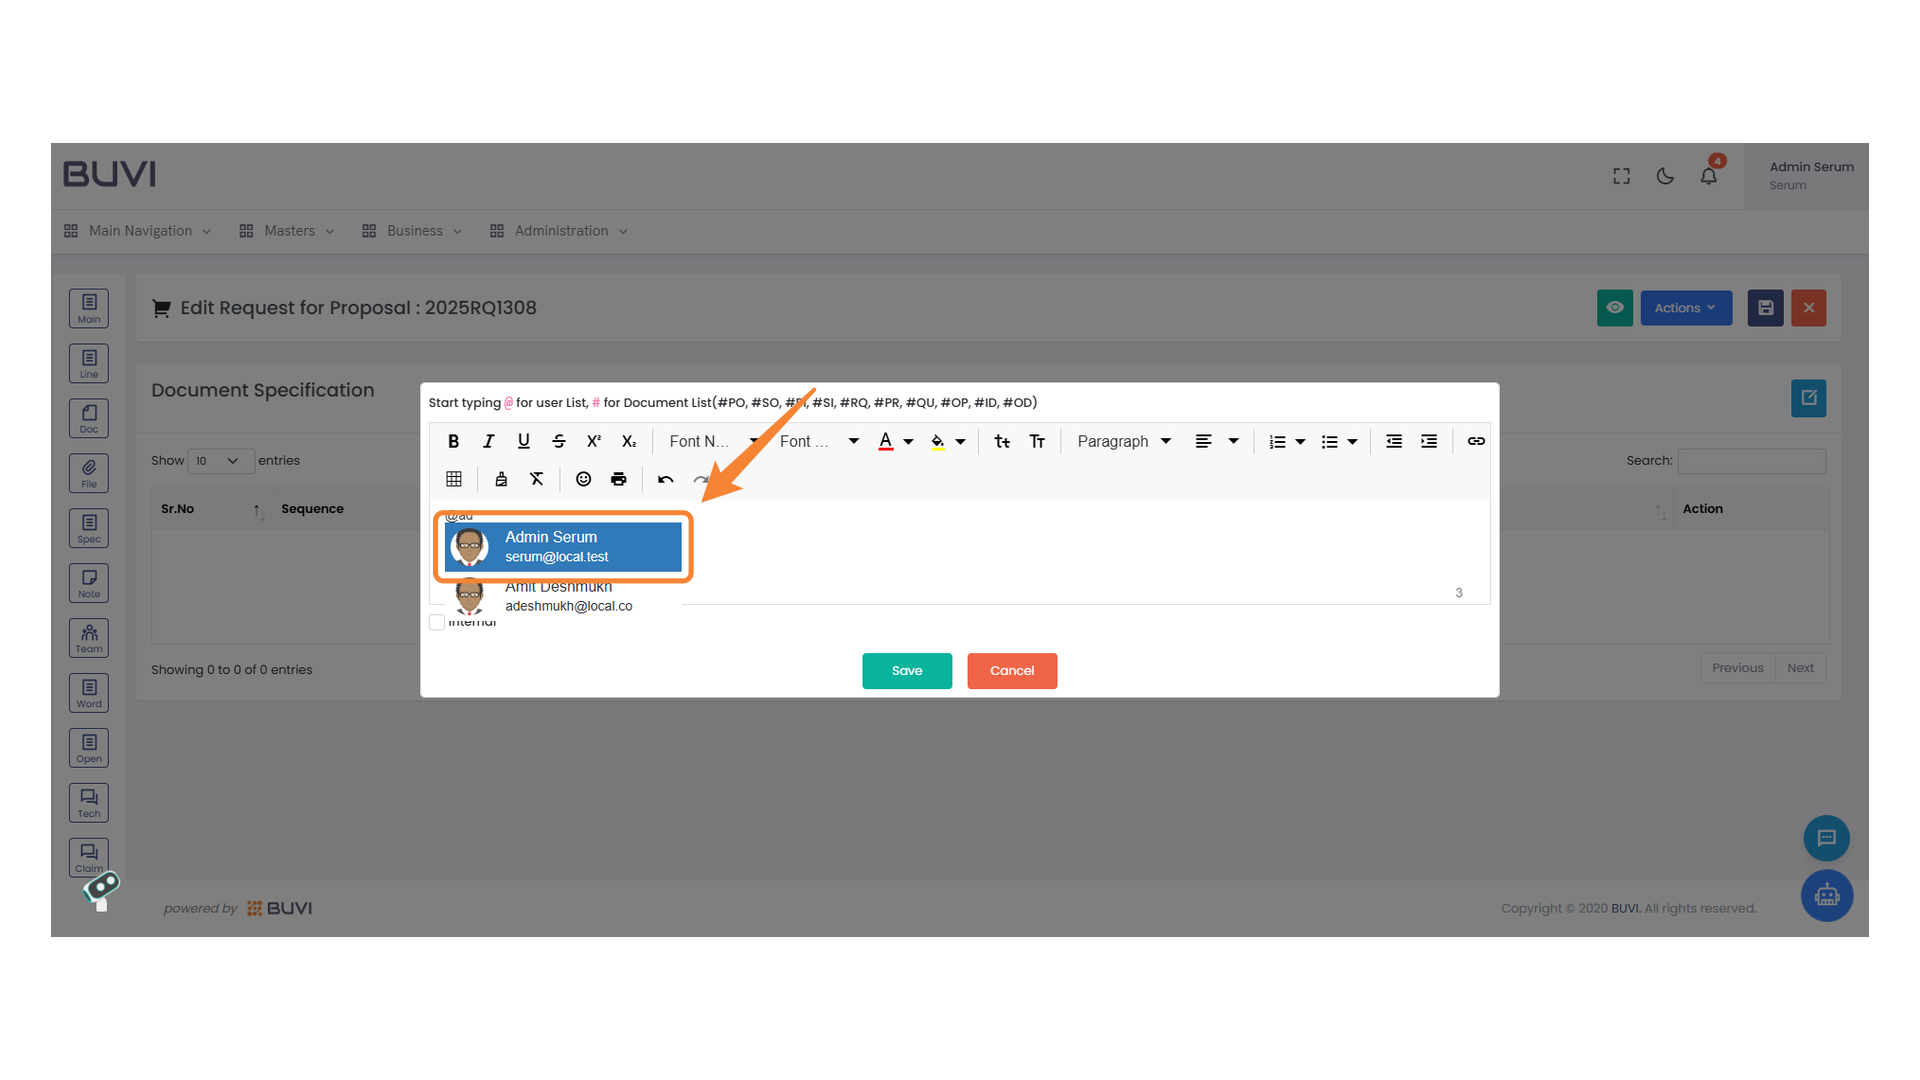
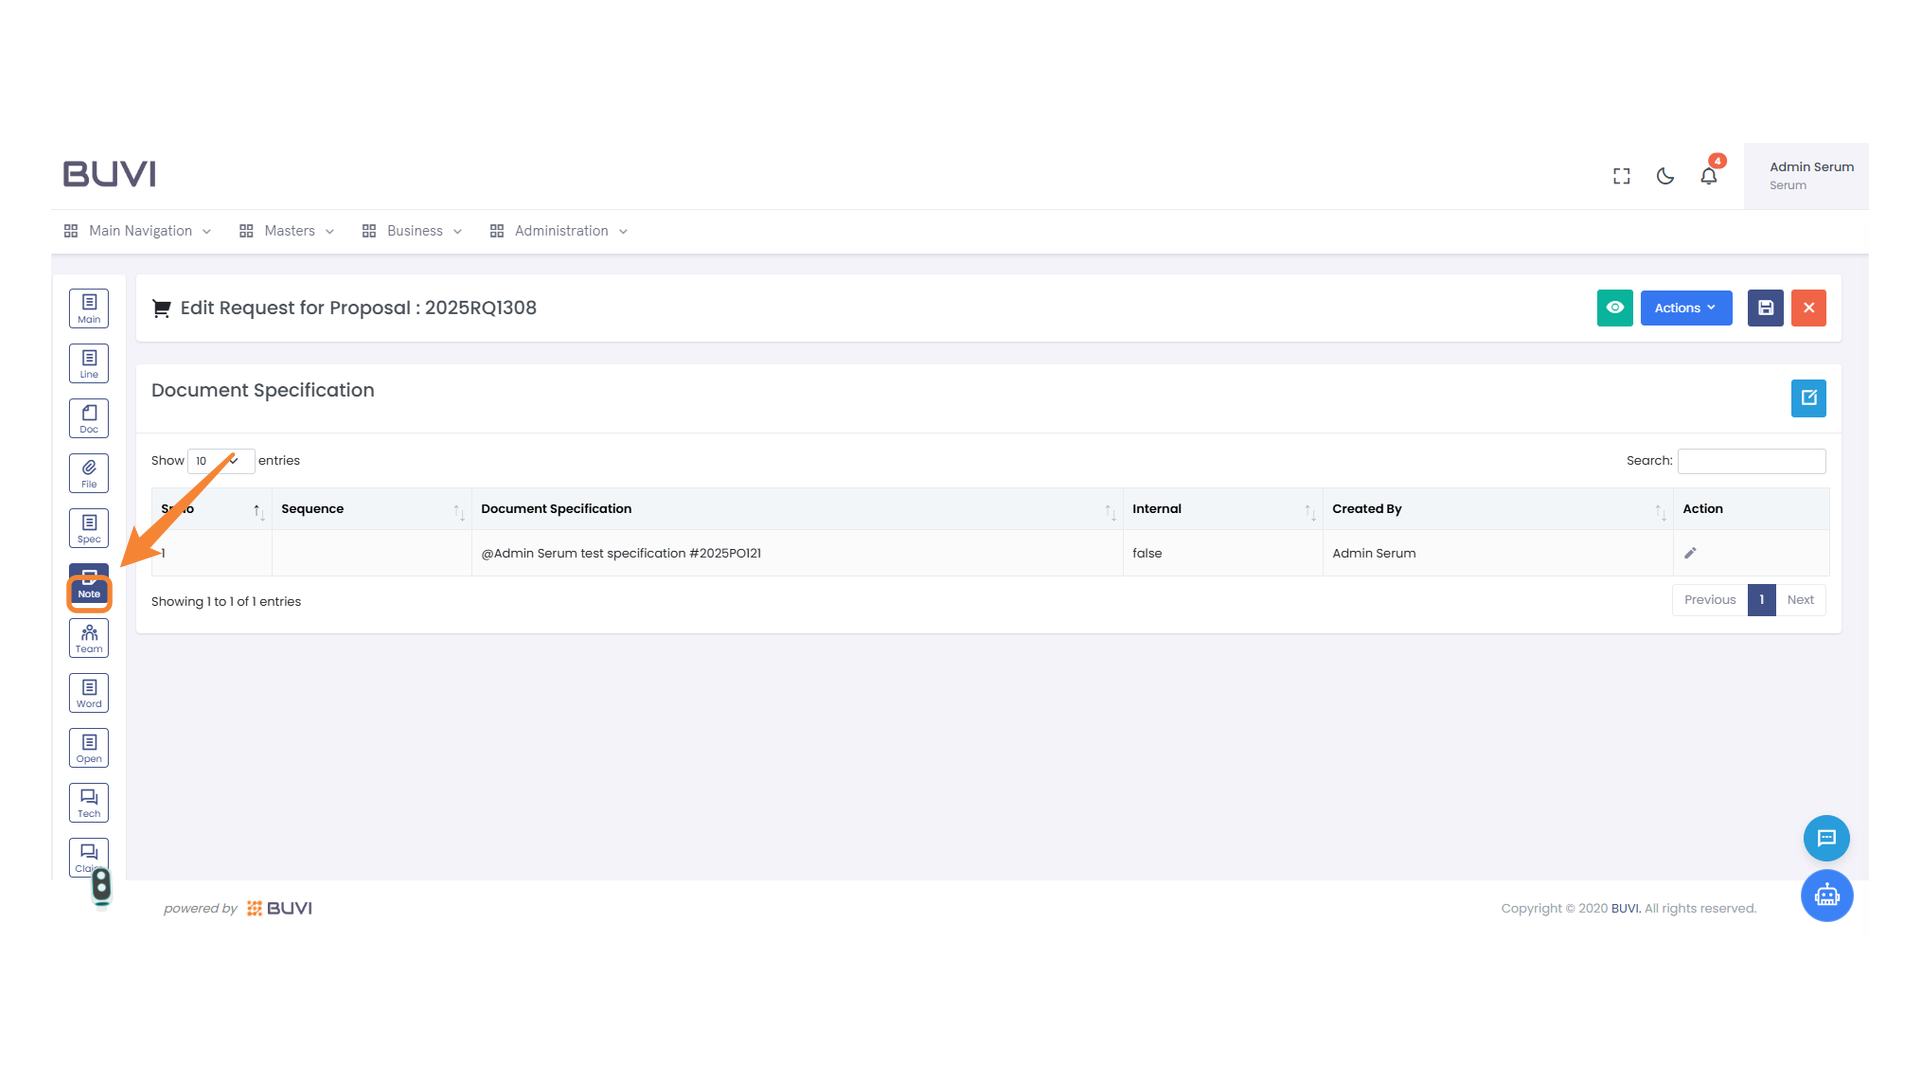
77. Note Section
Click to access the notes section for additional information.
78. Add Notes Button
Click to add new notes to the current proposal.
79. Edit Notes Section
Enter your notes in the text area provided to update the proposal.
80. User Selection Field
Choose a user by clicking on the desired name in the list.
81. Internal Checkbox Option
Select this option to mark the note as internal.
82. Save Button in Notes Dialog
Click the 'Save' button to store your notes and changes.
83. Tech Icon
Click the Tech icon to access technical features and settings.

84. Main Navigation Icon
Click to access the main navigation panel.
85. Prequalification Setting
Select the option to allow or disallow prequalification.

86. Save Button
Click to save your changes.
87. Confirmation Dialog for Document Update
Select the 'Update' button to confirm changes to the document.

88. Attachment Requirement Checkbox
Select this checkbox to indicate that an attachment is required for this question.
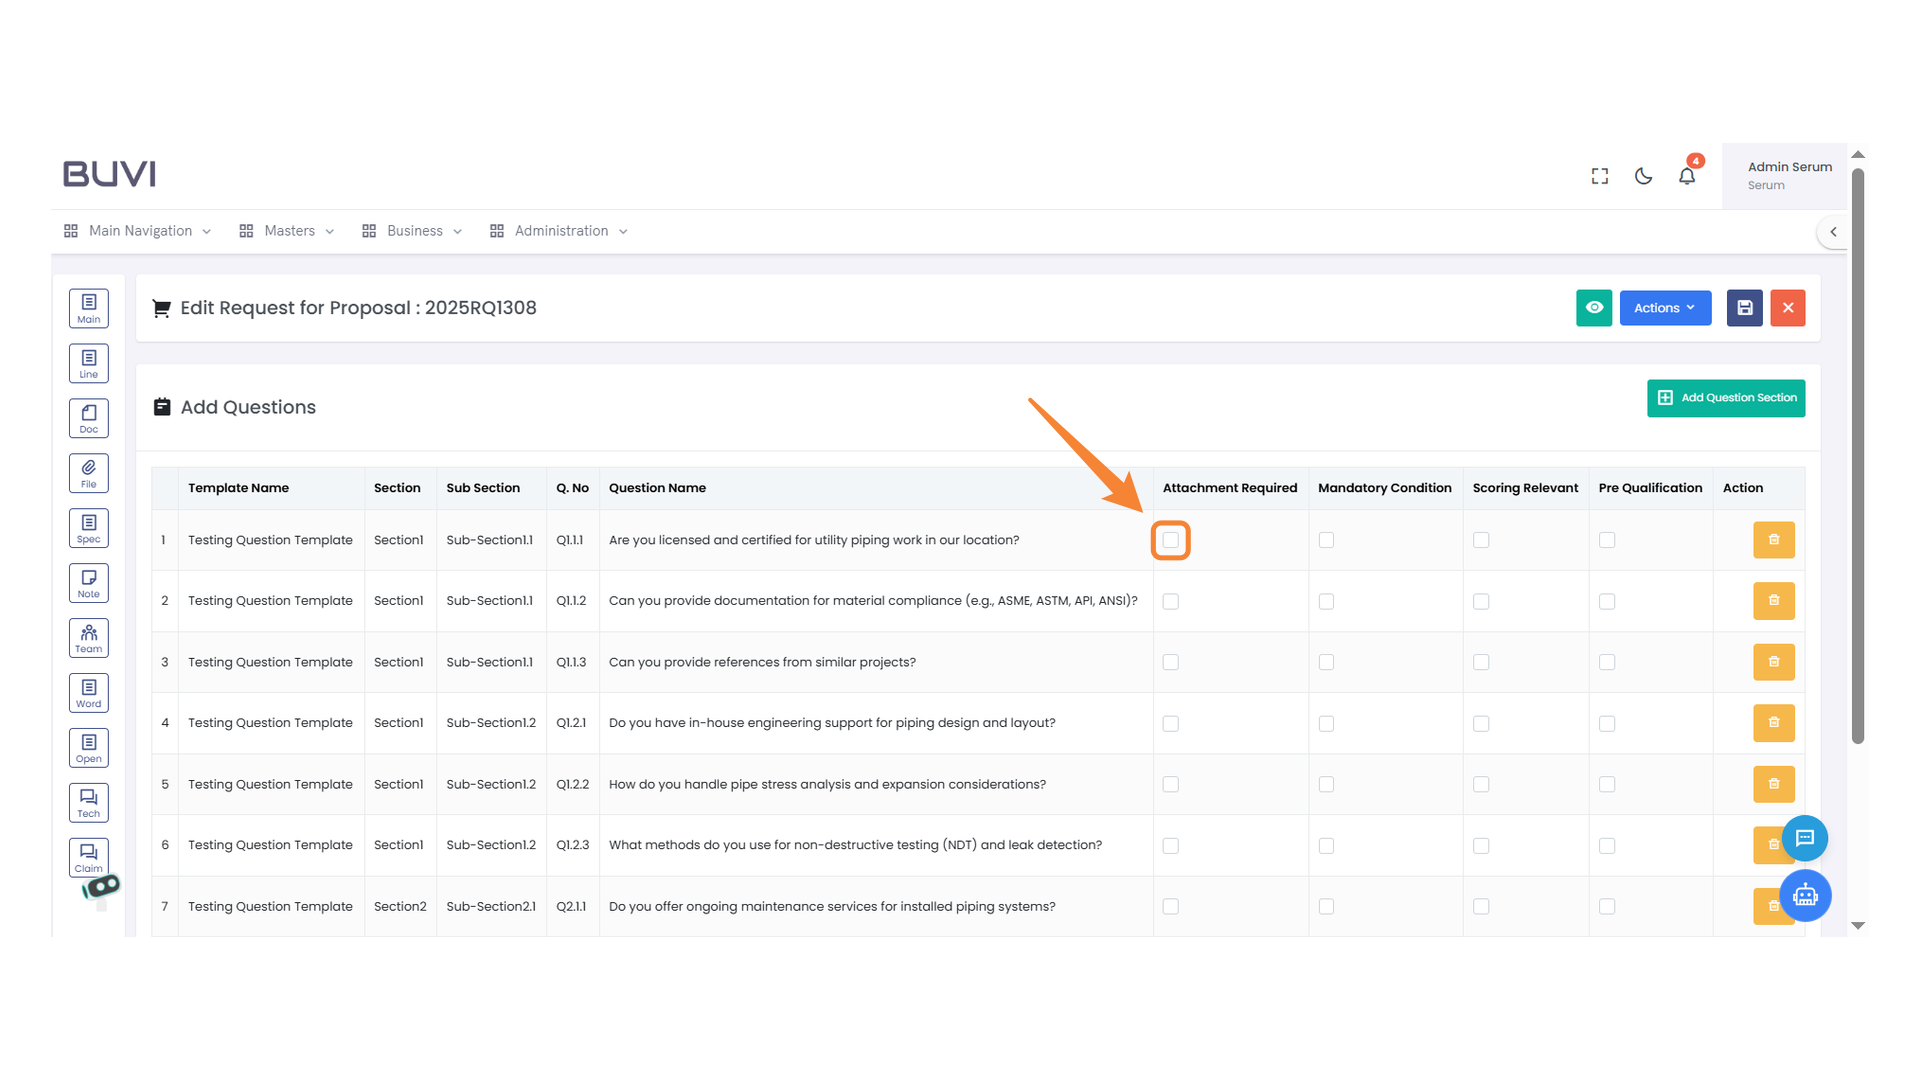
89. Mandatory Condition Checkbox
Select this checkbox to indicate that the condition is mandatory.
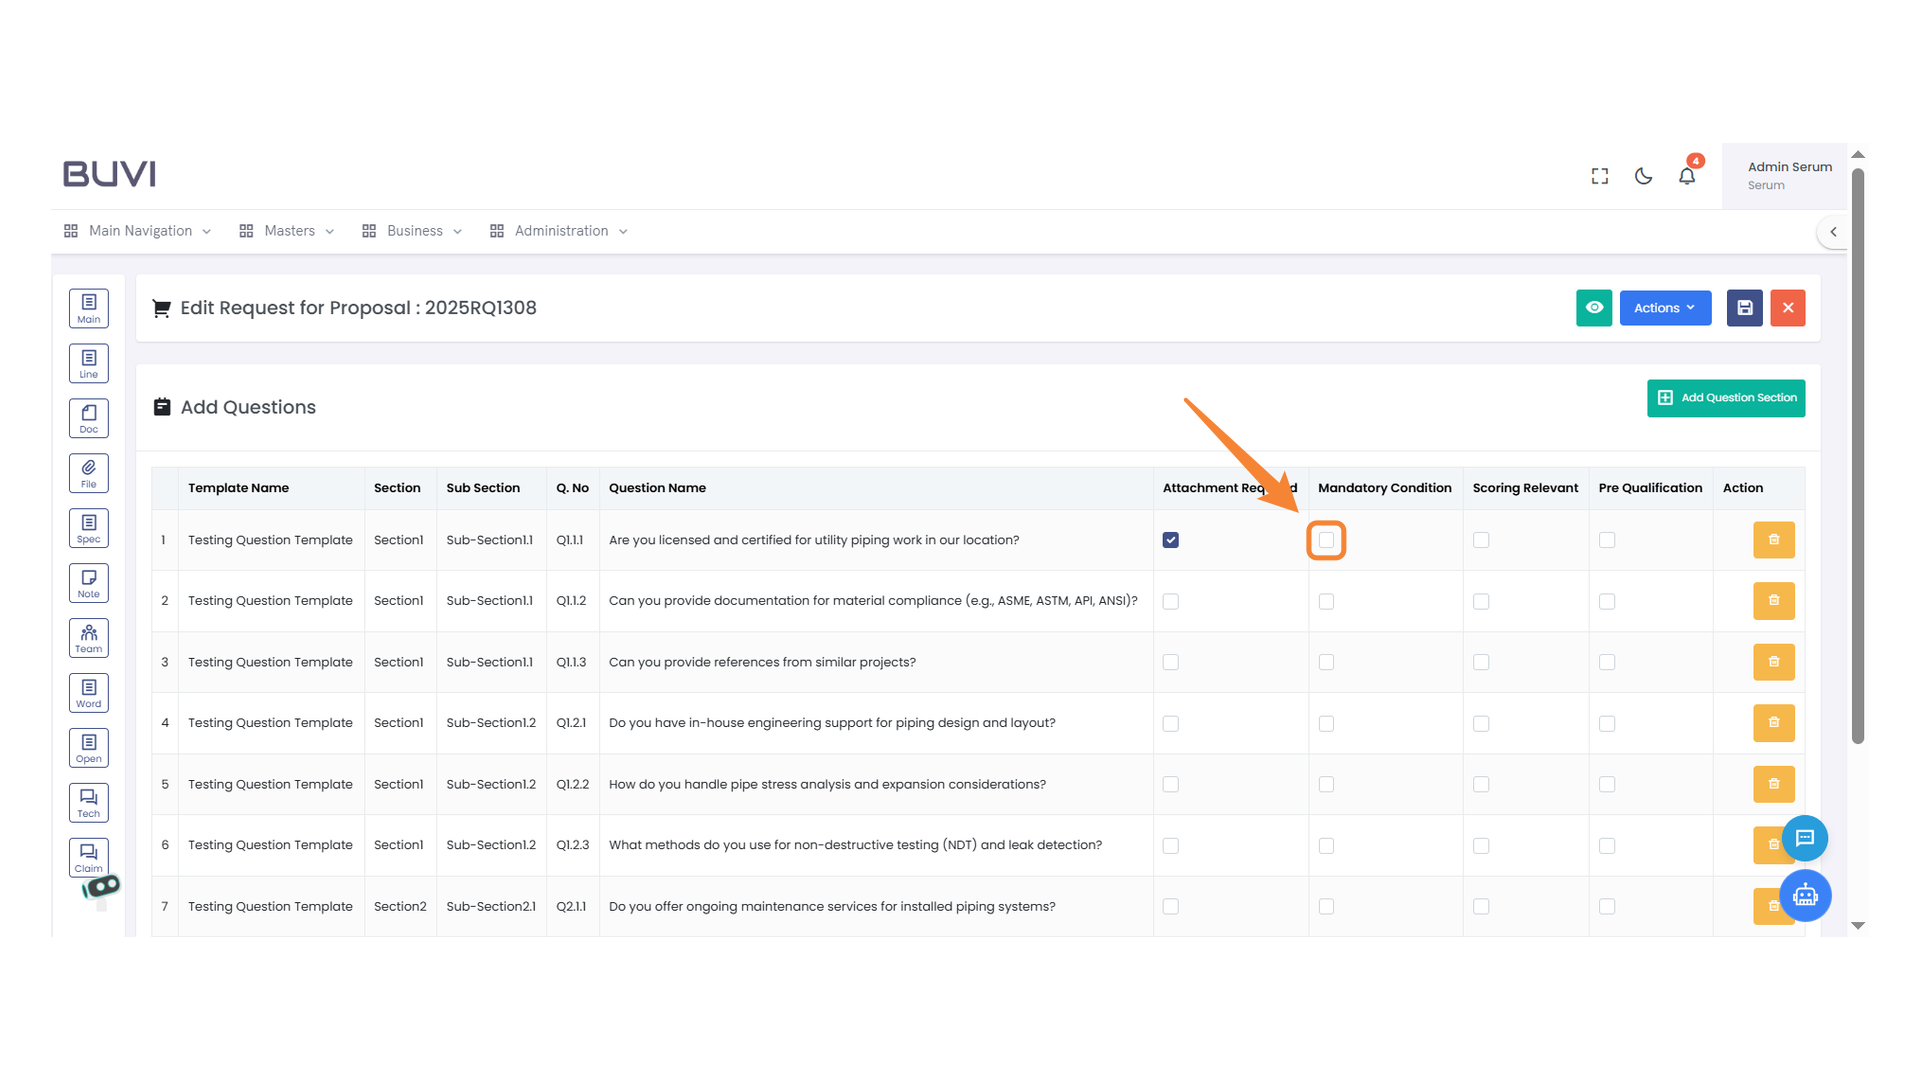
90. Scoring Relevant Checkbox
Select this checkbox if the question's score is relevant to the proposal evaluation.

91. Checkbox for Pre-Qualification
Click to select or deselect the pre-qualification requirement for an item.

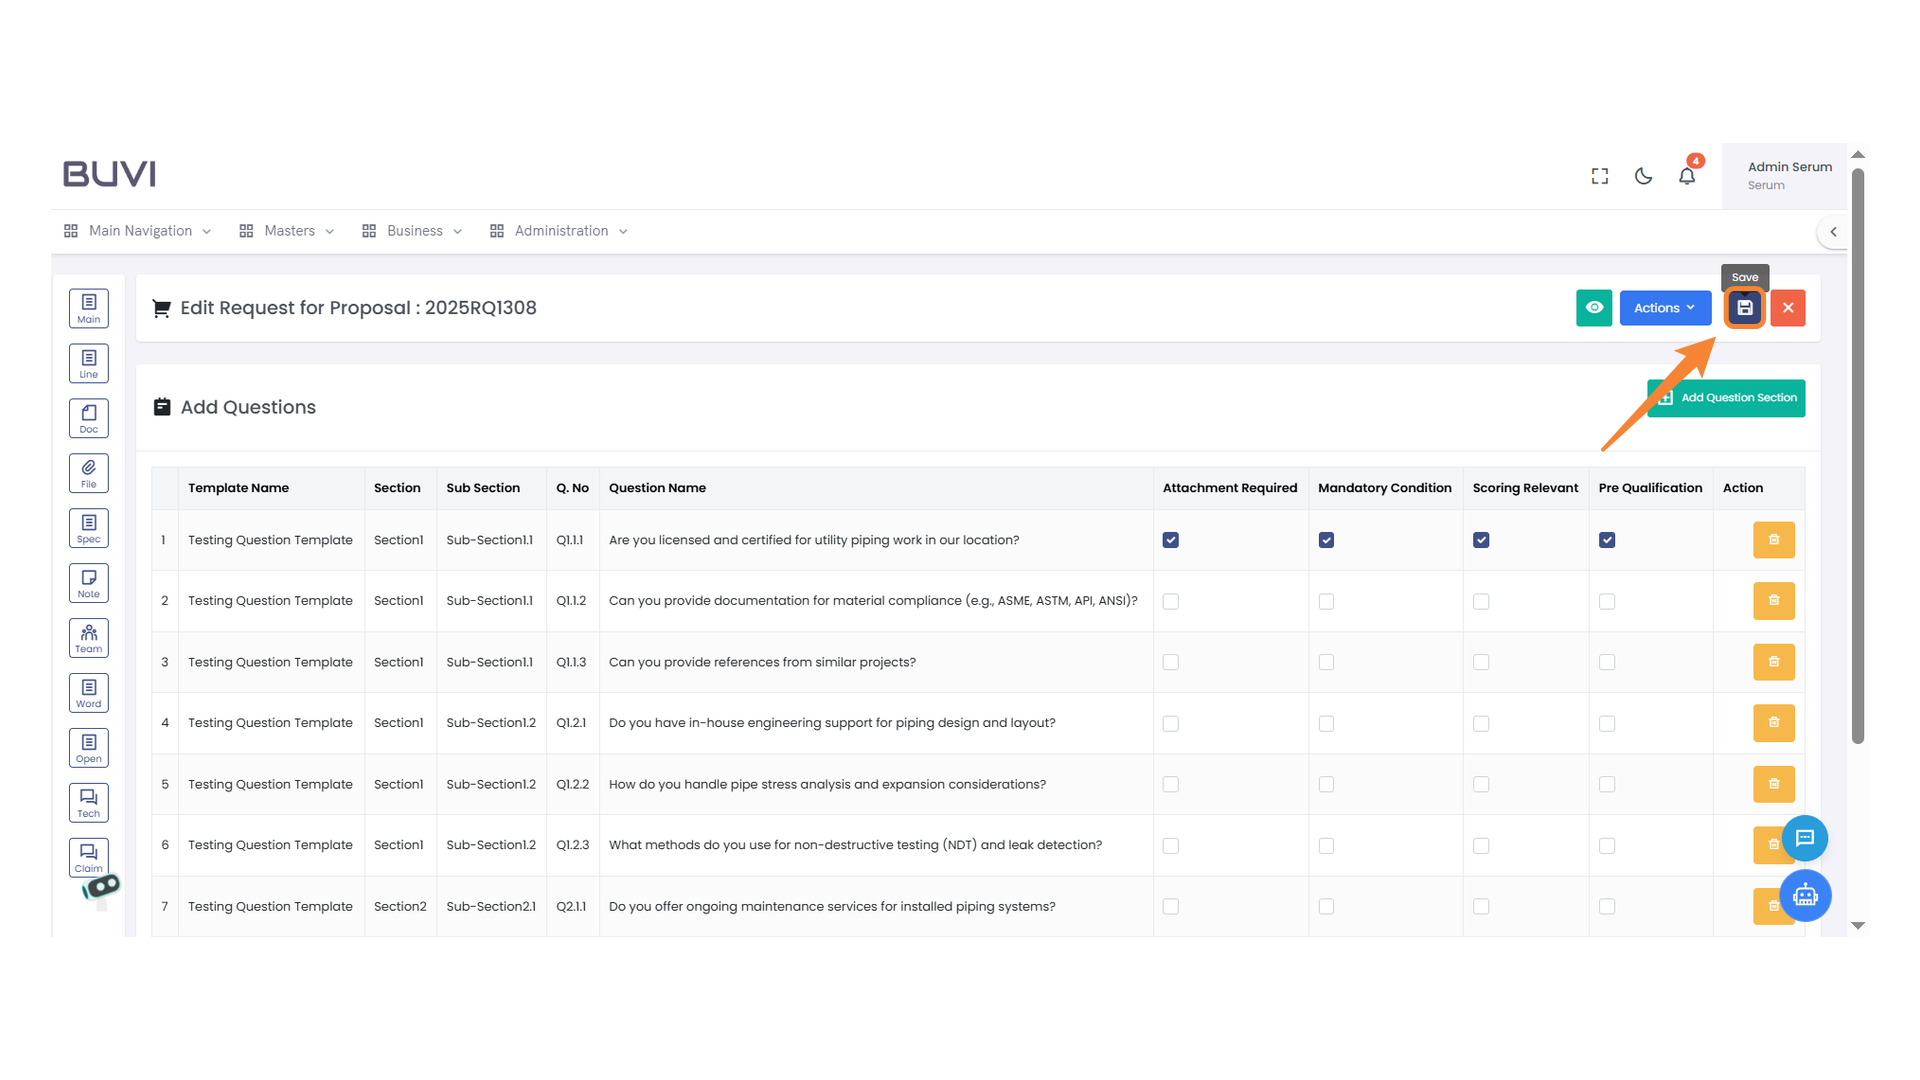
92. Save Button
Click to save the current proposal edits.
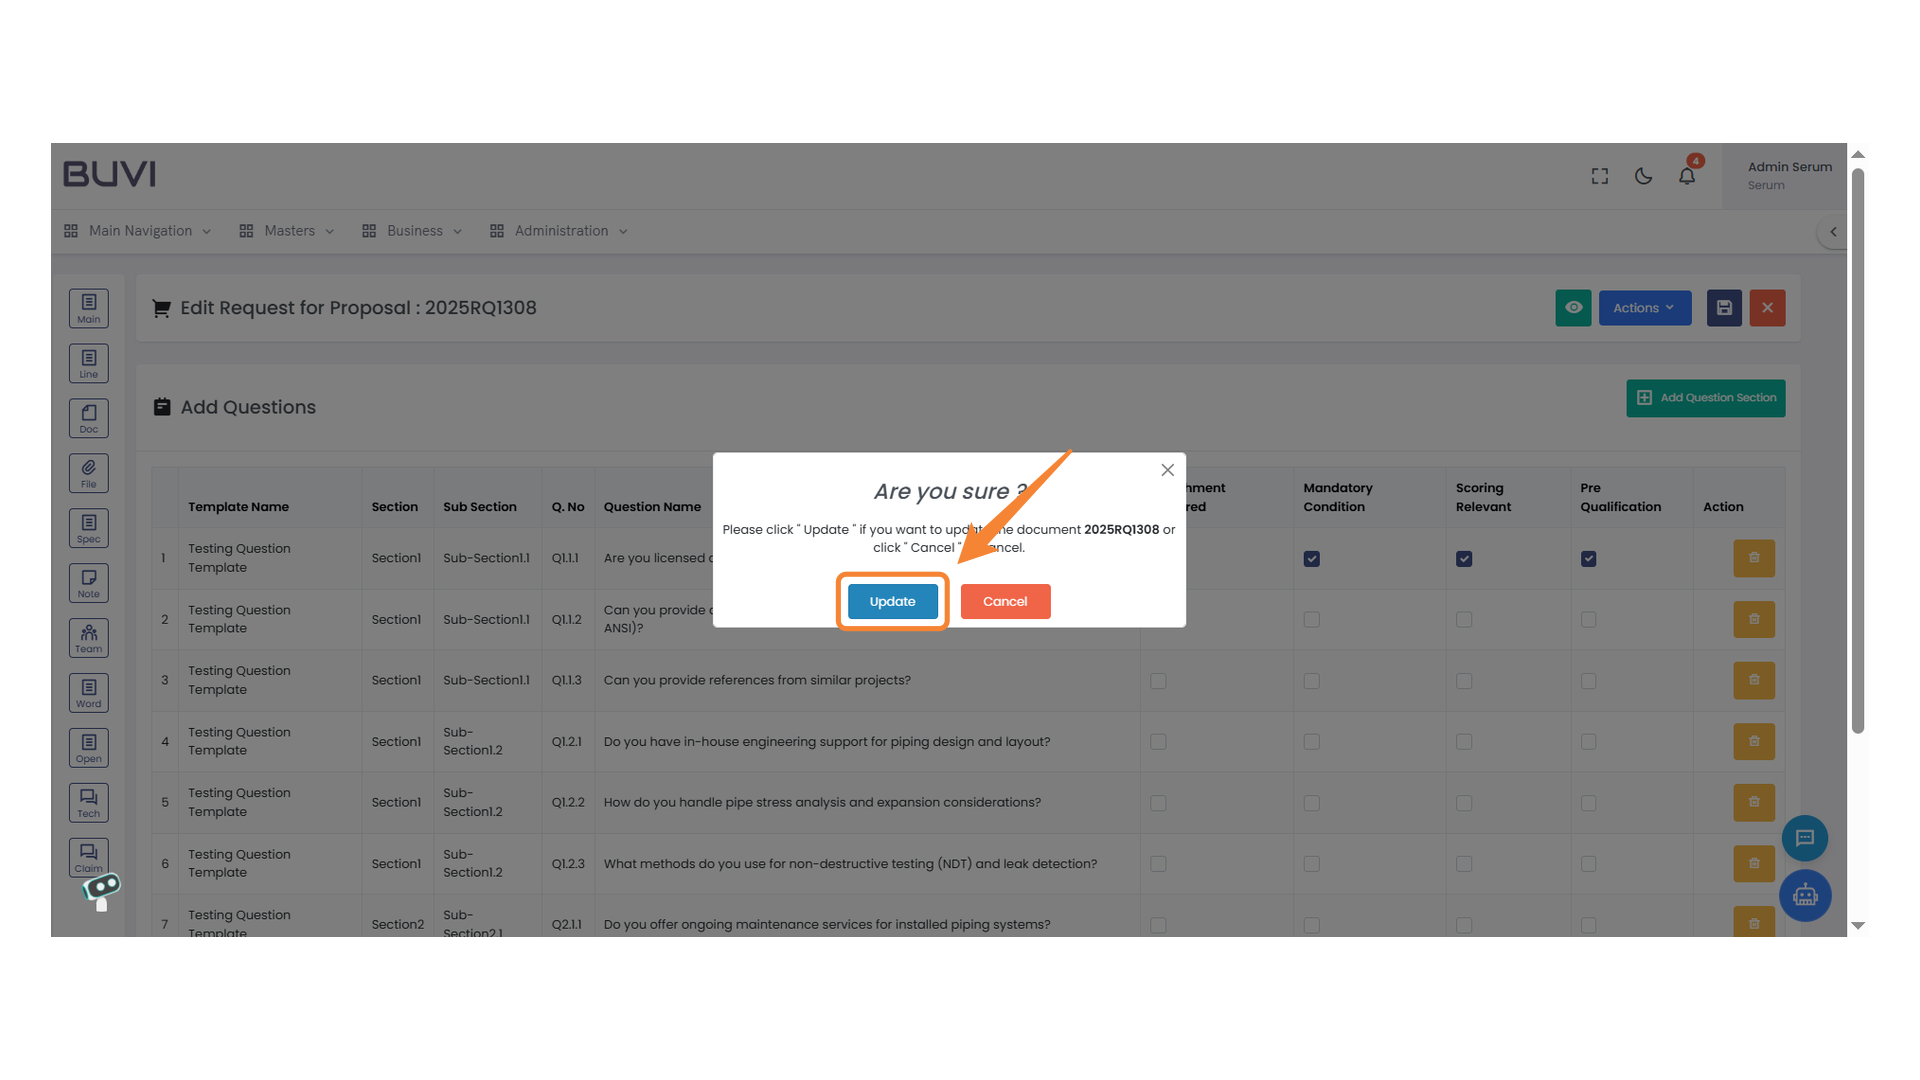
93. Confirmation Dialog Box
Click 'Update' to confirm your changes or 'Cancel' to dismiss.
94. Navigation Menu Icon
Click to access the main navigation menu.
95. Confirmation Dialog Box
Click 'Update' to proceed with the document update process.